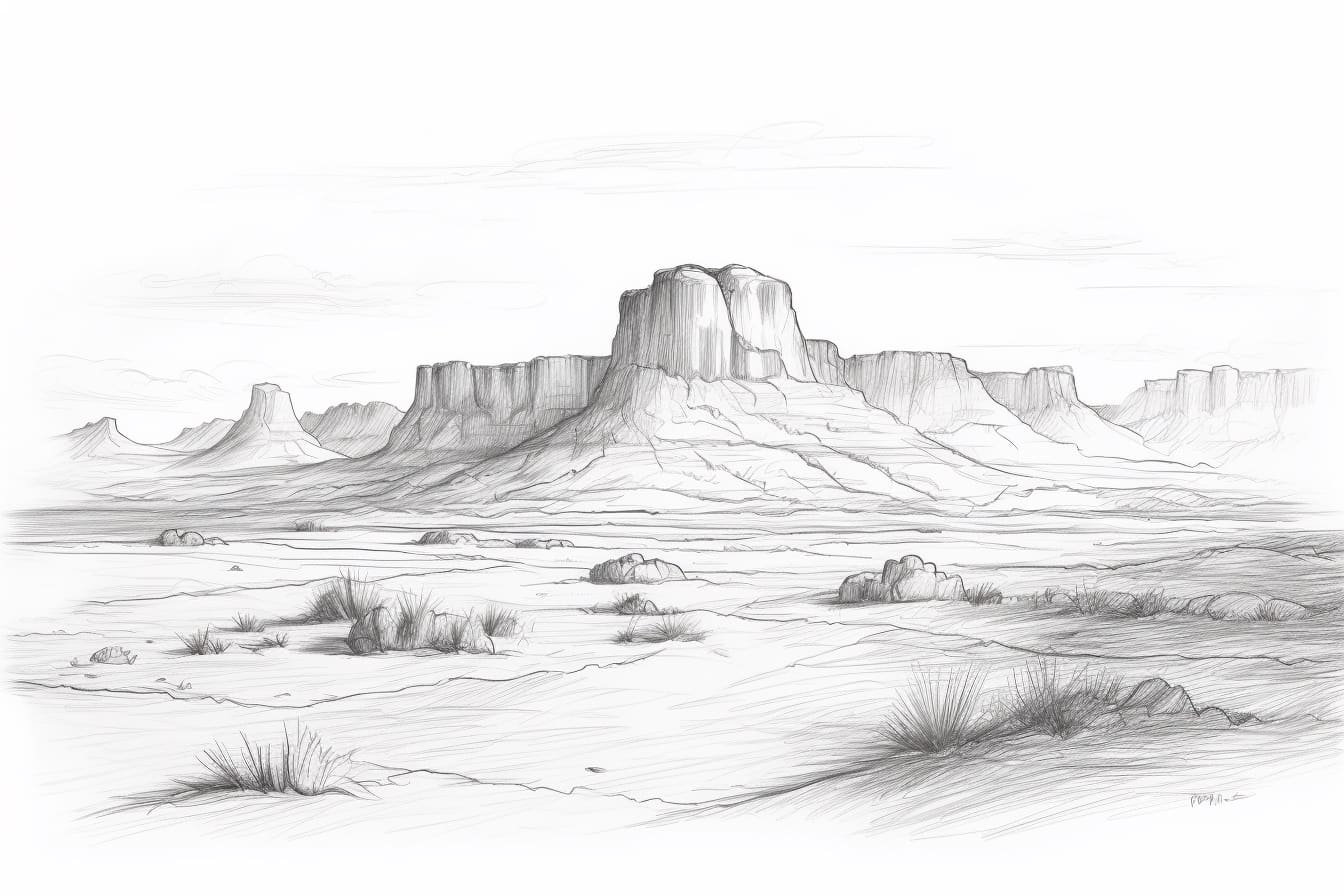
Have you ever wanted to learn how to draw a plateau? A plateau is a beautiful natural landform with flat, elevated terrain. Whether you’re an experienced artist or a beginner, drawing a plateau can be a fun and rewarding exercise. In this step-by-step guide, I will take you through the process of drawing a plateau using simple techniques that anyone can follow. So grab your materials and let’s get started!
Materials Required:
- Drawing paper or sketchbook
- Pencil
- Eraser
- Ruler
- Colored pencils or markers (optional)
Step 1: Set Up Your Drawing Space
Before you begin, find a comfortable and well-lit space to work in. Make sure you have all your materials within reach. If you prefer, you can lay out your drawing paper on a flat surface or use a drawing board to keep your paper secure.
Step 2: Start with Basic Shapes
To start drawing a plateau, we will first outline the basic shape of the landform. Begin by lightly sketching a horizontal line near the middle of your paper. This line will serve as the base or top edge of the plateau.
Step 3: Add Depth and Dimension
Next, we will add depth and dimension to the plateau. Using your ruler, draw two diagonal lines from the ends of the horizontal line towards the bottom of the paper. These lines will create the slopes of the plateau. Make sure the lines are symmetrical and meet at a point at the bottom.
Step 4: Define the Plateau’s Edges
Continue by drawing two vertical lines from the endpoints of the diagonal lines to the bottom of the paper. These lines will define the edges of the plateau. Again, make sure the lines are symmetrical and parallel to each other.
Step 5: Refine the Shape
Now it’s time to refine the shape of the plateau. Use your pencil to sketch gentle curves along the top and bottom edges of the plateau to create a more natural and organic look. Pay attention to the proportions and curves, and adjust as needed.
Step 6: Add Texture and Details
To make your plateau drawing more realistic, consider adding texture and details. Study reference images of plateaus to get an idea of the different types of rock formations, vegetation, and other elements that can be found on a plateau. Use your pencil to lightly sketch these details, paying attention to the direction of lines and the overall composition.
Step 7: Enhance with Color (optional)
If you’d like to add color to your drawing, now is the time to do so. Use colored pencils or markers to bring your plateau to life. Consider the colors of the rocks, vegetation, and sky while adding color, and use shading techniques to create depth and dimension.
Step 8: Final Touches
Take a step back and evaluate your drawing. Are there any areas that need adjustment or refinement? Use your eraser to make any necessary corrections, taking care not to smudge or damage your drawing. Once you’re satisfied with the final result, you can sign your artwork and consider it complete.
Conclusion:
Drawing a plateau can be a fun and creative way to explore the beauty of nature through art. By following these step-by-step instructions, you can create your own stunning representation of a plateau. Remember to take your time, be patient with yourself, and enjoy the process. With practice, you will improve your drawing skills and create artworks that you can be proud of. So grab your materials and start drawing your own plateau today!