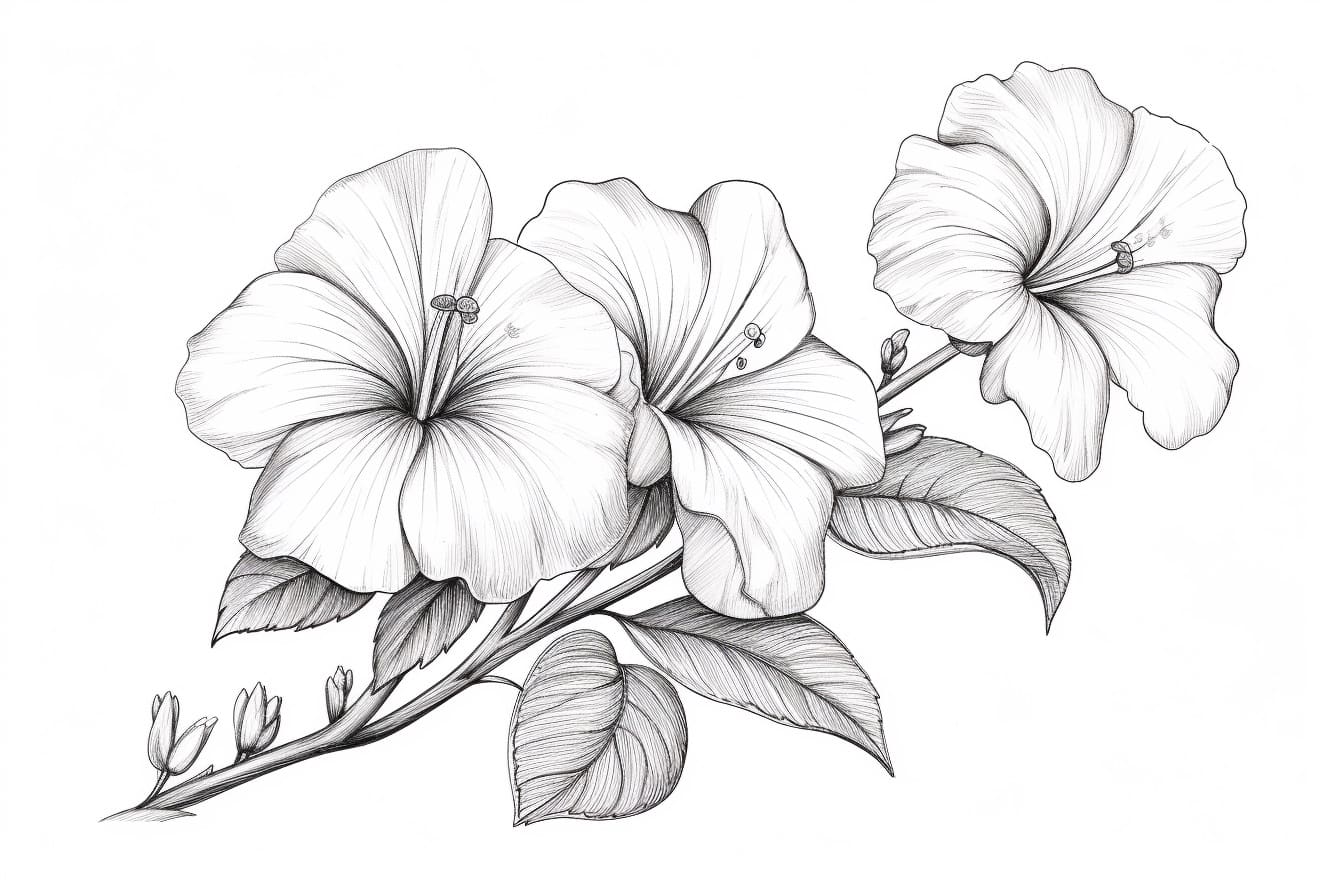
Petunias are beautiful and vibrant flowers that can bring life to any garden or drawing. If you are interested in learning how to draw a petunia, you’re in the right place! In this step-by-step guide, I will walk you through the process of creating a stunning petunia drawing. So grab your art supplies and let’s get started!
Materials Required:
- Pencil
- Eraser
- Paper
- Colored pencils or markers
Step 1: Start with Basic Shapes
Begin by lightly sketching a circle in the center of your paper. This will serve as the base of the flower. Then, draw a curved line extending from the bottom of the circle. This line will act as the stem. Don’t worry about making it perfect at this stage, as it is just a guideline.
Step 2: Add Petal Outlines
To create the petunia petals, draw curved lines around the circle, starting from the top and working your way down. These lines should radiate outwards, with each one getting longer as you move away from the center. Remember, petals are not identical, so don’t worry about making them all the same size or shape.
Step 3: Shape the Petals
Now that you have the outline of the petals, it’s time to give them some shape and volume. Start by adding curves and bends to each petal, making them look more organic and natural. You can do this by slightly curving the lines you drew earlier. Make sure to pay attention to the direction of each petal and the way they overlap.
Step 4: Refine the Stem
Next, focus on refining the stem of the petunia. Thicken the stem by drawing parallel lines along its length and adding some irregularities. This will make it look more realistic. You can also add some tiny leaves along the stem, drawing them with small pointed ovals or curved lines.
Step 5: Add Details to the Petals
To make the petals more interesting, add some details to them. You can do this by drawing veins or lines that follow the shape of each petal. These lines can be curved or straight, depending on the look you want to achieve. Adding these details will give your petunia drawing more depth and texture.
Step 6: Refine the Shape
Take a moment to step back and look at your drawing as a whole. Pay attention to the overall shape and proportions of the petunia. If needed, make any necessary adjustments to ensure that everything looks balanced and harmonious. Erase any unnecessary guidelines or stray lines.
Step 7: Add Color
Now comes the fun part – adding color to your petunia drawing! Petunias come in a wide variety of colors, so feel free to get creative with your color choices. Start by lightly shading the petals using your colored pencils or markers. Gradually build up the color, adding darker tones towards the center of the flower and lighter shades towards the edges.
Step 8: Enhance with Shadows and Highlights
To make your petunia drawing appear more realistic, add some shadows and highlights. Determine the direction of the light source and darken the areas that would be in shadow. Use a darker shade of your chosen petunia color or add some gray tones to create depth. Similarly, add some lighter tones or white highlights to the areas that would catch the light.
Step 9: Finishing Touches
Lastly, add any final touches to your drawing to bring it to life. You can enhance the details, refine the colors, or add some background elements to make the petunia stand out even more. Take your time with this step and make sure you are happy with the final result.
Conclusion
Drawing a petunia may seem challenging at first, but with these step-by-step instructions, you can create a beautiful and realistic representation of this lovely flower. Remember to take your time, practice, and have fun with the process. So grab your art supplies and start drawing your own petunia masterpiece!


