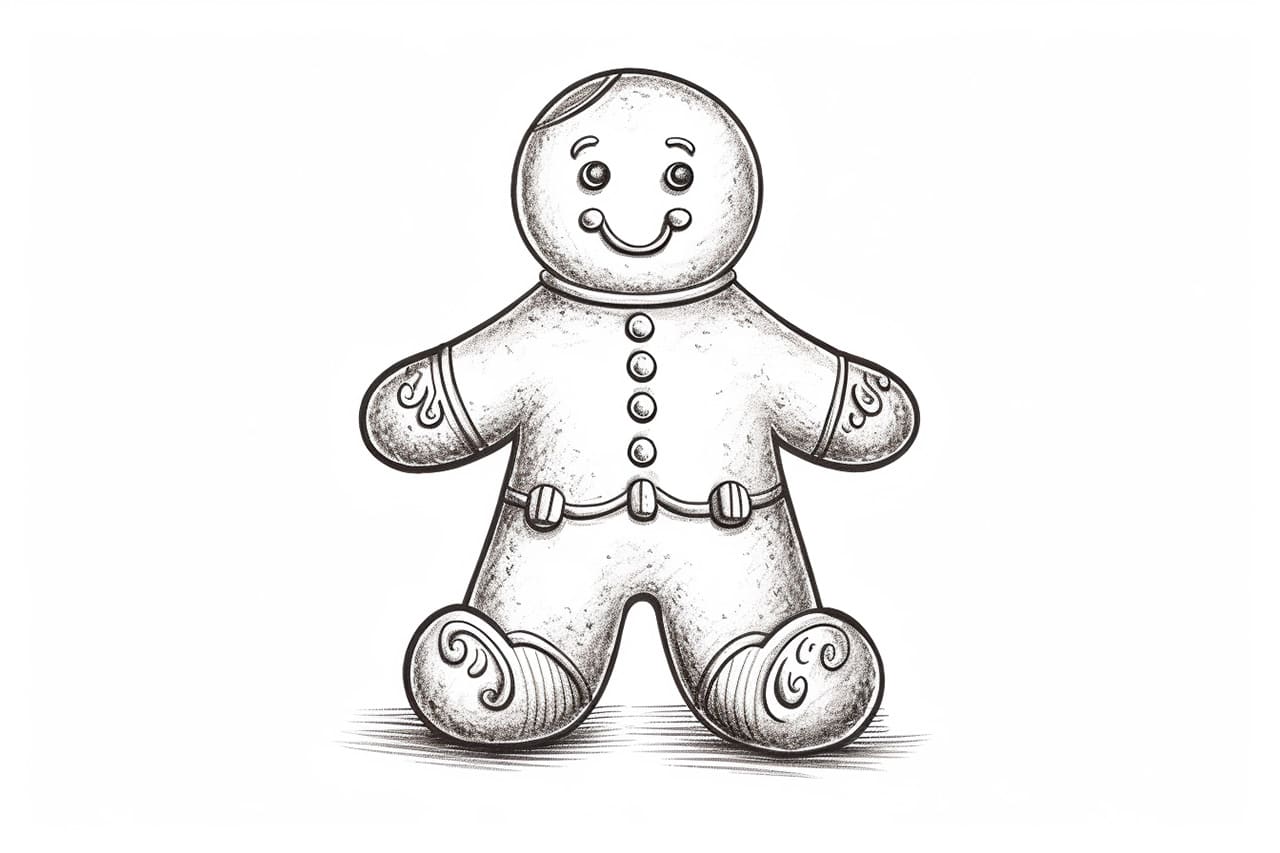
Welcome to this step-by-step tutorial on how to draw a gingerbread man! Whether you want to create a festive holiday card or explore your artistic skills, this guide will walk you through the process clearly and concisely. So grab your pencil, paper, and some colored markers, and let’s get started!
Materials Required
Before we dive into the drawing process, let’s make sure you have all the necessary materials on hand:
- Pencil: Choose a good-quality pencil that’s easy to erase. A mechanical pencil or a regular HB pencil will work just fine.
- Paper: Opt for a smooth, heavyweight paper that can handle the various stages of drawing and erasing.
- Eraser: A good eraser will come in handy for fixing any mistakes along the way.
- Colored Markers: Once you’ve completed your pencil sketch, you can bring your gingerbread man to life with some colored markers. Feel free to use any colors you like!
Now that you have your materials ready, let’s begin drawing your gingerbread man.
Step 1: Draw the Basic Shape
To start, draw a large oval shape in the center of your paper. This oval will serve as the body of the gingerbread man. Make sure to leave some space on the top and bottom of the oval for his head and feet.
Step 2: Add the Head and Limbs
Using the guideline you created in step 1, draw a smaller oval shape at the top of the gingerbread man’s body for his head. Next, add two short lines that extend downward from the body for his legs. Finish off the legs by drawing two small oval shapes at the bottom as his feet.
Step 3: Sketch the Arms and Hands
Draw two thin, curved lines on each side of the gingerbread man’s body for his arms. At the end of each arm, add a circular shape to represent his hands. These hands can be as big or as small as you like, depending on your preference.
Step 4: Define the Face
Now it’s time to draw the gingerbread man’s face. Start by drawing two small oval shapes for his eyes. Place them on the upper part of his head, leaving enough space in between for his nose and mouth. Just below the eyes, draw a small curved line for the gingerbread man’s smile.
Step 5: Add Details to the Body
To give your gingerbread man some texture, draw a series of curved lines across his body. These lines will represent the icing or decorations on the gingerbread. You can be as creative as you like here, adding squiggles, dots, or any other patterns you prefer.
Step 6: Outline the Drawing
Once you’re satisfied with the overall sketch, it’s time to outline your gingerbread man with a darker pencil or a fine-tip marker. Trace over all the lines you want to keep, including the body shape, limbs, face, and details on the body. Take your time and be confident in your strokes.
Step 7: Color Your Gingerbread Man
Now comes the fun part – adding color to your drawing! Take out your colored markers and start filling in the different parts of your gingerbread man. You can follow the traditional gingerbread colors by using various shades of brown for his body, and red, green, and white for the accents. Alternatively, feel free to get creative and use any colors that bring your gingerbread man to life!
Step 8: Final Touches
Once you’ve colored your gingerbread man, take a step back and assess your drawing. Are there any areas that need a little extra detail or shading? If so, now is the perfect time to add those finishing touches. You can use a darker shade of marker or pencil to add depth to certain areas or use a white gel pen to create highlights.
Conclusion
Congratulations on completing your gingerbread man drawing! By following this step-by-step tutorial, you’ve learned how to create a delightful illustration perfect for the holiday season. Remember, practice makes perfect, so don’t be discouraged if your first attempt isn’t exactly as you envisioned. With time and practice, you’ll become more confident in your drawing skills and develop your unique style.
So go ahead and spread some holiday cheer with your adorable gingerbread man artwork! Whether you decide to frame it, use it in a card, or simply display it on your fridge, your creation will surely bring a smile to anyone who sees it.


