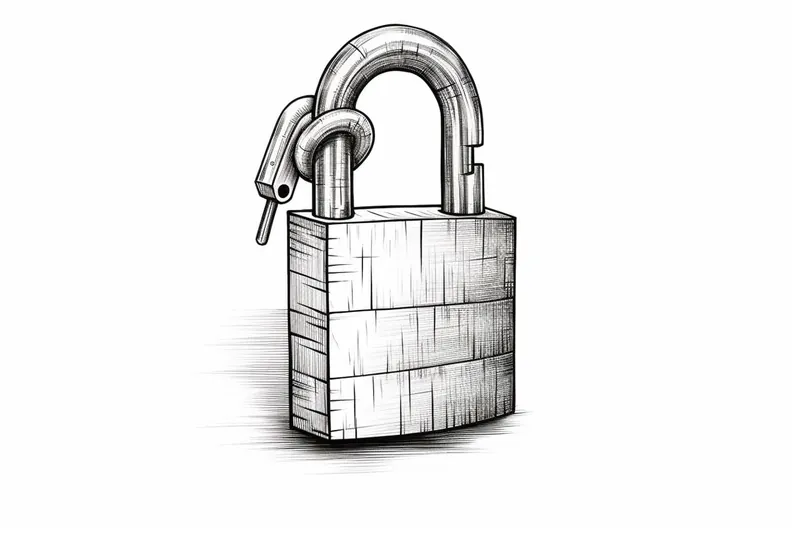
How to Draw a Lock
Learn how to draw a lock with step-by-step instructions in this comprehensive art tutorial. Master the art of capturing this essential everyday object on paper.
Materials You'll Need
- Pencil
- Paper
- Eraser
Locks have been symbols of security, privacy, and trust for centuries, serving as both practical devices and fascinating objects of design. From sturdy padlocks guarding gates to ornate vintage locks adorning old chests, these unique devices are everywhere in our daily lives. By learning how to draw a lock, you not only pay attention to the mechanical beauty and precise structure of this everyday item, but also challenge your observation skills and ability to render detail. Whether you're interested in technical illustration, wish to incorporate locks into your own artworks, or are simply looking to expand your drawing repertoire, tackling this subject can be both enjoyable and rewarding.
Drawing a lock is an excellent exercise for artists of all levels. Beginners will benefit from practicing basic shapes, straight lines, and symmetry, while more advanced artists can experiment with shading, texture, and perspective to create a realistic metallic appearance. Throughout this tutorial, you'll learn how to break down the lock into simple geometric components, add dimension through subtle shading, and capture those small but important details that give a lock its character. No matter your skill level, following these steps on how to draw a lock will help you develop greater confidence and precision in your art.
So, gather your drawing materials and get ready to explore the intriguing world of locks through art. With some patience and practice, you'll soon be able to render impressive locks that can be featured in scenes, stories, or even as standalone illustrations. Let's unlock your creativity and get started!
Materials Required
Before we begin, gather the following materials:
- Drawing paper
- Pencils (HB, 2B, and 4B)
- Eraser
- Ruler
- Compass
- Fine-tipped pen or liner
Now that we have our materials ready, let's dive into the process of drawing a lock.
Step 1: Basic Outline
Start by drawing a vertical line using a ruler. This line will serve as the central axis for our lock. Place the line slightly to the left of the center of your paper to make room for the lock's shackle.
Step 2: Shackle
At the top of the vertical line, draw a small horizontal rectangle. This rectangle represents the shackle of the lock. Make sure it is aligned with the vertical axis line.
Step 3: Body of the Lock
Add a larger rectangle below the shackle, parallel to it. This rectangle forms the body of the lock. Ensure that the bottom edge of the body is aligned with the bottom edge of the shackle.
Step 4: Keyhole
Draw a small circle at the center of the body, slightly below the top edge. This circle represents the keyhole of the lock.
Step 5: Locking Mechanism
To create the locking mechanism, draw a small horizontal rectangle at the bottom of the lock's body. This rectangle should be aligned with the bottom edge of the body and extend slightly beyond it.
Step 6: Texture and Detail
Now, let's focus on adding some texture and detail to our lock. Start by drawing two small circles at the top corners of the lock's body, just above the shackle. These circles will serve as the attachment points for the shackle.
Step 7: Outer Frame
Tip: As you work through the drawing steps, take time to observe real locks or reference images closely; this will help you understand their unique details and textures, enabling you to add more depth and authenticity to your artwork. Don't hesitate to experiment with different shading techniques and materials to see how they affect the overall appearance, reinforcing your learning process and enhancing your skills.
To give our lock a three-dimensional appearance, draw a rectangle around the entire lock, leaving some space between the lock and the frame. This frame will add depth and context to the drawing.
Step 8: Shading and Shadows
To add realism to our lock drawing, we need to focus on shading and shadows. Begin by shading the areas that are not directly hit by light. Use a 4B pencil to create smooth shading, paying attention to the edges and corners of the lock.
Step 9: Highlights
To enhance the three-dimensional effect, add highlights to the areas that are directly hit by light. Use an eraser to gently lighten these areas, creating the illusion of shine and reflection.
Step 10: Finalize the Drawing
To finalize the drawing, go over the outlines of the lock with a fine-tipped pen or liner. This will give your drawing a polished and finished look. You can also add additional details, such as small lines and dots, to enhance the overall appearance.
And there you have it! You have successfully drawn a lock from scratch. With practice, you'll be able to draw locks of various shapes and sizes with ease.
Conclusion
Drawing a lock may seem intricate at first, but with the step-by-step instructions provided in this tutorial, you can master the art of capturing this essential everyday object. Remember to practice regularly and experiment with different lock designs to enhance your drawing skills. So, pick up your pencils and start creating your own lock drawings today!
Fun Facts About Lock
- The oldest known lock was discovered in the ruins of Nineveh, the capital of ancient Assyria, and dates back over 4,000 years.
- Modern pin tumbler locks, the most common type today, were invented by Linus Yale Jr. in 1861.
- Padlocks have been used since Roman times, with early examples found across Europe and Asia.
- The world's largest working padlock weighs over 916 pounds and is recognized by the Guinness World Records.
- Combination locks, which use rotating dials instead of keys, were first patented in 1857 by James Sargent.
- Skeleton keys are designed to open many different locks and were commonly used in the 19th and early 20th centuries.
- Biometric locks, which use fingerprints or facial recognition, are a recent innovation in security technology.
- Some ancient locks were made entirely of wood, including both the body and the key.
Suggestions for Scenes and Settings for Lock Drawings
- An ancient, ornate lock on a treasure chest, surrounded by overgrown vines and mysterious symbols.
- A modern combination padlock securing a metal locker in a busy school hallway.
- A rusty padlock hanging from an old wooden garden gate, with sunlight filtering through the slats.
- A close-up of a transparent lock revealing its intricate inner mechanisms and tumblers.
- A heart-shaped lock attached to a romantic bridge railing, with hundreds of other love locks in the background.
- A futuristic digital lock on a high-tech vault door, glowing with LED lights.
- A heavy iron lock on a dungeon cell door, with shadows hinting at the room's mysterious occupant.
- A tiny lock on a vintage jewelry box, surrounded by antique trinkets and lace.
- An open padlock with keys lying nearby, suggesting a recently unlocked diary or secret box.
- A weathered bicycle lock curled around a street pole, with an urban cityscape in the background.