Are you an aspiring artist looking to improve your drawing skills? Drawing everyday objects is a great way to enhance your abilities and develop a keen eye for detail. In this tutorial, we will guide you through the process of how to draw a door, step-by-step. Whether you’re a beginner or a more experienced artist, this guide will help you create a realistic and visually appealing door in your artwork.
Materials Required
Before we dive into the drawing process, let’s make sure you have all the necessary materials at hand. Here’s what you’ll need:
- Pencil: Choose a medium-soft pencil such as an HB or a 2B for sketching and shading.
- Eraser: Pick a kneaded eraser or a soft eraser to make any necessary corrections during the drawing process.
- Paper: Select a smooth and sturdy paper that is suitable for drawing. A4 or letter-sized paper works well for most drawings.
- Ruler: This will help you create straight lines and maintain proportion while drawing the door.
Now that you have your materials ready, let’s get started!
Step 1: Outline the Shape of the Door
Begin by lightly sketching a rectangular shape for the door. Consider the perspective you want to portray – will the door be viewed from the front or at an angle? Use your ruler to ensure that the lines are straight and evenly spaced.
Step 2: Add Details to the Door
Using your reference image or imagination, start adding details to the door. Draw the panels, knob, wood grain, or any decorative elements you want to include. Pay attention to the proportions and maintain the perspective of the door.
Step 3: Define the Shadows and Highlights
To create depth and dimension in your drawing, identify the areas that would be in shadow or receive more light. Shade the shadowed areas using hatching or cross-hatching techniques, and leave the highlighted areas untouched or lightly shaded.
Step 4: Refine the Door Details
Take a closer look at the details of the door and refine them. Make sure the lines are clean and crisp, and adjust any proportions or shapes that may need tweaking. Erase any unnecessary guidelines or construction lines and smudge any shading to create a more realistic look.
Step 5: Add Texture to the Door
To make the door appear more realistic, add texture to the surface. Pay attention to the direction of the wood grain and use short, curved lines to imitate the natural patterns of the wood. Vary the thickness and darkness of the lines to create a sense of depth within the texture.
Step 6: Create a Background
Consider the environment in which the door is placed and create a suitable background. It could be a wall, a hallway, or a landscape. Sketch in the background lightly using your pencil, making sure it complements the door and enhances the overall composition.
Step 7: Finalize the Drawing
Review your drawing and make any necessary adjustments or refinements. Check for any areas that need additional shading or highlights to create a balanced and accurate representation of the door. Take your time to ensure that every detail is captured.
Congratulations! You have successfully drawn a door. With practice, you can apply these techniques to draw doors in various styles, shapes, and sizes.
Conclusion
Drawing everyday objects like doors can be a rewarding exercise that strengthens your artistic skills. By following the step-by-step instructions outlined in this tutorial, you can create a realistic and visually appealing door in your drawings. Remember to practice regularly, experiment with different techniques, and allow yourself to make mistakes along the way. With persistence and dedication, you’ll continue to improve and develop your artistic abilities.
We hope you found this tutorial helpful. Happy drawing!
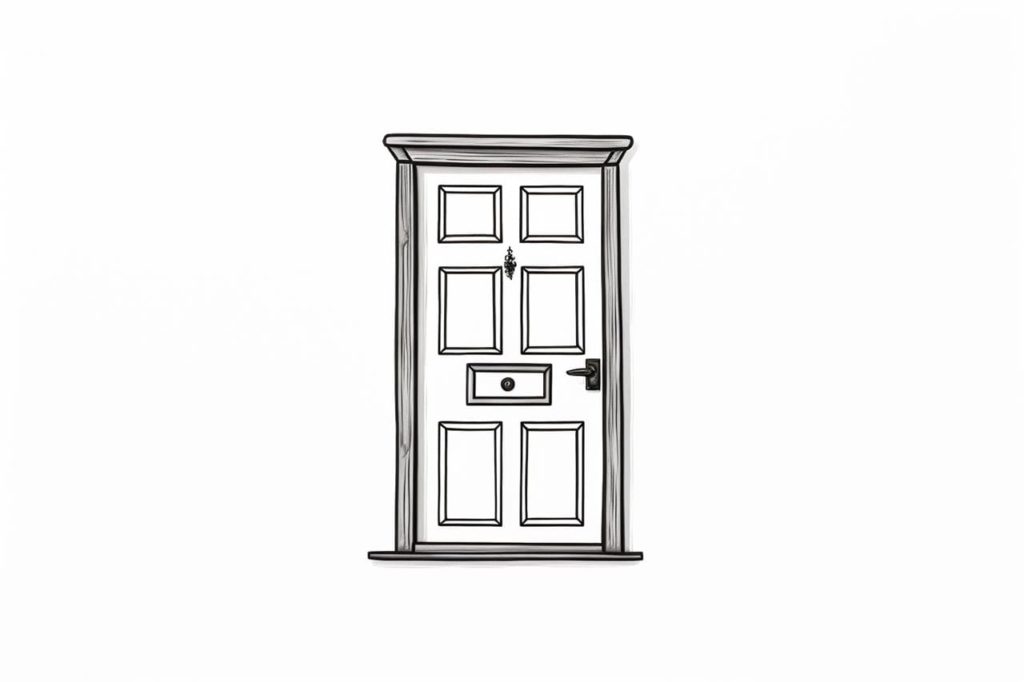
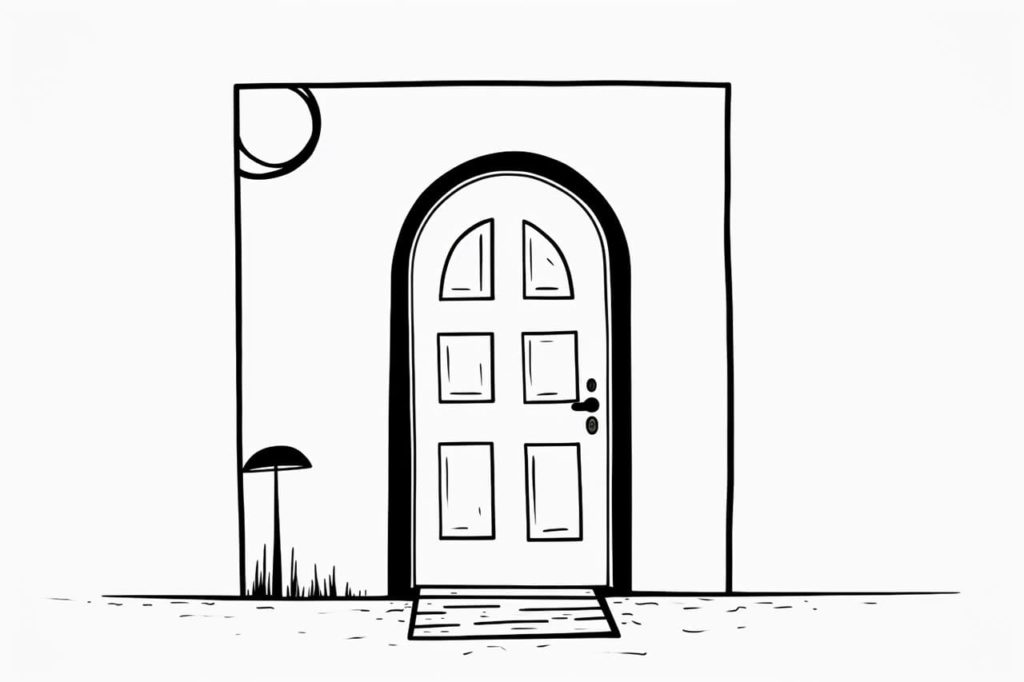
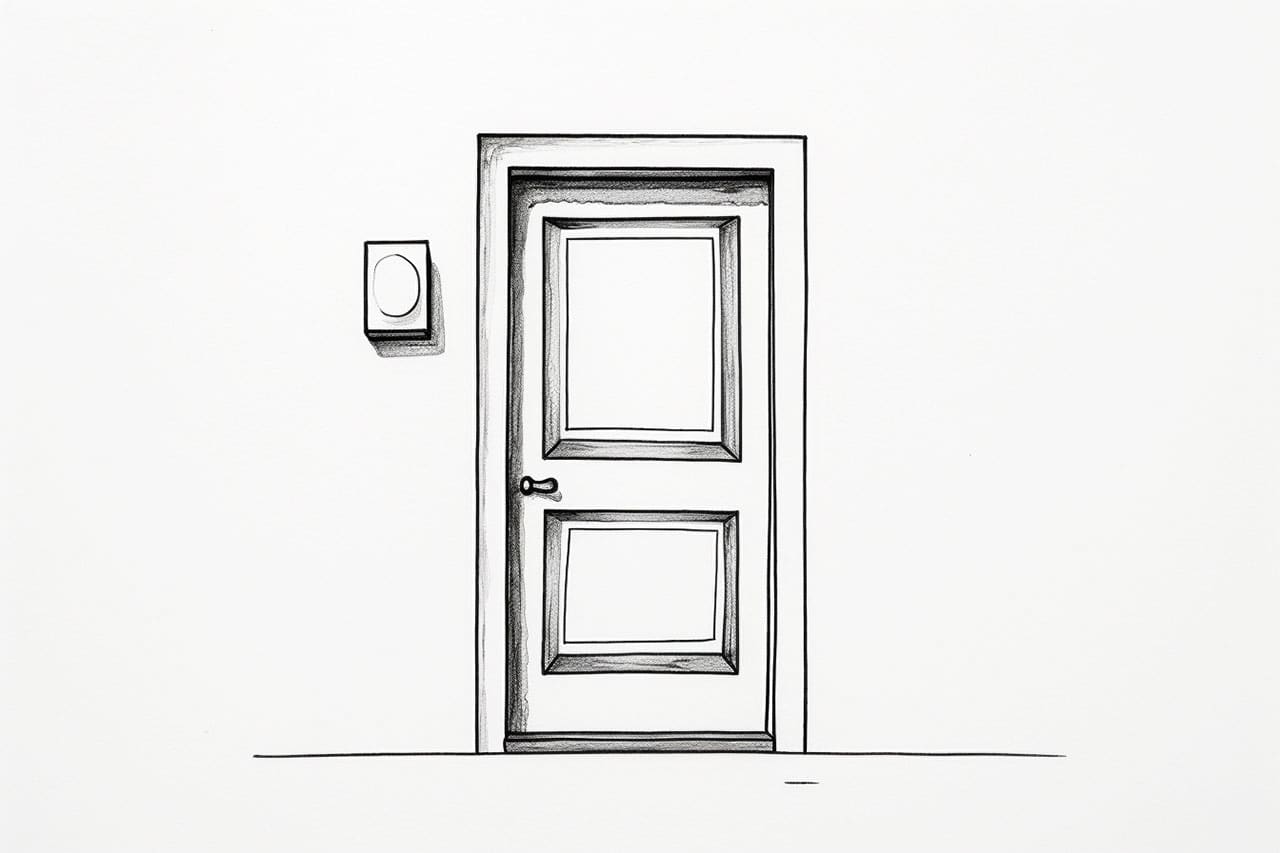
Gallery of Door Drawings