How to Draw a Hippopotamus
Learn how to draw a realistic and detailed hippopotamus with this step-by-step tutorial. Follow the expert instructions and unleash your creativity in drawing animals.
Materials You'll Need
- Pencil
- Paper
- Eraser
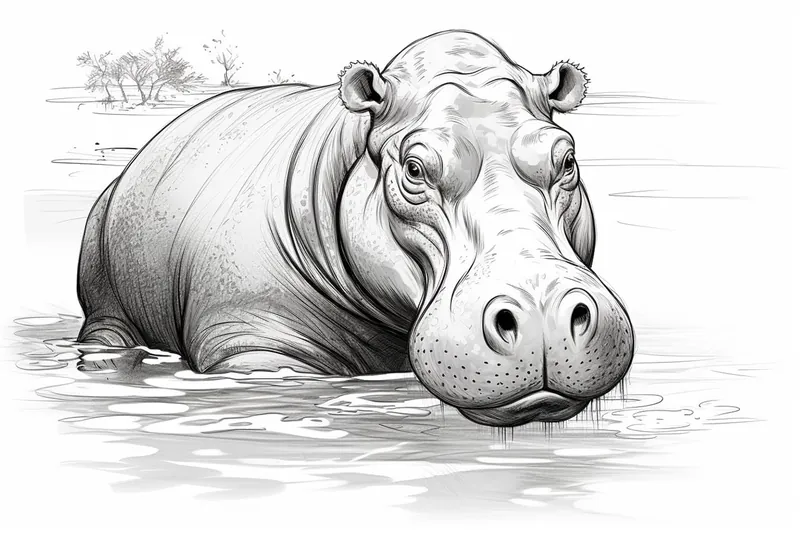
The hippopotamus is one of the most impressive and recognizable animals found in the rivers and lakes of Africa. With its massive barrel-shaped body, short legs, and wide mouth, the hippo is not only an important figure in wildlife ecosystems but has also become a beloved character in children's books, cartoons, and art. Their unique features and expressive faces make them a delightful subject for artists of all ages. Whether you are fascinated by wildlife, enjoy drawing animals, or want to add a whimsical touch to your sketchbook, learning how to draw a hippopotamus can be both a fun and rewarding artistic challenge.
This tutorial is designed for artists of all skill levels, from beginners eager to practice basic shapes to more experienced illustrators looking to capture the hippo's personality and volume. We will break down the drawing process into simple, manageable steps that focus on building up the hippo's form using easy techniques such as sketching basic geometric shapes, refining outlines, and adding shading for depth and realism. Drawing a hippopotamus is a great way to practice observing proportions, understanding animal anatomy, and experimenting with textures—skills that will be useful in many of your future art projects.
As you follow along with this guide on how to draw a hippopotamus, remember that patience and practice are key. Don't worry if your first attempt isn't perfect—each drawing is a step forward in your creative journey. Gather your favorite drawing materials, let your imagination roam, and let's bring this magnificent creature to life on the page together!
Materials Required:
Before we begin, make sure you have the following materials:
- Drawing paper - You can use any type of paper, but a heavier weight paper will work best for this project.
- Pencil - A graphite pencil with a medium or soft lead is recommended.
- Eraser - Choose a soft eraser that will not damage your paper.
- Fine-tipped markers or pens - These will be used for adding details and defining the outlines of your drawing.
- Reference image - Find a clear and detailed reference image of a hippopotamus to use as a guide.
Now that you have gathered all your materials, let's move on to the drawing process.
Step 1: Start with Basic Shapes
Begin by lightly sketching the basic shapes that make up the body of the hippopotamus. Start with an oval for the head, followed by a larger oval for the body. Connect the two shapes with a curved line to form the neck. Add circles for the eyes and nostrils, and a slightly curved line for the mouth.
Step 2: Refine the Body
Next, start refining the body of the hippopotamus. Add details like the ears, which are shaped like triangles, and the short, stubby legs. Use curved lines to define the contours of the body, making it look more three-dimensional. Take your time with this step, paying attention to the proportions and overall shape of the hippopotamus.
Step 3: Add Facial Features
Now it's time to focus on the facial features of the hippopotamus. Using the circles you drew earlier as a guide, add more details to the eyes by sketching the eyelids and iris. Give the hippopotamus a wide, open mouth by adding a curved line for the upper lip and a slightly curved line for the lower lip. Don't forget to add the nostrils as well.
Step 4: Define the Outline
Using a darker pencil or a fine-tipped marker, carefully outline the entire drawing to give it more definition. Pay attention to the curves and contours of the hippopotamus, making sure to capture its unique shape and proportions. Take your time with this step, as it will help bring your drawing to life.
Step 5: Add Details
Now that you have the basic outline, it's time to add some details to your drawing. Start by adding texture to the hippopotamus's skin. Use short, curved lines to create the appearance of wrinkles and folds. Add small, oval-shaped dots to represent the skin's texture. Continue adding details to the face, such as the hippopotamus's teeth and tongue.
Step 6: Shade and Tone
To give your drawing depth and dimension, it's important to add shading and toning. Start by identifying the primary light source in your reference image. Shade the areas that would be in shadow, paying attention to the contours of the hippopotamus's body. Use a blending tool or your fingers to blend the shading for a smooth transition between light and dark areas.
Step 7: Finalize and Refine
Take a step back and evaluate your drawing. Make any necessary adjustments to the proportions or details to improve the overall look of the hippopotamus. Use a fine-tipped pen or marker to define the outlines and add any final touches to your drawing.
Tip: When sketching a hippopotamus, start by mapping out its basic proportions with simple shapes—use a large oval for the body, a smaller oval for the head, and rectangles for the legs. Pay close attention to the distance between the eyes and the placement of the nostrils, as these features give the hippo its distinctive look. Keep your pencil strokes light during this stage so you can easily adjust the shapes as you refine the form. As you add details, notice the way the skin folds around the neck and shoulders, and use gentle, curved shading to suggest the hippo's thick, smooth texture. Remember, exaggerating the roundness can help convey the hippo's weight and charm, making your drawing even more engaging!
Conclusion
Congratulations! You have successfully learned how to draw a hippopotamus. By following these step-by-step instructions and using your creativity, you have created a realistic and detailed representation of this magnificent creature. Remember to practice regularly to improve your drawing skills, and don't be afraid to experiment with different techniques and styles. Enjoy the process and have fun bringing your drawings to life!
Gallery of Hippopotamus Drawings
Fun Facts About Hippopotamus
- The hippopotamus is the third-largest land mammal after elephants and rhinos.
- Despite their bulky appearance, hippos can run up to 30 km/h on land.
- Hippos spend up to 16 hours a day submerged in water to keep their massive bodies cool.
- Their sweat is actually a natural sunscreen that appears red or pink, earning it the nickname blood sweat.
- Hippos are considered one of the most dangerous animals in Africa due to their aggressive nature.
- They communicate underwater by making grunts, wheezes, and even clicks.
- Hippos can hold their breath underwater for up to five minutes.
- Although they look like pigs, hippos are more closely related to whales and dolphins.
- Baby hippos are called calves and can weigh up to 30-50 pounds at birth.
Suggestions for Scenes and Settings for Hippopotamus Drawings
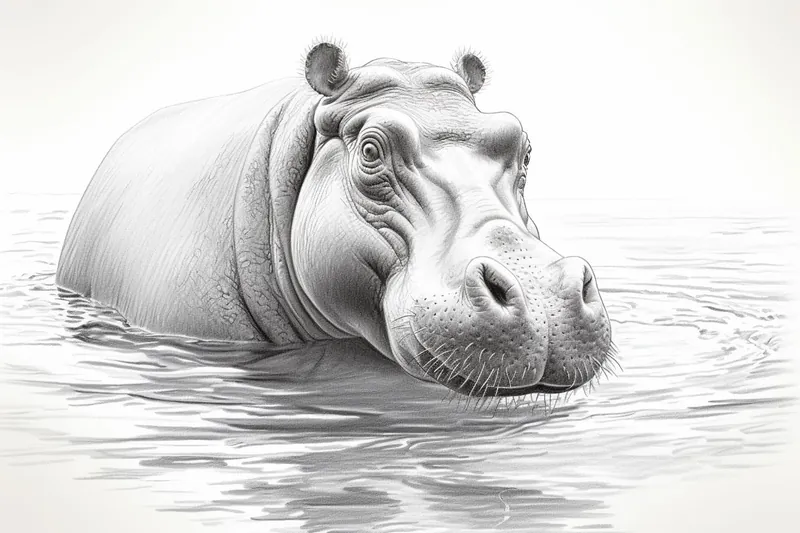
- A hippopotamus relaxing in a lush African river, surrounded by reeds and birds.
- A playful baby hippo splashing water with its mother in the shallow part of a lake.
- A group of hippos basking on a muddy riverbank at sunset, with the golden light reflecting off the water.
- A cartoon-style hippo wearing a sunhat and sunglasses, lounging on a pool float.
- A hippo yawning widely, showing off its massive mouth and teeth, with curious fish swimming nearby.
- A whimsical scene of a hippo dancing ballet in a tutu on a lily pad stage.
- An adventurous hippo exploring a jungle, peeking through oversized tropical leaves.
- A family of hippos interacting with other African wildlife, such as birds perched on their backs or crocodiles nearby.
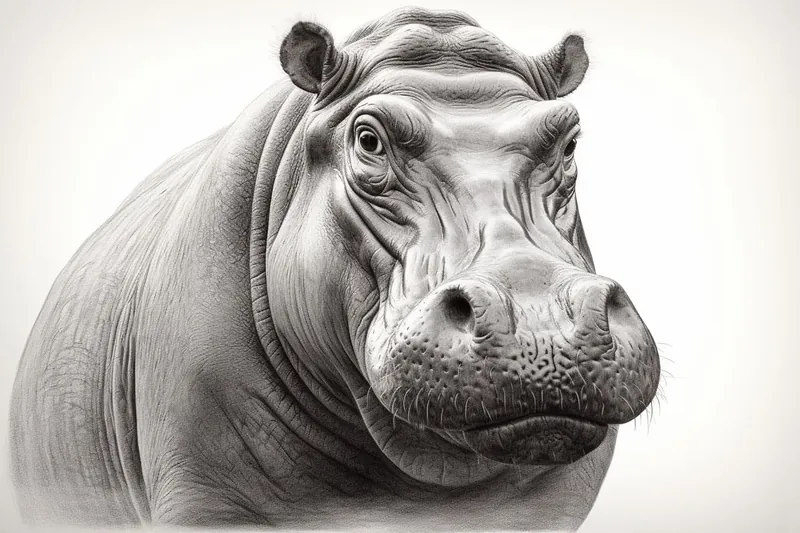
- A close-up portrait of a hippo's expressive face, focusing on its eyes and textured skin.
- A magical nighttime scene of a hippo gazing at the stars, with fireflies and moonlight illuminating the water.