How to Draw a Hello Kitty
Learn how to draw a Hello Kitty with this step-by-step guide. Follow along and create your own adorable Hello Kitty masterpiece. Perfect for all art enthusiasts and fans of Hello Kitty.
Materials You'll Need
- Pencil
- Paper
- Eraser
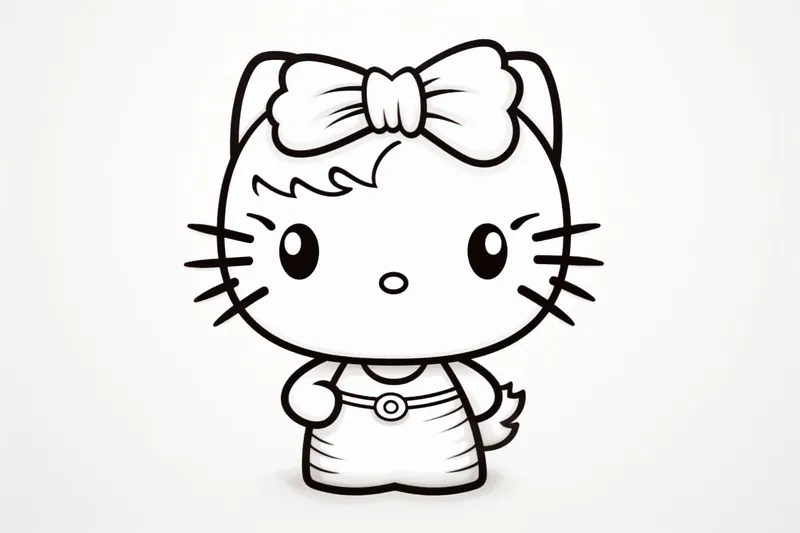
Hello Kitty is one of the most recognizable and beloved characters in the world, created by the Japanese company Sanrio in 1974. With her simple, charming design—featuring a round face, signature bow, and no visible mouth—Hello Kitty has captured the hearts of fans across generations. Whether you've grown up collecting Hello Kitty merchandise or just adore her cute and iconic look, learning how to draw this sweet character can be a delightful and rewarding artistic project.
Many people are drawn to Hello Kitty's minimalistic yet expressive style, making her a fantastic subject for both beginner and experienced artists. When you learn how to draw a hello kitty, you'll get to practice fundamental drawing skills such as creating smooth curves, working with simple shapes, and expressing personality through subtle details. This tutorial breaks down the process into clear, manageable steps, so you can follow along with confidence. No matter your skill level, drawing Hello Kitty is a fun way to build your confidence and add a touch of kawaii (cute) charm to your sketchbook or personal projects.
Grab your pencils and prepare to bring Hello Kitty to life on your page! Remember, drawing is all about practice and enjoying the creative process. Don't be afraid to make mistakes—every line brings you closer to mastering how to draw a hello kitty and developing your own unique style. Let's get started and have some fun together!
Materials Required
Before we begin, make sure you have the following materials ready:
- [Paper: You can use any type of paper, but a drawing paper or sketchbook](https://yonderoo.com/best-sketchbooks-for-artists/) is recommended.
- Pencils: A set of drawing pencils ranging from H to 6B will be handy. H pencils are lighter and produce lighter lines, while B pencils are darker and produce darker lines.
- Eraser: A good quality eraser will help you correct any mistakes or unwanted lines.
- Sharpener: Keep a pencil sharpener nearby to keep your pencils sharp throughout the drawing process.
Now that you have your materials ready, let's start drawing Hello Kitty!
Step 1: Basic Shapes
To begin, we'll start by drawing two intersecting circles. The bigger circle will form the head, and the smaller circle will be used for the body. Try to keep the circles proportionate.
Step 2: Face Details
Now, let's add Hello Kitty's facial features. Draw two small circles inside the head for the eyes. Leave a small gap between them. Then, draw a slightly bigger oval shape below the eyes for the nose. Finally, draw a small horizontal line for the mouth.
Step 3: Ears
Hello Kitty is known for her cute ears. To draw them, start by drawing two small curved lines on the top of the head, extending outwards from the circles. Then, connect the ends of these lines with a slightly curved line to form each ear.
Step 4: Bow
One of Hello Kitty's trademark accessories is her bow. Draw a bow shape right above the left ear. Begin with a small rectangle shape in the center, and then add two curved lines on each side to form the bow's loops. Finally, add two small rectangles on each side of the bow for the ends.
Step 5: Whiskers and Eyes
Now it's time to add some details to Hello Kitty's face. Draw three small lines on each side of the nose to represent her whiskers. Next, draw two small circles inside the eyes to represent the pupils. Leave a small white dot inside each pupil to add a reflective highlight.
Step 6: Body and Arms
Let's move on to Hello Kitty's body. Draw a curved line connecting the head and body circles. Then, draw two short lines on each side of the body for the arms. These lines should start from the body circle and curve slightly outwards.
Step 7: Legs and Feet
Hello Kitty has cute little legs and feet. Draw two curved lines extending downwards from the body circle for the legs. Then, draw two small rectangular shapes at the end of each leg for the feet. Add a small line in the middle of each foot to represent the shoes.
Step 8: Tail
To complete Hello Kitty's body, draw a small curved line extending outwards from the back of the body circle. This line will form her adorable little tail.
Step 9: Outline and Clean Up
Now that you have the basic structure of Hello Kitty, use a darker pencil (such as 2B or 4B) to outline your drawing. Pay attention to the curves and details, and make sure everything looks smooth and accurate. Erase any unwanted lines or guidelines.
Step 10: Coloring
Finally, it's time to bring Hello Kitty to life with some colors! You can use colored pencils, markers, or even watercolors to color your drawing. Start by coloring Hello Kitty's bow in red or any color of your choice. Then, color her nose and shoes in yellow. For her eyes, use black or dark gray. Feel free to experiment and get creative with the colors!
Congratulations, you have successfully drawn Hello Kitty! With practice and patience, you can improve your drawing skills and create even more amazing artwork.
Tip: When drawing Hello Kitty, start by lightly sketching her head as a wide oval and use gentle, curved lines to plot out her facial features. Keep her eyes spaced far apart and position them low on the face—this is key to achieving her signature cute look. Her iconic bow sits just above her left ear (your right as you look at the page), so use a circle and two leaf shapes to block it in before refining. Work with a soft pencil or erasable colored pencil for your initial sketch so you can easily adjust proportions and symmetry as you go, ensuring her simple charm shines through in your final lines.
Conclusion
Drawing Hello Kitty is a fun and rewarding activity. By following these step-by-step instructions, you can easily create your very own Hello Kitty masterpiece. Remember to start with basic shapes, add the facial features, and then move on to the body and details. Don't forget to use the right materials and colors to enhance your drawing. Keep practicing, and soon you'll be able to draw Hello Kitty with ease. So go ahead, grab your pencils, and let your creativity shine!
Fun Facts About Hello Kitty
- Hello Kitty was created by the Japanese company Sanrio in 1974.
- Despite her name, Hello Kitty is not a cat but a little girl.
- Hello Kitty's full name is Kitty White.
- She was born in the suburbs of London, England.
- Hello Kitty has a twin sister named Mimmy.
- The character has appeared on over 50,000 different products worldwide.
- Hello Kitty does not have a mouth, which is meant to allow people to project their own feelings onto her.
- She became the ambassador for UNICEF in 1983.
- Hello Kitty has her own theme parks, including Sanrio Puroland.
Suggestions for Scenes and Settings for Hello Kitty Drawings
- Hello Kitty having a picnic under cherry blossom trees with her friends.
- Hello Kitty baking cupcakes in a cozy kitchen, wearing a cute apron.
- Hello Kitty exploring a magical forest filled with oversized flowers and friendly animals.
- Hello Kitty dressed as a ballerina, dancing on stage with sparkly lights.
- Hello Kitty at a birthday party, surrounded by balloons, presents, and a big cake.
- Hello Kitty at the beach, building a sandcastle and wearing sunglasses.
- Hello Kitty reading a book in a comfy armchair by a window on a rainy day.
- Hello Kitty going on an adventure in a hot air balloon, floating above the clouds.
- [Hello Kitty celebrating a festive holiday, like Halloween or Christmas](https://yonderoo.com/23-festive-christmas-drawing-ideas/), in a themed outfit.
- Hello Kitty painting at an easel in a sunny garden full of butterflies and flowers.