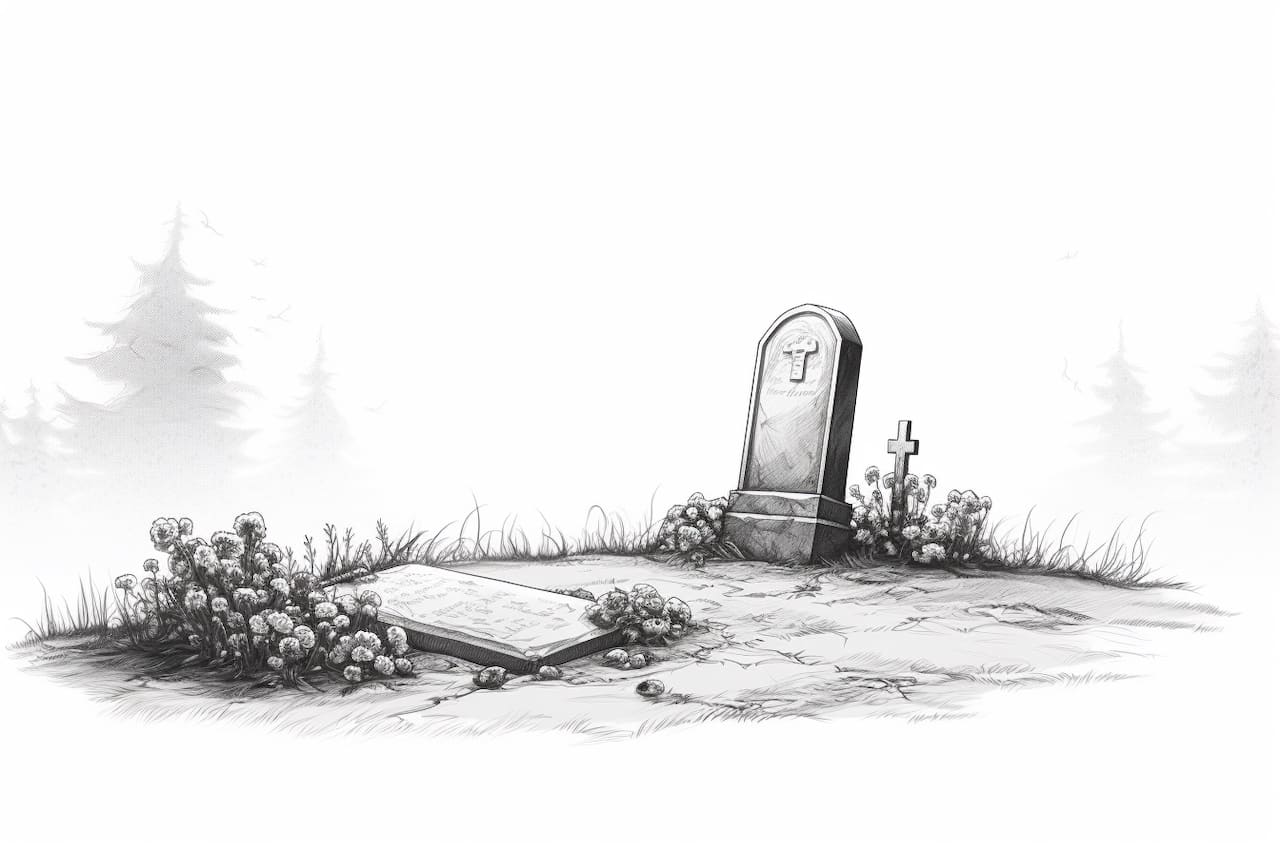
Are you interested in learning how to draw a grave? Drawing graves can be a powerful and symbolic art form, whether you’re creating a Halloween-themed illustration or exploring themes of mortality and remembrance. In this step-by-step guide, I will walk you through the process of drawing a grave in a clear, concise, and easy-to-follow manner. So grab your art supplies and let’s get started!
Materials Required
Before we begin, gather the following materials:
- Drawing paper or sketchbook
- Pencil
- Eraser
- Fine-tipped black pen or marker
- Ruler (optional)
- Colored pencils or markers (optional)
Having these materials at hand will ensure a smooth and enjoyable drawing process. Now that you’re prepared, let’s move on to the step-by-step instructions.
Step 1: Sketch the Basic Shape of the Grave
Start by lightly sketching the outline of the grave. Begin with a horizontal line to represent the ground, and then draw two vertical lines that intersect with the ground line to form the sides of the grave. You can make the sides parallel or slightly tapered, depending on your preference. Remember, the sketch doesn’t need to be perfect at this stage, as we will refine it later.
Step 2: Add Depth to the Grave
To add depth and dimension, draw two diagonal lines connecting the top corners of the side lines to the bottom corners of the side lines. These lines will create the illusion of the grave receding into the ground. Make sure the lines are parallel and evenly spaced.
Step 3: Outline the Shape of the Tombstone
Now it’s time to draw the shape of the tombstone. At the top of the grave, sketch a tall rectangle or a stone-like shape. You can make it pointed at the top or add curved edges for a more elaborate design. Experiment with different shapes to find the one that fits your envisioned grave.
Step 4: Refine the Tombstone Details
Next, let’s add some details to the tombstone. Draw two vertical lines down the middle of the tombstone to create a division between the left and right sides. Then, add decorative elements such as crosses, floral patterns, or engravings. Feel free to get creative and personalize the tombstone to tell a story or convey a specific message.
Step 5: Draw the Grave Surroundings
To complete the drawing, let’s add some details to the grave surroundings. Extend the ground lines beyond the sides of the grave to create a sense of the surrounding landscape. You can add grass, flowers, or even a small fence around the grave. These additional elements will enhance the overall composition and give the drawing more depth and context.
Step 6: Refine and Finalize Your Drawing
Take a moment to review your drawing and make any necessary adjustments or refinements. Erase any unnecessary lines, smoothen out curves, and darken the final lines using a fine-tipped black pen or marker. If you wish, you can also add shading or color using colored pencils or markers to bring your drawing to life.
Congratulations! You have successfully learned how to draw a grave. Remember, practice makes perfect, so don’t hesitate to try different variations and experiment with your own unique style.
Conclusion
In this step-by-step guide, we have explored how to draw a grave in a clear and concise manner. By following these instructions and using your artistic creativity, you can create a powerful and symbolic image that explores themes of mortality, remembrance, and more. So grab your art supplies, start sketching, and let your imagination run wild. Happy drawing!


