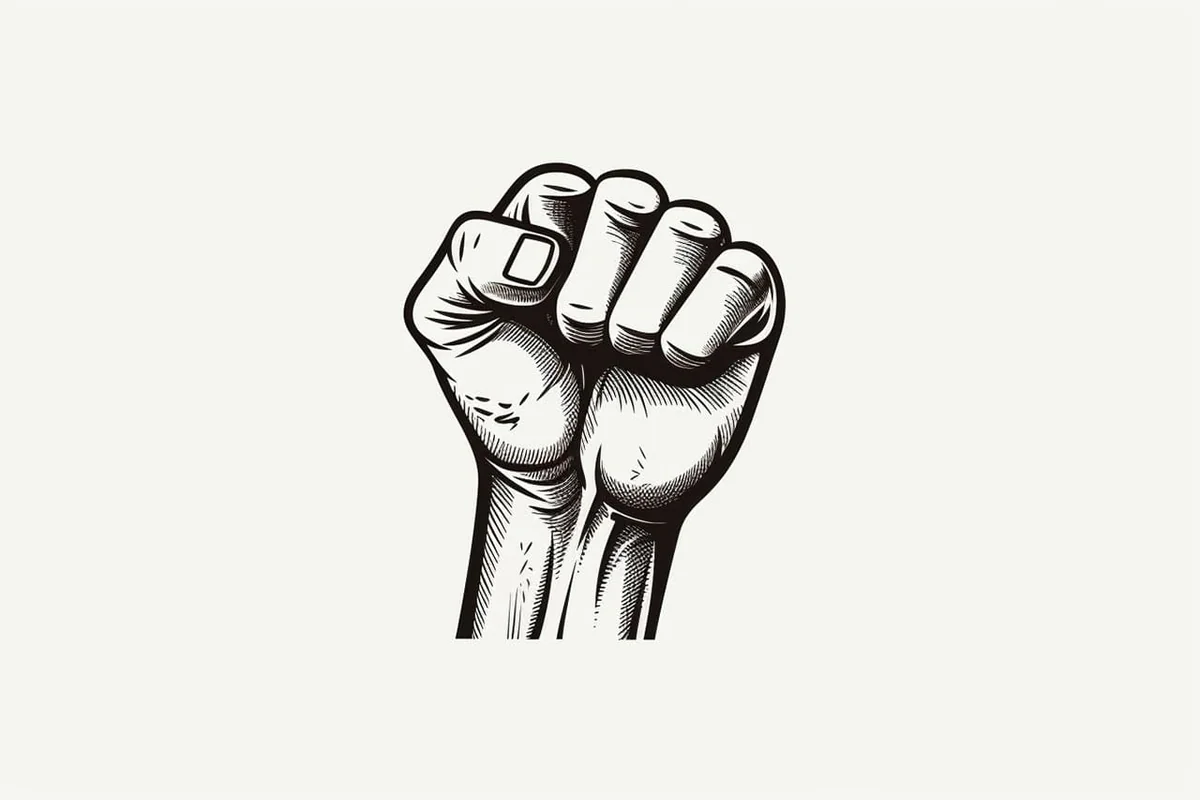
How to Draw a Fist
Learn how to draw with this step-by-step tutorial.
Materials You'll Need
- Drawing paper
- Pencil (HB or 2B)
- Eraser
Drawing a fist is more than just capturing a shape; it's a powerful expression of emotion, strength, and determination. Whether your goal is to illustrate action in a comic book, convey raw power in a portrait, or simply explore the intricacies of hand anatomy, understanding how to draw a fist can elevate your artistic abilities. In this step-by-step tutorial, we will guide you through how to draw a fist.
Each step in this tutorial is designed to build upon the previous one, helping you progress from a basic outline to a detailed representation of a fist. We will focus on the fundamental shapes, the anatomy of the hand, and the various techniques that bring your drawing to life. With patience and practice, you'll find that drawing a fist can be a fulfilling artistic endeavor that enhances your overall skills.
So grab your materials, clear your workspace, and get ready to unleash your creativity. Let's dive in and discover how to bring the power of a fist to paper!
Materials Required
-
Pencil
-
Eraser
Step 1: Draw the Basic Shape
Start by drawing the basic shape of the fist. Draw a large oval for the palm of the hand. Then, add a smaller oval at the top of the first oval for the knuckles. Make sure that the ovals are connected and form the shape of a closed fist.
Step 2: Add the Fingers
Next, draw the fingers of the fist. Start by sketching four elongated ovals at the top of the fist for the fingers. The thumb should be on one side of the fist and slightly bent. The other four fingers should be together and clenched tightly.
Step 3: Sketch the Details
Now, it's time to add the details to the fist drawing. Refine the shape of the fingers and add creases and folds to show the joints and the grip of the fist. Pay attention to the position of the thumb and how it wraps around the fingers.
Step 4: Draw the Nails
Next, add the nails to the fingers. Draw small, curved lines at the tips of the fingers to represent the nails. The nails should be short and rounded.
Step 5: Add Shading and Texture
To give your fist drawing depth and dimension, add shading to the different parts of the hand. Shade in the areas where shadows would naturally fall, such as between the fingers and under the knuckles. Add texture to the skin by using short, curved lines to show the contours of the hand.
Step 6: Final Touches
Take a step back and look at your drawing as a whole. Make any necessary adjustments and add any final touches that you feel are necessary to make your fist drawing realistic and impactful.
Mistake Alert: A common mistake when drawing a fist is neglecting the proportions and placement of the fingers, which can lead to a flat or unnatural appearance. This often happens because beginners may not fully understand how the fingers bend and overlap, resulting in awkward angles or an unrealistic silhouette.
To avoid this pitfall, take the time to study the anatomy of a fist, observing how the fingers curl inwards and how they relate to each other in space. Use reference images to guide the positioning, and don't hesitate to sketch lightly to make adjustments as you go. Remember, capturing the dynamic shape of a fist is all about practice and observation, so be patient and keep refining your work!
Fist Draw Battle
Two of our community artists compete to see who can draw the better fist. Who do you think won the battle? Let us know in the comments section below!
Diego Rivera (Charcoal Champion)
Diego Rivera, dubbed the Charcoal Champion, masters the dramatic interplay of light and dark through bold charcoal strokes. His powerful, expressive drawings capture raw emotion and striking contrasts that make every subject come alive with intensity.


Oliver Hart (Pencil Picasso)
Oliver Hart, better known as Pencil Picasso, transforms simple pencil strokes into captivating expressions of modern art. With a keen eye for detail and a passion for innovative design, his work reimagines traditional sketching into dynamic narratives that inspire and delight.

Conclusion
Congratulations! You have successfully drawn a powerful fist. With practice and understanding of the anatomy of the hand, you can create fist drawings that convey strength and emotion in your artwork. So, grab your pencil and explore the art of drawing fists with this step-by-step tutorial on "How to Draw a Fist."
Gallery of Fist Drawings


Fun Facts About Fists
-
The human fist is a complex structure consisting of 27 bones, 34 muscles, and numerous ligaments, allowing for precise movements and a powerful grip.
-
Fists are used universally in martial arts as both a defensive and offensive tool, with specific techniques across different styles.
-
In sign language, forming a fist can have many meanings, ranging from the letter "S" in American Sign Language to concepts like "show of strength."
-
Clenching fists is often an instinctive reaction to strong emotions such as anger, determination, or excitement.
-
A raised fist has become a symbol of solidarity and resistance globally, often used in protests and movements.
-
The action of making a fist and the details of its depiction can convey a wide array of emotions in artwork, from aggression to unity.
-
In boxing, wrapping hands and forming a proper fist is crucial to prevent injuries and enhance performance.
-
The Guinness World Record for the largest hand span is 12 inches, indicating a potentially massive fist when clenched.
-
Fists are depicted in various mythologies as symbols of power; for example, the hammer-wielding Norse god Thor often clutches his Mjölnir with a mighty fist.
-
Iconic pop culture references to fists include superhero moves, like the Hulk's signature ground pound or the Power Fist in 'Warhammer 40K'.
Suggestions for Scenes and Settings for Fist Drawings
-
Boxing Ring: Illustrate fists in action with a scene of boxers mid-fight, capturing the intensity and energy of a professional bout.
-
Revolution Rally: Depict a crowd of raised fists during a protest or rally, symbolizing unity and the fight for justice.
-
Martial Arts Dojo: Draw a scene of a martial artist practicing techniques, with fists poised in a show of discipline and focus.
-
Cityscape Mural: Create an urban artwork featuring a clenched fist as a central element on a city wall, highlighting street art's power and expression.
-
Mythological Battle: Illustrate a mythic scene with deities or heroes standing victorious with mighty fists, emphasizing themes of power and triumph.
-
Sports Arena: Show athletes from different sports celebrating victories with raised fists, capturing moments of achievement and exhilaration.
-
Nature's Fury: Draw a fist emerging from natural elements like storm clouds or erupting volcanoes, conveying the raw strength of nature.
-
Time of Peace: Design a peaceful protest scene where open hands transform into fists, representing the transition from peace to action.
-
Comic Book Frame: Illustrate a dynamic comic book panel with a superhero delivering a punch, showing energy bursts and speed lines for impact.
-
History in Motion: Create a historic scene featuring iconic figures renowned for activism, each with a pronounced fist representing their cause.
These suggestions are designed to inspire creativity and encourage the depiction of fists across various narratives and artistic styles.