Belts are a common accessory that can add a stylish touch to any outfit. Whether you’re drawing a belt for a fashion illustration or adding it to a character design, it’s important to capture its details accurately. In this step-by-step guide, I will walk you through the process of how to draw a belt with clear instructions and helpful tips. So grab your pencils and let’s get started!
Materials Required
Before we dive into the drawing process, gather the following materials:
- Paper: Choose a smooth, high-quality paper that can handle different drawing techniques.
- Pencils: You will need a range of graphite pencils, such as HB, 2B, and 4B, to achieve various shades and lines.
- Eraser: A kneaded eraser is recommended as it doesn’t leave behind residue and can be shaped to erase small details.
- Ruler: A straight-edge ruler will help you create straight and precise lines.
- Blending stump: This tool is useful for blending pencil lines and achieving smooth shading.
Now that you have all the necessary materials, let’s begin drawing our belt!
Step 1: Sketch the Belt Shape
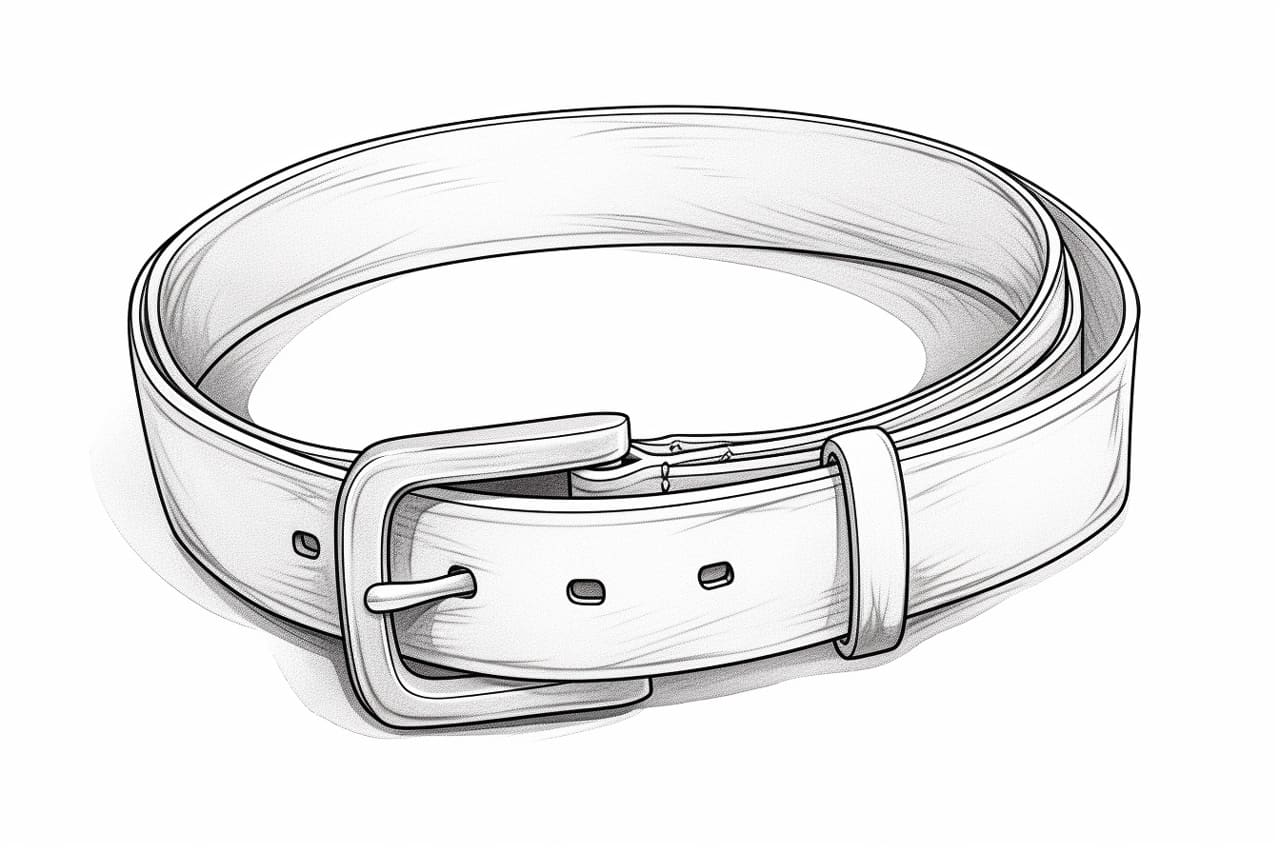
Start by lightly sketching the basic shape of the belt. Use a light pencil, like an HB, to create loose lines. Keep in mind that belts usually have a rectangular shape with rounded edges. Pay attention to the proportions and make sure the belt fits well around the waist or hips of your drawing.
Step 2: Add Buckle Details
Next, draw the buckle of the belt. Depending on the style you want to portray, buckles can range from simple to elaborate designs. Begin by sketching the basic shape of the buckle using straight and curved lines. Then, add any intricate details like patterns, engravings, or a logo. Take your time with this step, as the buckle is often the focal point of the belt.
Step 3: Define the Belt’s Texture
Belts are usually made of leather or fabric, so it’s important to capture the texture in your drawing. Start by using light, short strokes to shade the belt evenly. Gradually build up the shading by layering darker pencil strokes in areas where shadows would naturally fall. Pay attention to the highlights as well, as they add depth and realism to the belt.
Step 4: Create a Sense of Depth
To make your belt drawing appear three-dimensional, add shading and highlights to create depth. Use the side of your pencil lead to shade the belt, applying more pressure in areas that are farther away from the light source. Leave some areas lighter to indicate highlights and reflections. Additionally, use a blending stump to smooth out any harsh lines and create a seamless transition between light and shadow.
Step 5: Refine the Buckle
Now that you have shaded the belt, focus on refining the buckle. Use a darker pencil, such as 2B or 4B, to add more contrast and definition to the buckle’s details. Carefully darken the shaded areas and add additional lines or shading to enhance the buckle’s depth. Remember to blend and smudge as needed for a polished look.
Step 6: Add Belt Holes
Belts typically have a series of holes for adjustment. Draw these holes by creating small, evenly spaced circles or ovals along the length of the belt. Ensure that the size and spacing of the holes are consistent for a realistic appearance. You can lightly shade the holes to give them depth or leave them as clean circles for a cleaner, minimalistic look.
Step 7: Finalize the Details
Take a step back and assess your drawing as a whole. Check for any areas that need adjustment or refinement. Erase any unnecessary guidelines or stray pencil marks. Add any finishing touches, such as stitching details, texture variations, or additional shading to make your belt drawing stand out. Pay attention to every small detail to achieve a polished and professional result.
Conclusion
Drawing a belt may seem like a simple task, but paying attention to its shape, texture, and details is crucial for a realistic and appealing illustration. By following these step-by-step instructions and using the right materials, you can create a belt that enhances the overall look of your fashion designs or artwork. So, grab your drawing tools and start adding stylish belts to your creations today!

