Creating a rooftop garden is more than just an art project; it’s an opportunity to transform an urban space into a personal oasis. This serene slice of nature offers not only a visual escape from the hustle and bustle of the city but also a chance to connect with greenery and cultivate tranquility. Whether you’re a novice eager to learn or a seasoned artist looking to refine your skills, learning how to draw a rooftop garden presents an engaging challenge that invites you to unleash your creative potential.
In this step-by-step guide, I will walk you through the process of how to draw a rooftop garden on paper. We will explore a variety of techniques and materials perfect for artists at all levels. From sketching the basic structure to adding intricate details and vibrant colors, you’ll learn how to bring a peaceful sanctuary to life, one stroke at a time. So, gather your materials, and let’s embark on this artistic journey together!
Materials Required:
- Drawing paper
- Pencil
- Eraser
- Fine-tipped pens or markers
- Colored pencils or markers
- Ruler
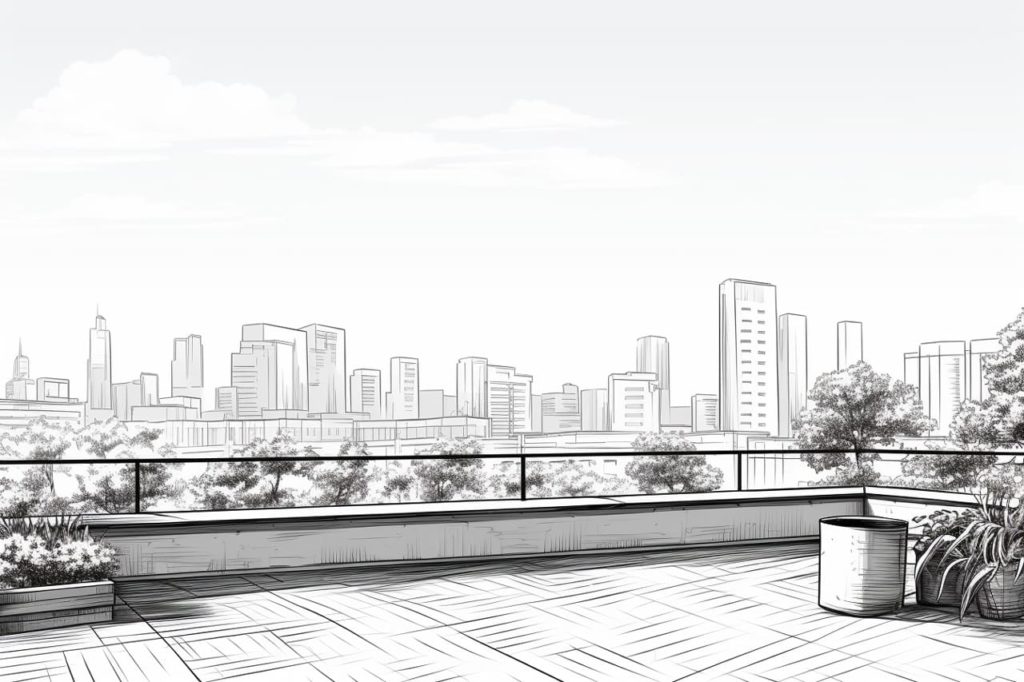
Step 1: Sketch the Rooftop Structure
Initiate your artistic journey by capturing the foundational structure of the rooftop. Gently sketch the perimeter, incorporating any architectural features such as walls, railings, or unique rooftop designs. This initial step is crucial for establishing the space where your garden will flourish. Keep your strokes light to allow for easy adjustments as your vision evolves, laying the groundwork for a dynamic rooftop scene.
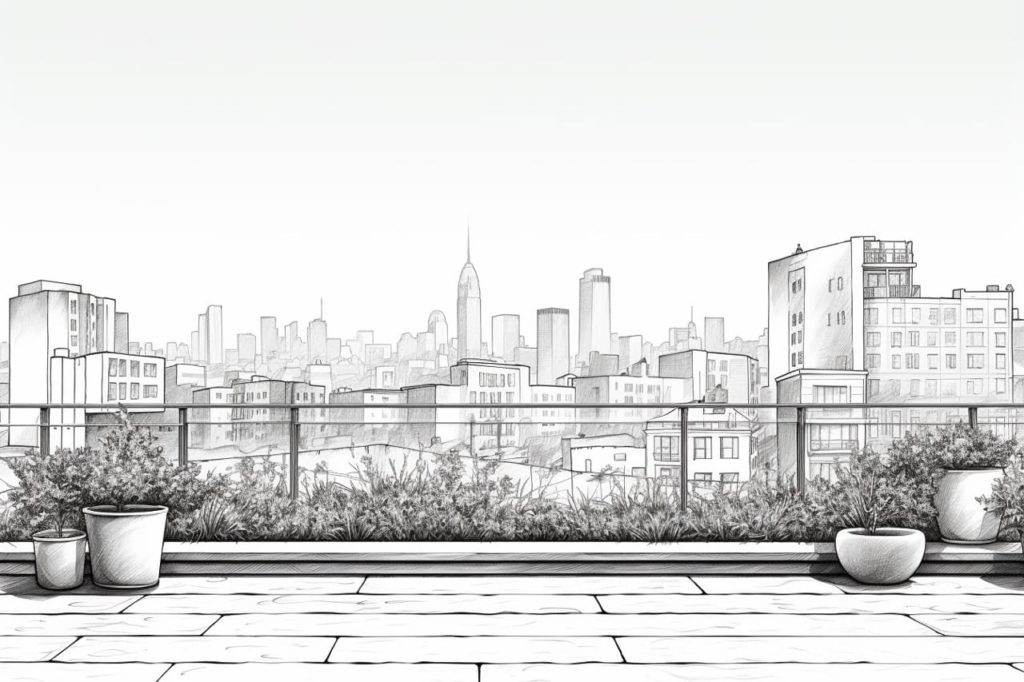
Step 2: Add the Garden Layout
With the rooftop structure in place, envision the layout of your garden oasis. Sketch the placement of key garden elements—mark out areas for lush flower beds, versatile planters, and majestic trees. Consider the incorporation of functional spaces, like a cozy seating area or a serene water feature, to add complexity and purpose to your garden layout. This step transforms the blank rooftop into a canvas for botanical creativity.
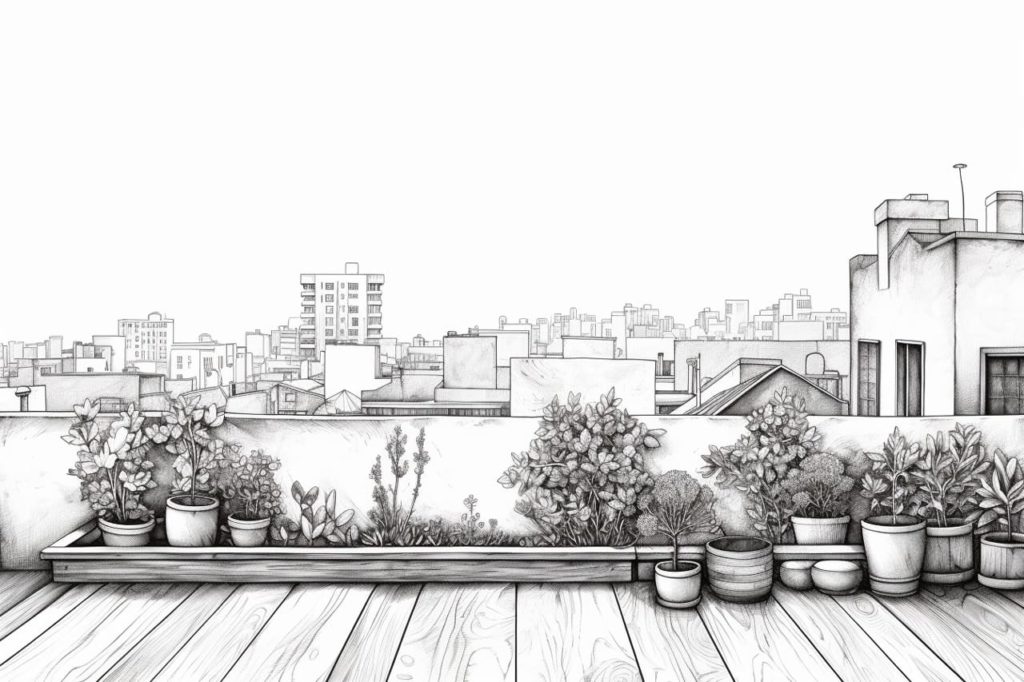
Step 3: Outline the Plants and Flowers
Shift focus to the botanical aspects of your garden using fine-tipped pens or markers to precisely outline each plant and flower. Detail the individual characteristics of foliage and blooms, paying attention to the variety in form and size that contributes to the garden’s diversity. This stage is where your garden begins to take on a life of its own, with each stroke adding to the lushness and vibrancy of the rooftop environment.
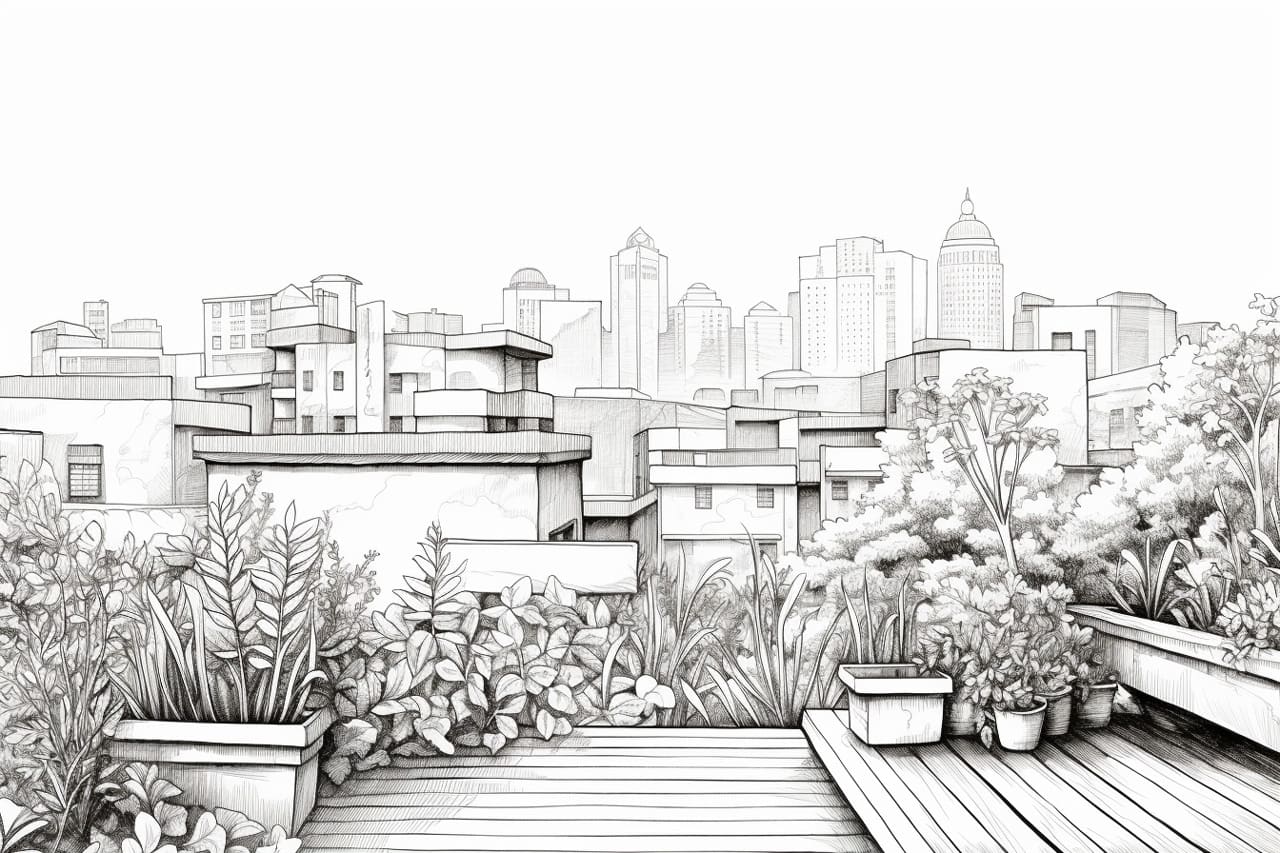
Step 4: Add Texture and Details
To infuse your drawing with realism and depth, meticulously add texture to the garden elements. Employ techniques such as hatching and cross-hatching to mimic the interplay of light and shadow among the plants, enhancing the three-dimensional feel. Incorporate finer details like the delicate tendrils of vines, the prickliness of thorns, or the intricacy of tiny flower petals, breathing life into your rooftop garden.
Step 5: Draw the Surrounding Buildings
Contextualize your rooftop garden within its urban environment by sketching in the surrounding buildings. These architectural elements not only frame your garden but also provide a sense of scale and perspective, contrasting the natural beauty of the garden with the urban backdrop. Use a ruler to maintain straight, proportional lines, ensuring that the cityscape harmoniously complements the garden’s tranquility.
Step 6: Add Color
The final flourish involves bringing your rooftop garden to vivid life through color. Select colored pencils, markers, or watercolors to fill in the garden, paying special attention to the palette. A mix of greens for foliage, bright hues for flowers, and subtle earth tones for wood and stone elements can create a visually harmonious garden. The application of color is where your rooftop transforms from a sketch into a vibrant, inviting space that beckons viewers to imagine themselves amidst its beauty.
Step 7: Final Touches
Once you have added color, go back and make any final adjustments to your rooftop garden drawing. Add any additional details or highlights to enhance the overall composition. Take a step back and admire your completed artwork.
Conclusion
In conclusion, drawing a rooftop garden can be a rewarding and creative experience. By following these step-by-step instructions, you can create a tranquil oasis in the heart of the city on paper. Embrace your artistic vision and enjoy the process of bringing a rooftop garden scene to life through your artwork.
Gallery of Rooftop Garden Drawings