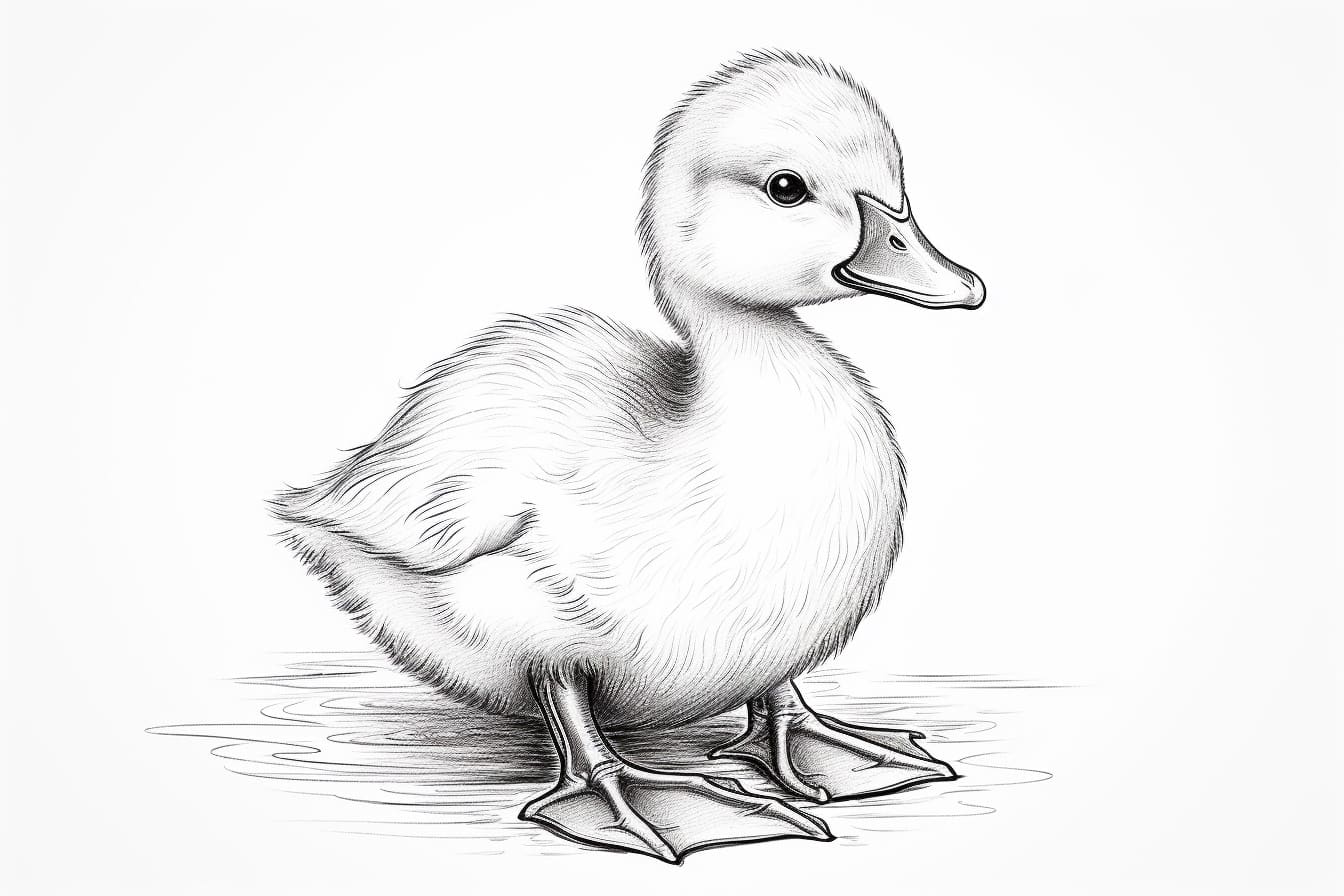
Are you ready to dive into a fun and creative adventure by learning how to draw a baby duck? These fluffy, waddling bundles of cuteness are the perfect subject for artists of all skill levels. Drawing animals can be a rewarding way to express your artistic talent while capturing the charm and playfulness of the natural world.
In this step-by-step guide, we’ll walk you through the entire process of how to draw a baby duck—from its round, downy body to its tiny webbed feet and curious expression. Along the way, you’ll learn essential techniques for shaping, outlining, and adding life-like details. Whether you’re creating a fun project for yourself, crafting a unique greeting card, or decorating a nature-themed art piece, this guide will help you quack up your creative skills!
So, grab your pencils, markers, or favorite art tools, settle into a cozy spot, and get ready to bring an adorable baby duck to life on paper. Let’s waddle right in! 🦆✨
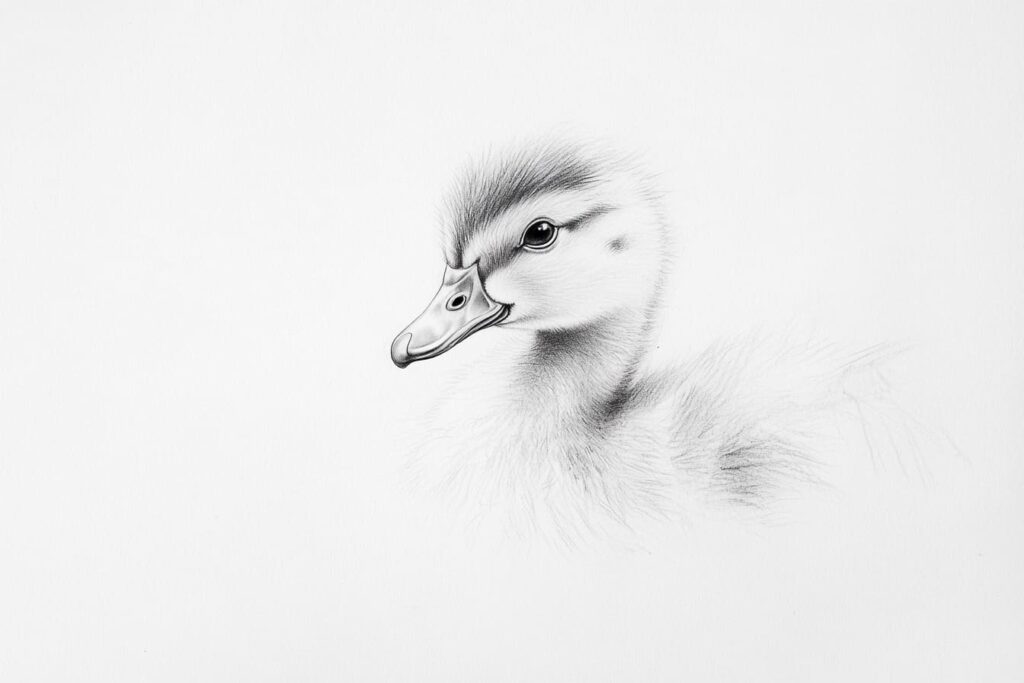
Gallery of Baby Duck Drawings
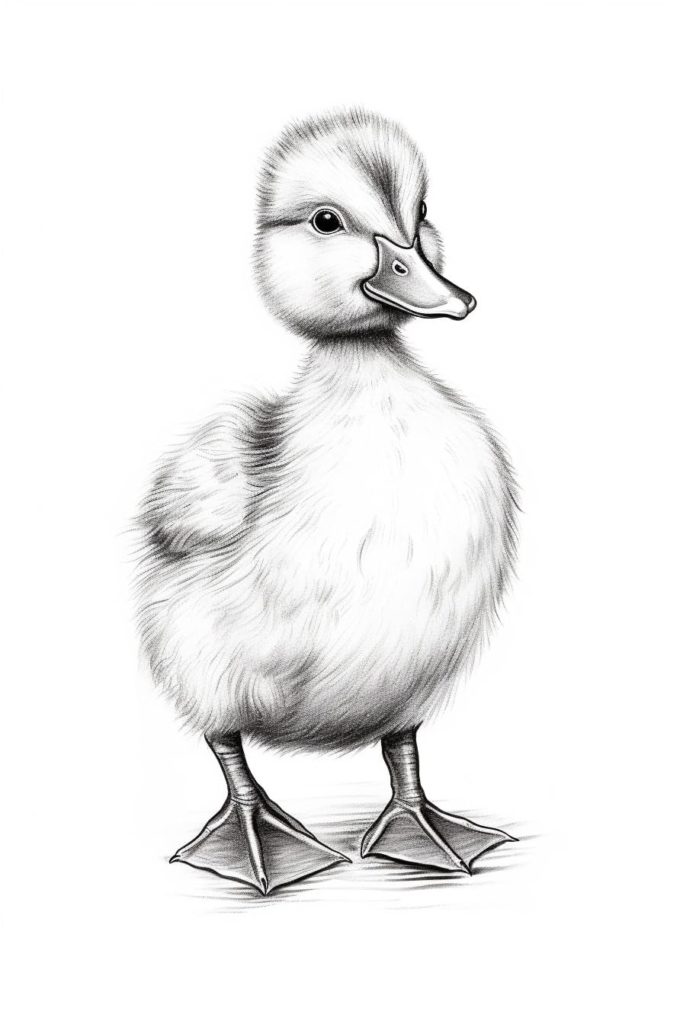
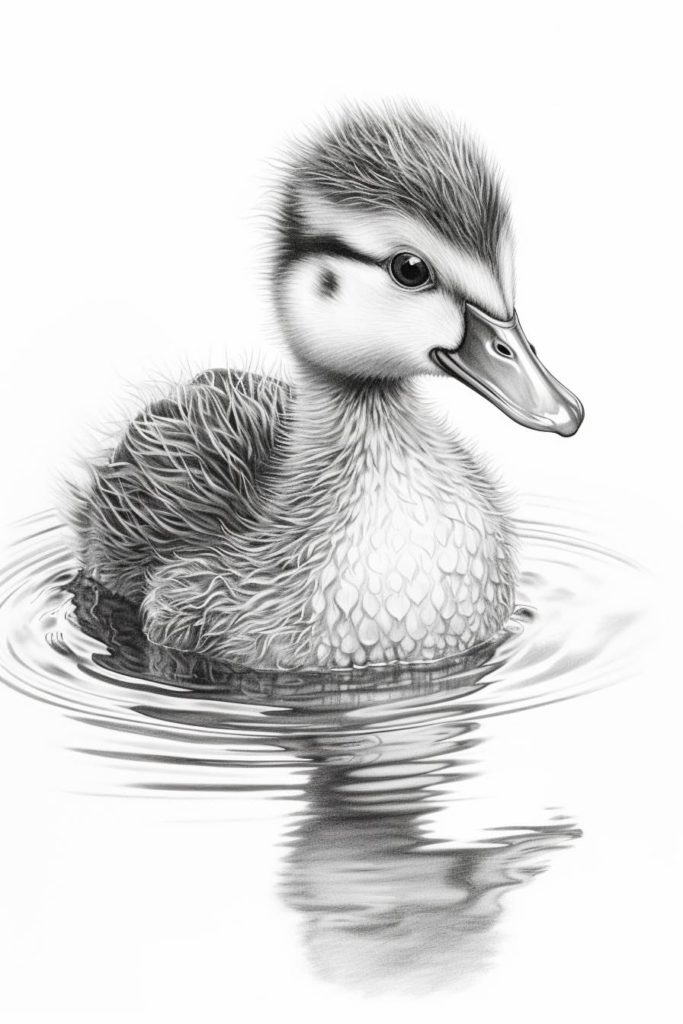
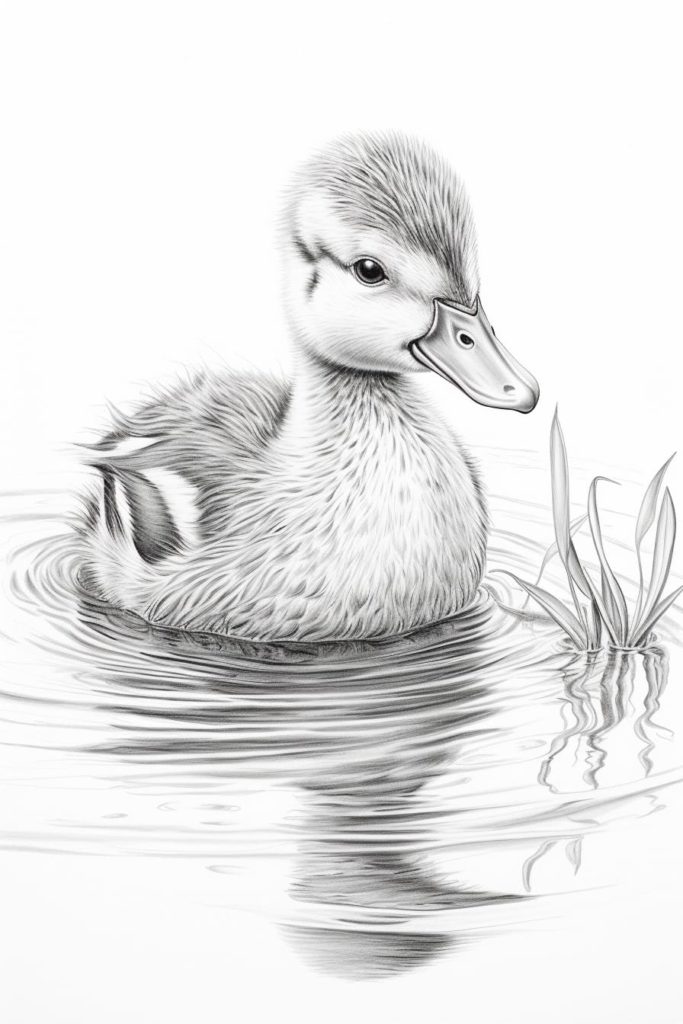
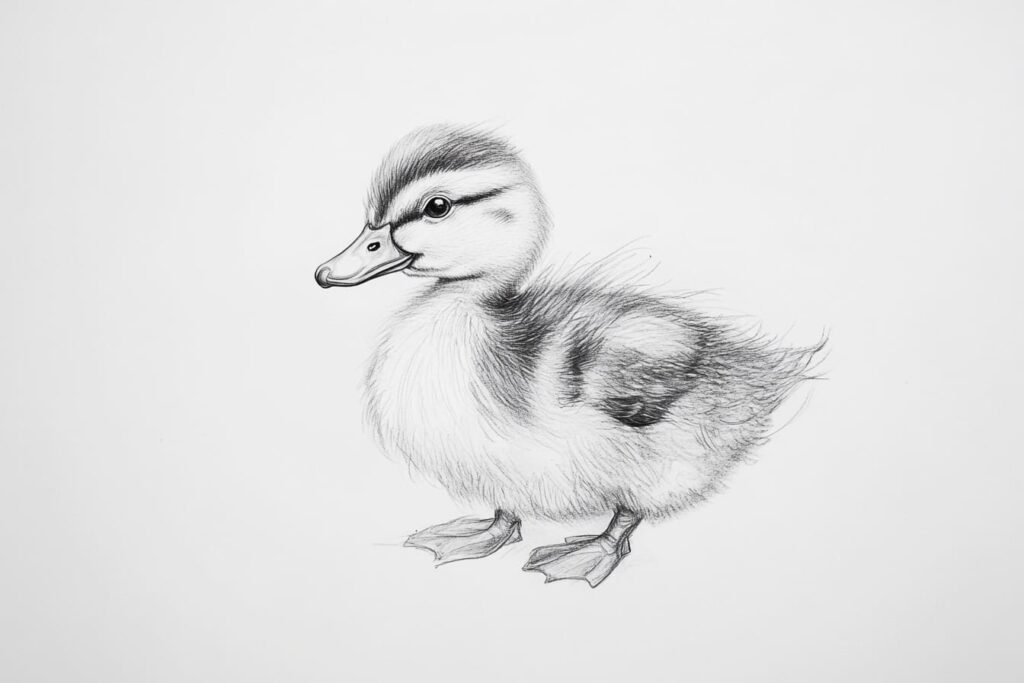
Materials Required:
- Drawing paper or sketchbook
- Pencil (preferably an HB or 2B)
- Eraser
- Fine-tip black marker or pen
- Colored pencils or markers (optional)
Now that we have our materials ready, let’s dive into the step-by-step process of drawing a baby duck.
How to Draw a Baby Duck: Feathered Fun in 9 Simple Steps
Step 1: Hatch the Basic Shape
Start by lightly sketching an oval in the center of your paper. This will be the baby duck’s fluffy, round body. Don’t stress about perfection—just keep your lines light and soft so you can easily adjust them later. Think of this as the egg from which your adorable duckling will hatch!
Step 2: Add the Head and Beak
Near the top of the body, draw a slightly smaller oval for the head. Connect it to the body with a curved line to create a natural-looking neck. Next, add a small, rounded triangle pointing outward from the head for the beak. Tilt it slightly upward for that irresistibly cute, curious expression.
Step 3: Brighten Things Up with the Eyes
Time to bring some personality to your baby duck! Draw two small ovals above the beak, spacing them evenly. Inside each oval, add a tiny circle to serve as the highlight—this will give your duckling a bright, lively gaze. Color in the rest of the eyes, leaving the highlights white. Instant cuteness unlocked!
Step 4: Shape the Body and Wings
Using the original oval as your guide, refine the outline of the duck’s body. Soften the curves and add a slight upward tilt to the back for a bit of bounce. Then, sketch two small, curved wing shapes on either side of the body. Keep them rounded and slightly tucked in to give your duck that cozy, fluffy look.
Step 5: Feather the Tail and Webbed Feet
At the back of the body, draw a small, curved line pointing upward to form the duck’s petite tail. For the feet, draw two slightly overlapping triangles at the base of the body. Make the edges slightly rounded for the classic webbed-foot look. Position the feet slightly outward to create a waddling-ready pose.
Step 6: Clean Up & Perfect the Lines
Now that the basic shapes are in place, take a moment to refine your sketch. Smooth out the curves, adjust any proportions, and erase unnecessary lines. This is your chance to make your baby duck as plump and perfect as you’d like!
Step 7: Outline with Ink (Optional)
Grab a fine-tip black pen or marker and carefully trace over your pencil lines. This will give your drawing a polished, professional look. Take your time—steady, confident lines will make your duckling pop. Let the ink dry completely before erasing any remaining pencil marks.
Step 8: Add Feathery Details
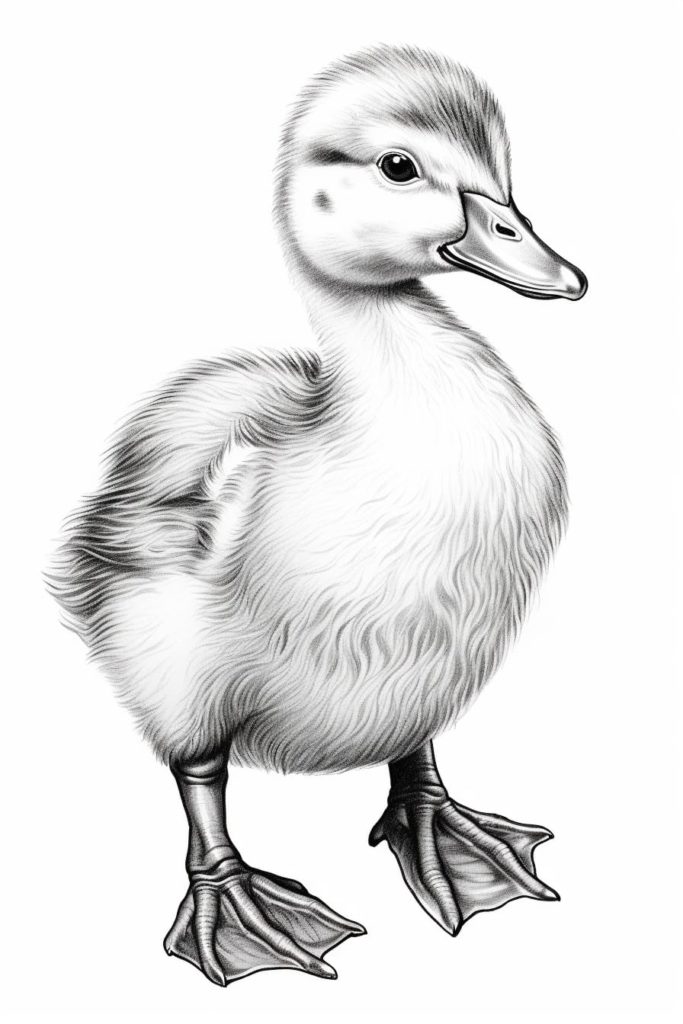
Now for the fun part—add some fluffy texture! Use short, soft lines along the wings, tail, and body to create the look of downy feathers. Draw a small curved line across the top of the beak to form the nostrils, and add a few extra feather tufts on the head for extra charm.
Step 9: Quack Up the Color!
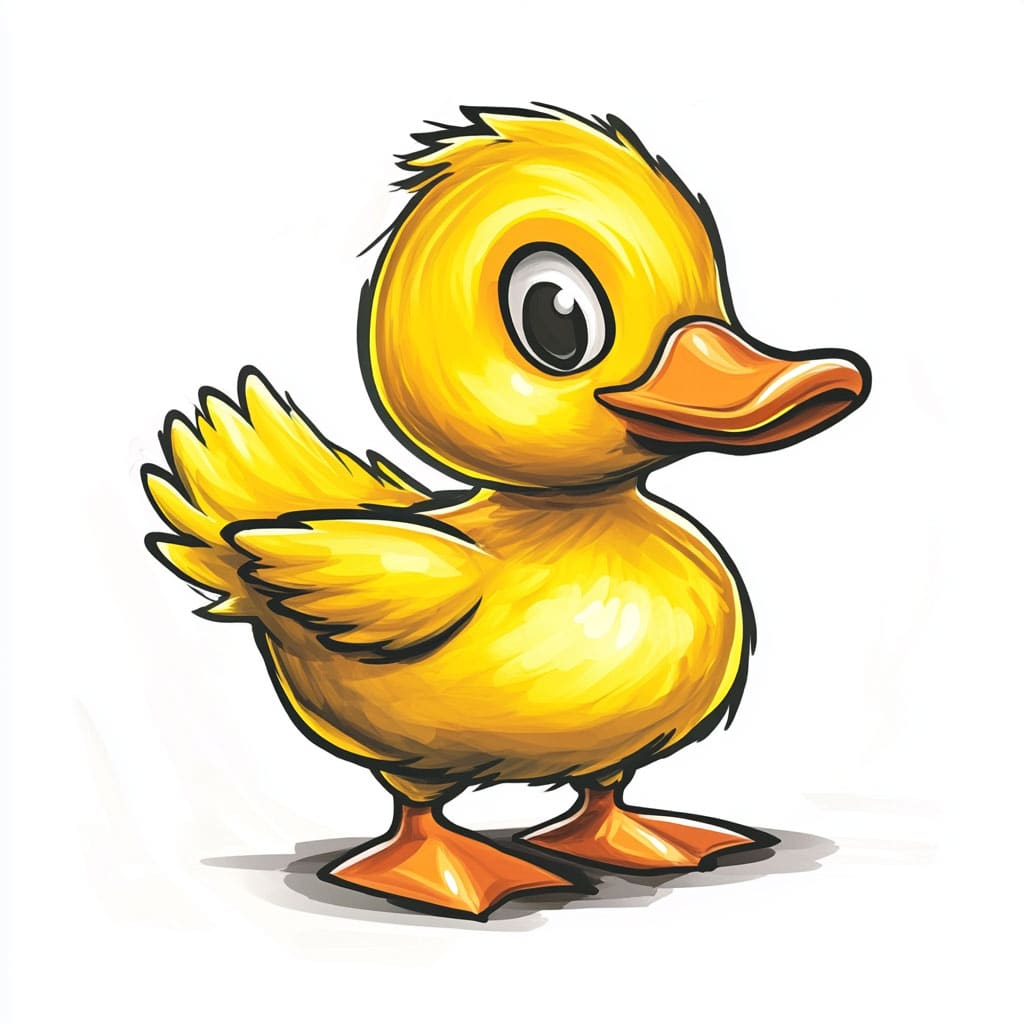
Time to bring your baby duck to life with color! Baby ducks are usually soft yellow, so grab your colored pencils, markers, or paints. Blend light and dark shades of yellow for depth, adding a touch of orange for the beak and feet. Consider shading the wings and tail with a light brown or tan for extra realism. A soft blue or green background can make your duck look right at home near a sparkling pond.
Your baby duck is officially ready to waddle into your artistic collection! Great work—keep practicing and watch your skills take flight! 🦆✨
Conclusion
Congratulations on completing your drawing of a baby duck! Drawing animals allows us to appreciate the beauty of nature and express our imagination. By following these step-by-step instructions, you have learned how to draw a charming baby duck with its distinctive features. Remember, practice makes perfect, so keep exploring and experimenting with your artistic skills. Happy drawing!

