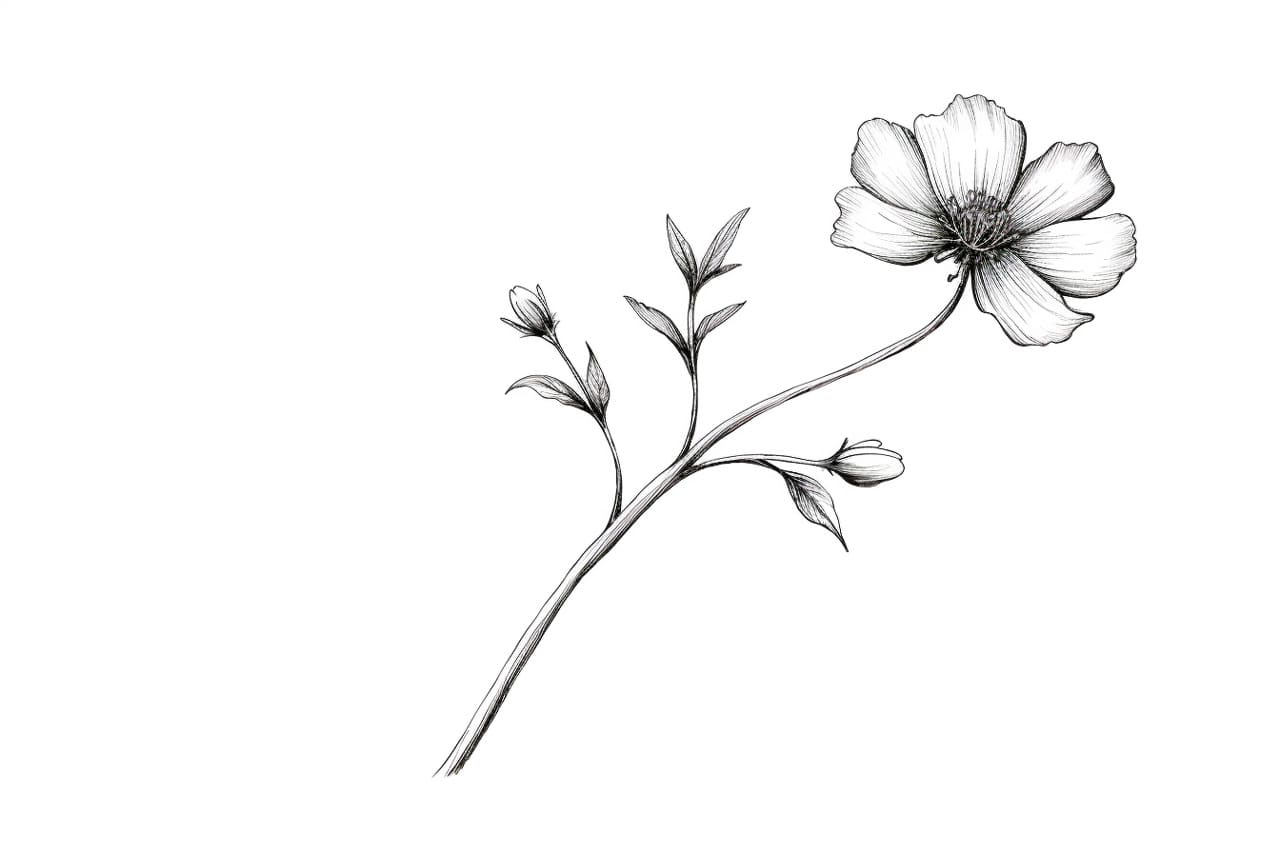
Are you ready to immerse yourself in the delightful world of drawing? If you’ve ever admired a beautiful bouquet or a single stunning flower, you may have been captivated by the elegance of its stem. While drawing a flower stem can appear daunting at first, fear not! With a little guidance and a few straightforward steps, you can master the art of creating stunning floral stems that will elevate your entire drawing.
In this article, we will take you through a detailed, step-by-step process to help you draw a flower stem that looks both realistic and captivating. Whether you’re a beginner or someone looking to refine your skills, this guide is designed to inspire confidence in your artistic abilities. So, gather your drawing supplies, get comfortable, and let’s embark on this creative journey together!
To ensure you have an enjoyable experience, we will outline the materials you’ll need to get started. Having the right tools at hand can make a significant difference in your drawing process. Once you’re equipped, we’ll dive right into the techniques that will transform your artistic vision into a charming work of art. Let’s get started!
Materials Required
Before we begin, make sure you have the following materials ready:
- Pencil: Select a pencil with medium hardness, such as an HB or 2B, for drawing the stem.
- Paper: Choose a smooth and sturdy paper that can withstand erasing and shading.
- Eraser: Use a kneaded eraser or any soft eraser for correcting mistakes and adjusting the shading.
Now that you have your materials ready, let’s begin the process of drawing a flower stem.
Step 1: Start with a Vertical Line
To begin, draw a straight vertical line on your paper. This line will serve as the main structure of the stem. Make sure the line is straight and extends from the bottom to the top of your paper.
Step 2: Add Curves to the Stem
Next, add gentle curves to the vertical line to give your stem a natural and organic shape. Imagine the stem bending slightly in different directions. These curves will add depth and interest to your drawing.
Step 3: Create a Bulge for the Leaf Attachment
At the top of the stem, create a small bulge using a gentle curve. This bulge will represent the point where the leaf is attached to the stem. Pay attention to the size and proportion of the bulge, as it should be in harmony with the rest of your drawing.
Step 4: Add Details to the Stem
Now it’s time to add some details to your stem. Start by drawing small lines along the length of the stem to represent texture and ridges. These lines should follow the curves of the stem and give it a more realistic appearance. Don’t worry about making the lines too perfect – slight variations will add character to your drawing.
Step 5: Shade the Stem
To create depth and dimension, shade the stem using your pencil. Start by darkening the areas where the stem curves or overlaps itself, as these areas would naturally be in shadow. Gradually lighten your pencil pressure as you move towards the lighter areas of the stem. Use gentle and even strokes to achieve a smooth shading effect.
Step 6: Add Highlights
To make your stem look even more realistic, add highlights using an eraser. Identify the areas where light hits the stem, such as the top and the edges, and gently erase small patches of graphite. This will create a contrast between the shaded and highlighted areas, making your stem appear three-dimensional.
Conclusion
Congratulations! You have successfully learned how to draw a flower stem. By following these simple steps and using your creativity, you can now incorporate beautiful stems into your flower drawings. Remember to practice regularly to improve your skills. Happy drawing!
Related posts:
 How to Draw a Lotus Flower in 10 Easy Steps
 How to Draw a Flower in 5 Easy Steps
 How to Draw a Flower Petal in 6 Simple Steps
 How to Draw a Beautiful Flower in 9 Steps
 How to Draw a Peony Flower in 8 Easy Steps
 How to Draw a Cute Flower in 6 Simple Steps
 How to Draw a Dogwood Flower
 How to Draw a Carnation Flower
 Flower Power