Are you ready to unleash your creativity and try your hand at drawing? In this step-by-step tutorial, we will guide you through the process of how to draw a beer mug. This project is perfect for artists of all skill levels, from those just starting their artistic journey to seasoned doodlers looking for a fun challenge. So grab your drawing materials and prepare to have a great time!
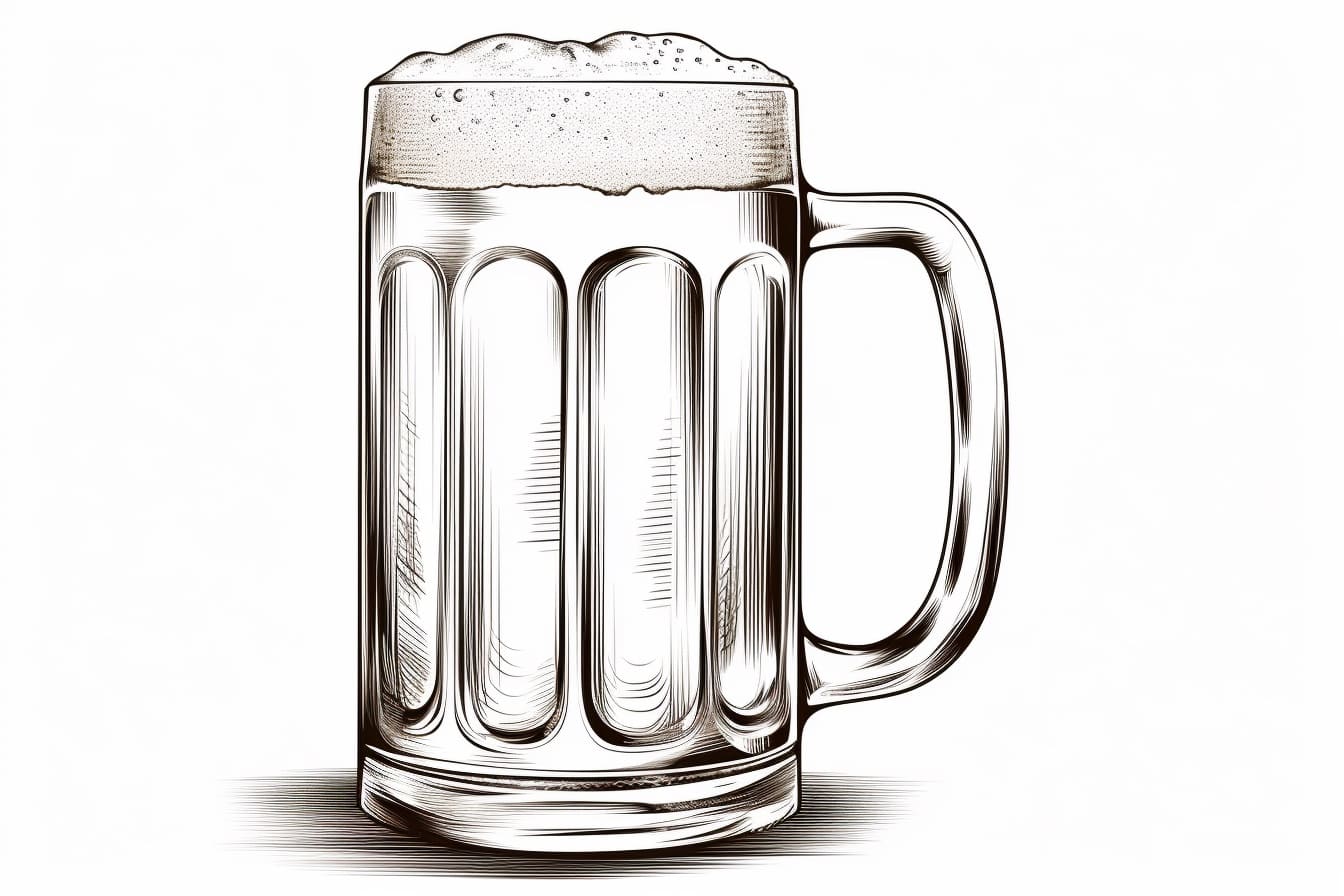
Drawing can be a wonderfully rewarding experience, allowing you to express your ideas and emotions on paper. Today, we’ll focus on a charming and recognizable subject: the humble beer mug. With its sturdy handle, inviting curves, and the frothy foam that spills over the top, a beer mug is not only visually appealing but also an excellent subject to practice your drawing skills.
Whether you envision this beer mug as part of a lively pub scene or as a standalone piece brimming with character, our comprehensive guide will help you recreate a realistic and attractive depiction. So let’s get those pencils sharpened and our creativity flowing—it’s time to dive into the art of drawing a beer mug!
Materials Required
Before we begin, let’s gather the materials you’ll need:
- Drawing paper or sketchbook
- Pencil (HB or 2B)
- Eraser
- Ruler
- Fine-tip black pen or marker (optional, for inking)
Now that we have everything we need, let’s dive into the steps!
Step 1: Draw the Outline of the Mug
Start by lightly sketching a vertical oval shape in the center of your paper. This will be the outline of our beer mug. Take your time and make sure the oval is symmetrical and proportionate. You can use a ruler to help you draw straight lines if needed.
Step 2: Add the Handle
Next, we’ll add a handle to our beer mug. Draw a curved line starting from the top of the oval, extending outwards and curving back towards the bottom of the mug. Make sure the handle is thick enough to provide a comfortable grip. Connect the ends of the handle with the oval to complete the shape.
Step 3: Define the Rim of the Mug
Now, let’s define the rim of the mug. Draw a slightly curved line following the shape of the oval at the top. This line should be thicker than the outline of the mug to represent the thickness of the rim.
Step 4: Add Details to the Handle
To make the handle more realistic, add some details. Draw two small curved lines connecting the handle to the mug at the top and bottom. These lines will give the handle a more three-dimensional appearance.
Step 5: Create the Base
Moving on to the base of the beer mug, draw a horizontal line at the bottom of the oval. This line should be parallel to the top rim and slightly curved to match the shape of the mug.
Step 6: Draw the Beer Foam
Now, it’s time to add some foam to our beer mug. Starting from the rim, draw a series of small curved lines extending upwards. These lines should be irregular and overlap each other to create a foamy texture. Continue this pattern until you reach the desired amount of foam.
Step 7: Add Shadows and Highlights
To give our beer mug more depth and dimension, let’s add shadows and highlights. Identify the light source in your drawing, then shade the areas opposite to the light to create shadows. Use hatching or cross-hatching techniques to add texture to the shaded areas. Add highlights by leaving some areas untouched or lightly shading them to mimic reflections.
Step 8: Ink or Darken Your Drawing (Optional)
If you want to give your drawing a more defined and finished look, you can ink or darken the lines using a fine-tip black pen or marker. Make sure your pencil lines are completely dry before you start inking to avoid smudging. Be confident and trace over the main lines, adding weight and variation to create depth.
Conclusion
Congratulations! You have successfully drawn a beer mug. By following these step-by-step instructions, you learned how to create a realistic and detailed beer mug drawing. Remember to practice and have fun with your drawings. Cheers to your newfound artistic skills!
Related posts:
 How to Draw a Paint Brush
 How to Draw a Plant Pot in 8 Easy Steps
 How to Draw Christmas Cookies in 8 Delicious Steps
 How to Draw a Cowboy Hat in 7 Simple Steps
 How to Draw a Beach Chair in 9 Easy Steps
 How to Draw a Sponge in 6 Steps
 How to Draw a Crown in 6 Simple Steps
 How to Draw an Axe in 9 Simple Steps