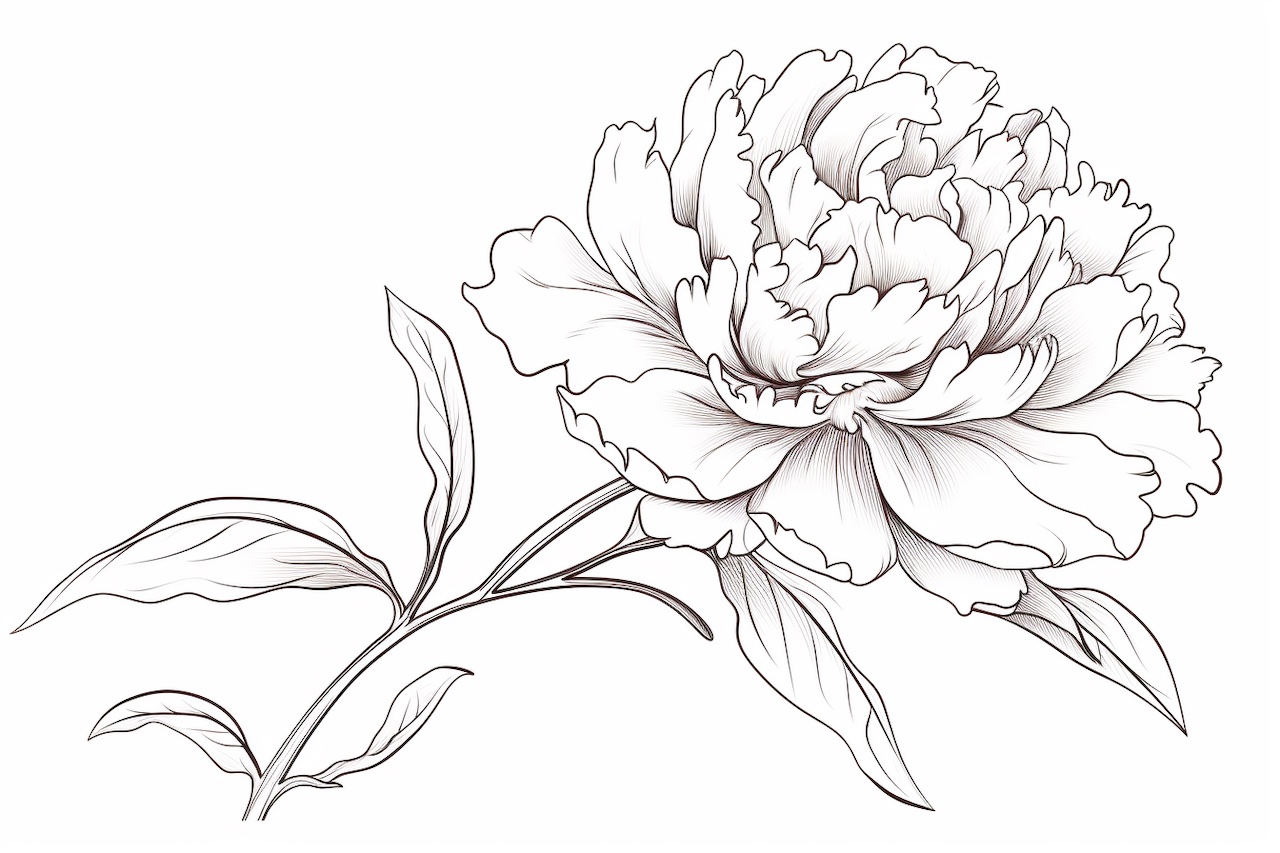
Peony flowers, with their lush, layered petals and timeless charm, are a favorite subject for artists seeking to capture nature’s beauty. Known for their delicate yet bold appearance, peonies symbolize romance, prosperity, and elegance, making them a stunning addition to any artwork.
Whether you’re a beginner taking your first steps into floral art or an experienced artist refining your skills, this step-by-step guide will help you create a breathtaking peony drawing. From its intricate petal layers to its flowing leaves, you’ll learn how to bring this beloved flower to life on paper with clarity and ease.
So grab your drawing materials, find a comfortable spot, and let’s embark on a creative journey to capture the beauty and grace of the peony flower! 


Learn How to Draw Flowers Step-by-Step
This simple and straightforward guide teaches you how to draw many different kinds of flowers with step-by-step instructions. It’s perfect both for total beginners and experienced artists who want to expand their skills.
Materials Required
Before we dive into the process of drawing a peony flower, let’s gather the materials you will need. Here’s a list of things you should have:
- Drawing paper
- Pencil
- Eraser
- Fine-tip black pen or marker
- Colored pencils or markers (optional)
Now that we have everything we need, let’s get started on creating your peony flower drawing!
Step 1: Sketch the Basic Shape
Begin by lightly sketching a circle for the center of the peony flower. This will serve as a guide for the placement of the petals. Then, draw a slightly larger oval shape around the circle as the outer boundary of the flower. Keep the lines light and loose, as these are just guidelines for the initial shape.
Step 2: Add Petal Guidelines
Next, draw a smaller circle inside the larger circle to represent the stamen of the flower. This will help you place the petals correctly. Then, lightly sketch curved lines around the outer oval shape to serve as guidelines for the petals. Remember that peony flowers have multiple layers of petals, so make sure to leave enough space between the guidelines for the different layers.
Step 3: Define the Petals
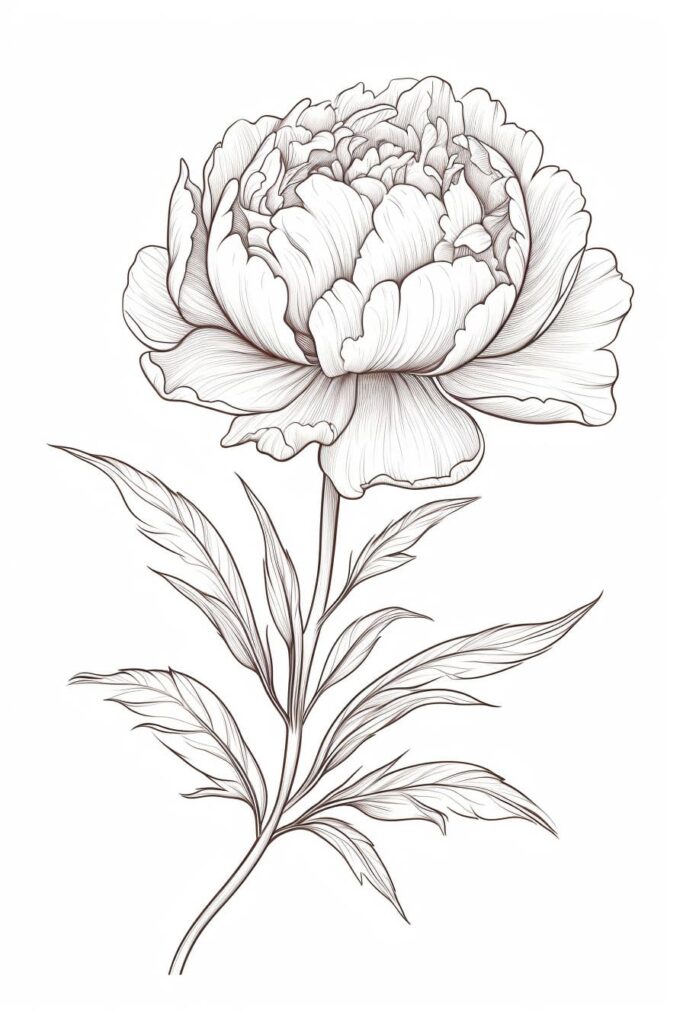
Using the guidelines as a reference, start drawing the petals of the peony flower. Begin with the innermost layer and work your way outward. Peony petals are typically rounded and curved, so make sure to give them a soft and flowing shape. Add details such as the veins on the petals to make them look more realistic. Keep the lines light at this stage, as they can be adjusted later.
Step 4: Refine the Petals
Once you have drawn the basic shape of the petals, go back and refine them by adding more curves and shaping each petal individually. Pay attention to the overlap of petals, as this will add depth and dimension to your drawing. Use your eraser to remove any unwanted guidelines or stray lines. Take your time with this step, as the details will greatly enhance the overall appearance of your peony flower.
Step 5: Add the Center Details
Now it’s time to add the details to the center of the peony flower. Start by drawing small lines radiating from the stamen circle to represent the filaments. Then, draw small circular shapes on top of the filaments to represent the anthers. Add some shading to give the center a three-dimensional look. Take note of the reference image or a real peony flower to capture the intricate details accurately.
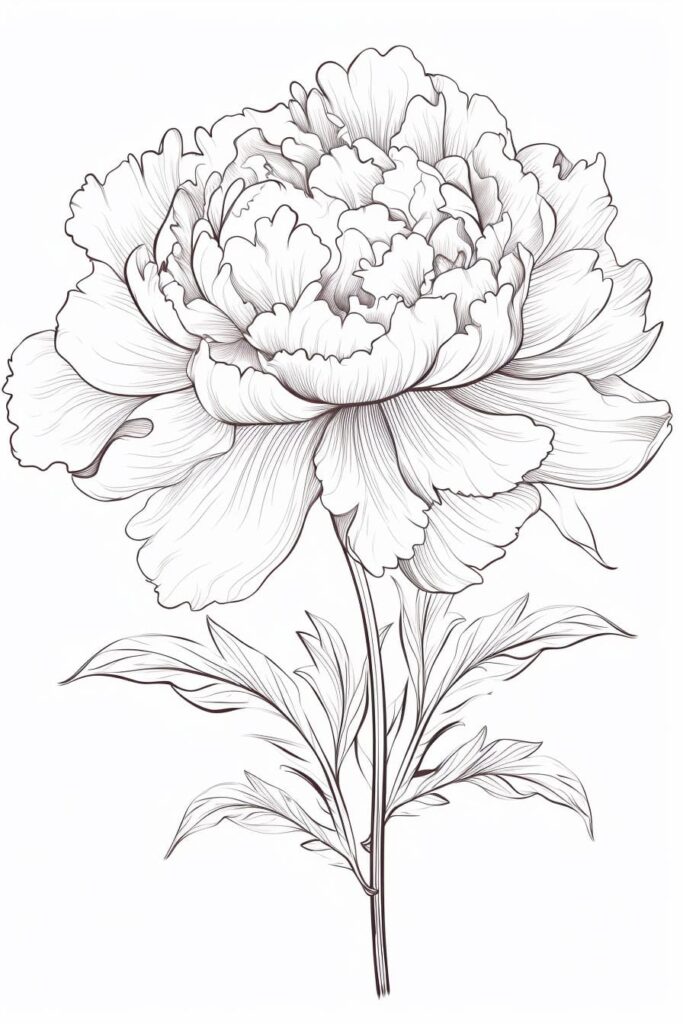
Step 6: Refine the Overall Shape
Take a step back and look at your drawing as a whole. Make any necessary adjustments to the overall shape of the flower to ensure that it matches your reference image or desired outcome. Remember that every peony flower is unique, so don’t be afraid to make changes as you see fit. Use your eraser to clean up any smudges or unwanted lines.
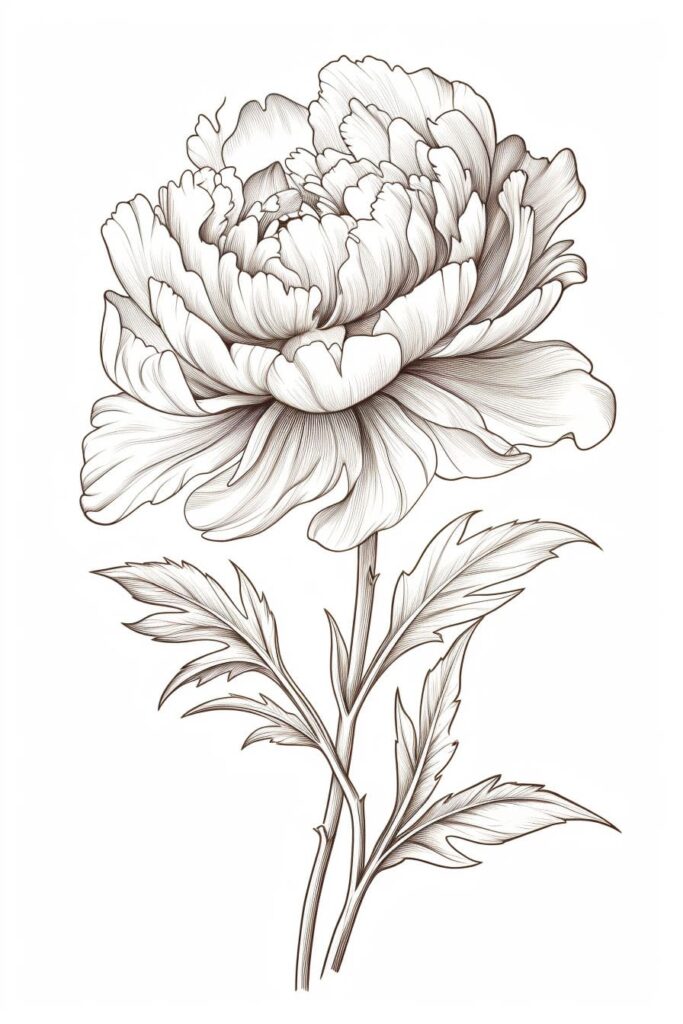
Step 7: Ink the Drawing
Once you are satisfied with the pencil drawing, go over it with a fine-tip black pen or marker to create a clean and finished look. Start by outlining the main shapes, such as the petals and center details. Then, add more delicate lines and details to enhance the overall appearance of the peony flower. Take your time and work slowly to prevent any mistakes.
Step 8: Color the Drawing (Optional)
If you prefer a colored drawing, this step is for you. Use colored pencils or markers to add vibrant hues to your peony flower drawing. Start by choosing the main color for the petals and carefully fill them in, leaving some white space for highlights. Then, add different shades and tones to create depth and dimension. Experiment with blending techniques to achieve a realistic look. Feel free to get creative and add your personal touch to the colors.
Conclusion
Congratulations! You have successfully learned how to draw a peony flower step by step. By following these instructions and using your creativity, you can create stunning peony flower drawings that showcase the elegance and beauty of this beloved flower. Remember to practice regularly to improve your skills and experiment with different techniques. With time and dedication, your peony flower drawings will become even more incredible.
Related posts:
 How to Draw a Flower Petal in 6 Simple Steps
 How to Draw a Beautiful Flower in 9 Steps
 How to Draw a Lotus Flower in 10 Easy Steps
 How to Draw a Dogwood Flower
 How to Draw a Cute Flower in 6 Simple Steps
 How to Draw a Flower in 5 Easy Steps
 8 Steps for How to Draw an Iris Flower
 How to Draw a Flower Field in 10 Easy Steps
 Flower Power