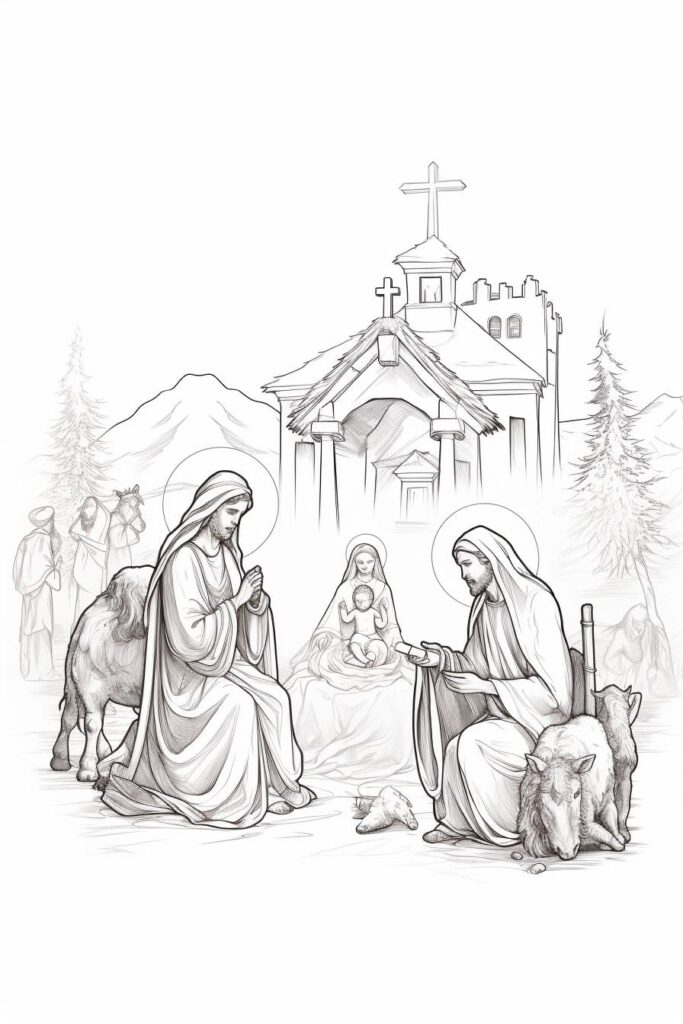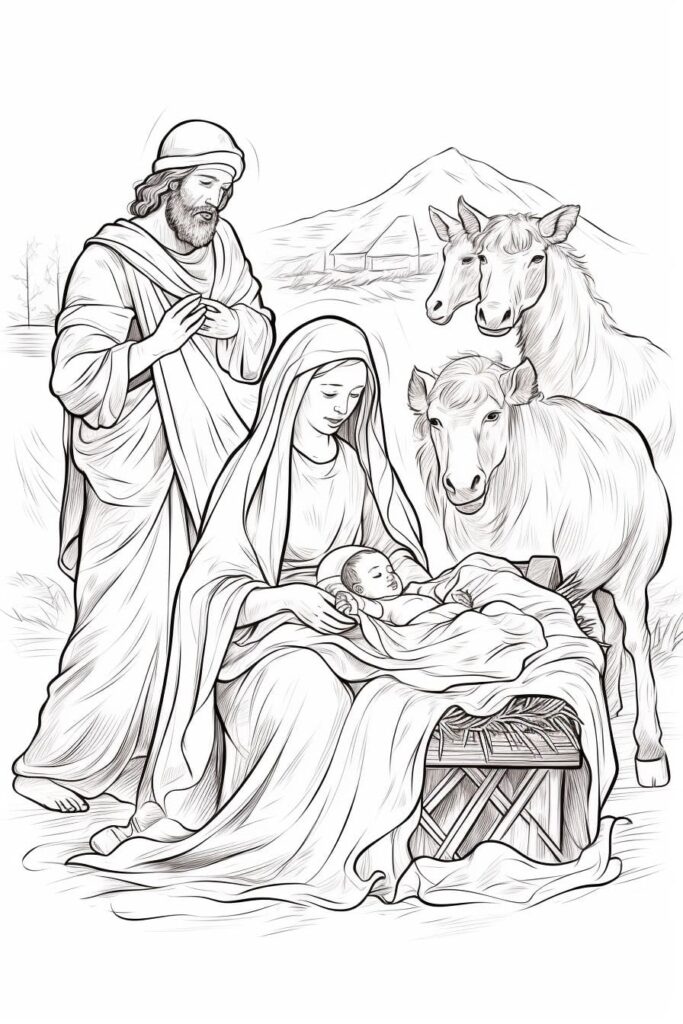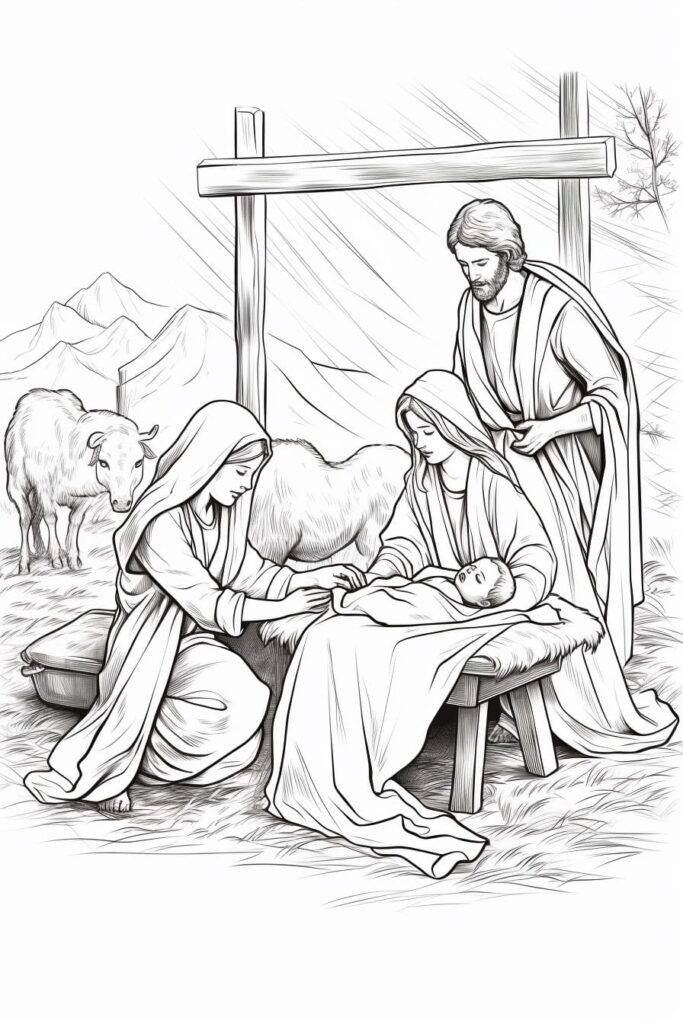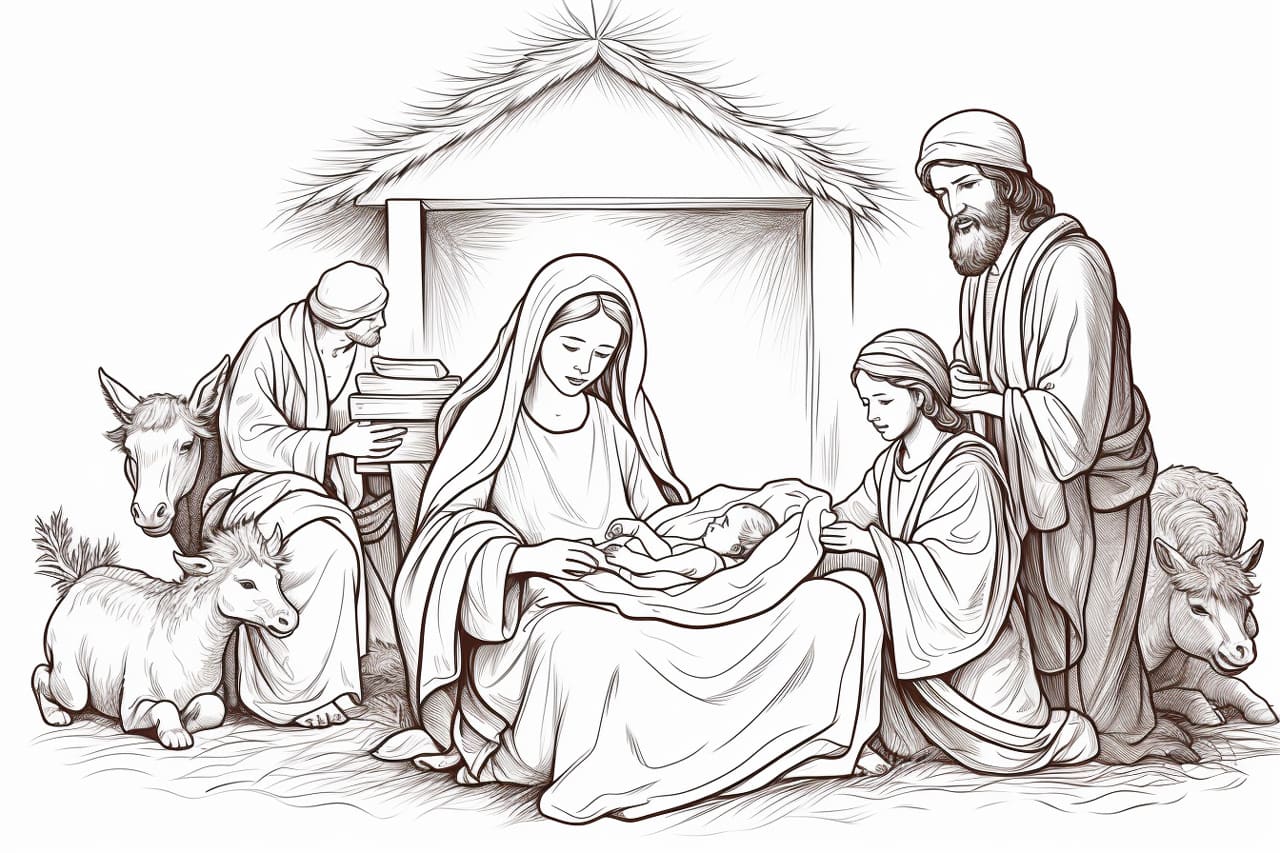
Welcome to this creative tutorial where we’ll guide you through drawing one of the most cherished holiday symbols—the Christmas Nativity Scene. Representing the birth of Jesus, the Nativity Scene holds a special place in the hearts of many, symbolizing hope, love, and the true meaning of the season.
In this step-by-step guide, we’ll break down the process of how to draw a Christmas Nativity Scene, featuring Mary, Joseph, Baby Jesus, and other key elements like the stable, the star, and the shepherds. Whether you’re an experienced artist or just beginning your artistic journey, this tutorial will help you bring this timeless scene to life with clarity and creativity.
So gather your drawing materials, find a cozy spot, and let’s embark on a meaningful artistic adventure to celebrate the spirit of Christmas!


Materials Required
To begin this drawing, you will need the following materials:
- Paper: Use good-quality drawing paper or sketchbook paper. The size is up to you, but a standard 8.5×11 inch paper works well.
- Pencil: Grab a couple of pencils with different lead weights, such as HB and 2B. These will allow you to create varied line thicknesses.
- Eraser: Keep an eraser handy for eliminating any mistakes or unwanted lines.
- Fine-tip markers or pens: These will be used for inking your drawing if you choose to do so.
- Colored pencils or markers: These are optional, but they can bring your Nativity Scene to life with vibrant colors.
Now that your materials are ready let’s begin drawing the Christmas Nativity Scene!
How to Draw a Christmas Nativity Scene Step-by-Step
Step 1: Lay the Foundation with Basic Shapes
Begin your Nativity Scene by sketching the basic shapes lightly. Start with the stable—a simple wooden structure with a sloping roof. Use rectangles and triangles for the framework. Inside the stable, sketch the primary figures: Mary, Joseph, and Baby Jesus. For now, use basic shapes like ovals and circles to outline their heads, bodies, and the manger. Keep your lines light and loose; this step is just the groundwork for your masterpiece.
Step 2: Build the Stable’s Details
Now it’s time to bring the stable to life. Add wooden beams for the roof, supporting posts, and sidewalls to give it structure. Sketch the door or an open archway in the center, framing the main characters. Add some hay or straw peeking out from the floor and roof for an authentic rustic touch. If you’d like, include a star above the stable to symbolize the Star of Bethlehem, which will serve as a focal point for your composition.
Step 3: Refine Mary, Joseph, and Baby Jesus
Focus on refining the central characters. Give Mary and Joseph gentle, humble expressions, and sketch folds in their robes to show movement and texture. For Baby Jesus, draw a small, serene figure lying in a manger—use soft, curved lines to depict swaddling cloth. Add halos above their heads if you want a traditional, sacred feel. Remember to keep the proportions balanced, making Baby Jesus the smallest and the focal point of the scene.
Step 4: Add the Three Wise Men
Next, sketch the Three Wise Men approaching the stable. Begin with their basic shapes—slightly larger ovals and rectangles for their robed figures. Add crowns or head coverings and position them as if they are presenting gifts. Incorporate details like ornate patterns on their robes, small treasure chests or jars for the gifts, and regal postures that convey their significance. Place them slightly to one side, ensuring they don’t overshadow the central characters.
Step 5: Introduce Supporting Characters
Enhance the scene by adding shepherds, angels, and animals. For the shepherds, draw figures in simple cloaks holding staffs, positioned near the stable. Sketch angels above the stable or to the side, with flowing robes and large, feathered wings. Add a few animals like sheep, cows, or donkeys, using curved lines for their bodies and small details like fur or hooves. Consider their placement carefully to maintain balance and harmony in the composition.
Step 6: Refine and Outline the Scene
Once all elements are in place, refine the entire scene. Go over your pencil lines with more precision, adding definition to the stable, characters, and details. Darken the lines you plan to keep and erase any guidelines that are no longer needed. Take your time to ensure everything looks cohesive and well-proportioned.
Step 7: Bring Depth with Shadows and Highlights
To give your drawing dimension, add shadows and highlights. Determine your light source—for instance, the Star of Bethlehem—and shade areas opposite the light. For example, add shadows under the stable roof, beneath the characters, and around folds in the clothing. Use soft pencil strokes for shading, and leave the areas where the light hits brightest as highlights. This will make the scene look three-dimensional and dynamic.
Step 8: Ink the Final Drawing (Optional)
For a more polished and defined look, ink your drawing using fine-tip pens or markers. Carefully trace over the outlines, emphasizing key elements like the characters’ features and the stable’s details. Allow the ink to dry fully before erasing any remaining pencil marks to avoid smudges. This step will make your drawing bold and ready for the next stage.
Step 9: Add a Touch of Color (Optional)
If you want to add color to your Nativity Scene, choose your palette carefully to evoke the warmth and solemnity of the event. Use earthy tones for the stable, soft blues and whites for Mary, and rich golds and reds for the Wise Men’s robes. For the Star of Bethlehem, opt for a radiant yellow or gold. Layer your colors to create depth and vibrancy, and blend softly for smooth transitions. Consider using colored pencils, markers, or even watercolor for a festive finish.
Step 10: Frame Your Masterpiece with a Background
To complete the scene, add a background that enhances the composition. Consider a peaceful night sky filled with stars or a distant cityscape to represent Bethlehem. A soft glow around the stable can emphasize its sacred importance, drawing the viewer’s eye to the central figures. Adding subtle textures or patterns to the ground can also tie the elements together, creating a cohesive and heartwarming holiday illustration.
A Joyful Finish: Sharing the Spirit of the Nativity
Congratulations on completing your Christmas Nativity Scene! Through your creativity and effort, you’ve captured the beauty and wonder of the birth of Jesus, bringing a cherished holiday tradition to life on paper. This artwork is not just a drawing—it’s a heartfelt expression of faith, hope, and the joy of the season.
Display your masterpiece proudly, whether it’s on your mantel, framed for a special place in your home, or as part of your holiday decorations. Better yet, consider sharing your creation with loved ones—a handmade gift like this carries the true spirit of Christmas and is sure to warm hearts.
As with all art, the more you practice, the more you’ll refine your skills. Experiment with different techniques, add unique touches, and explore other elements of the Nativity or festive scenes in your future projects. Each drawing is an opportunity to grow as an artist and to celebrate the holiday season in your own creative way.
Wishing you joy, peace, and plenty of inspiration this Christmas!


