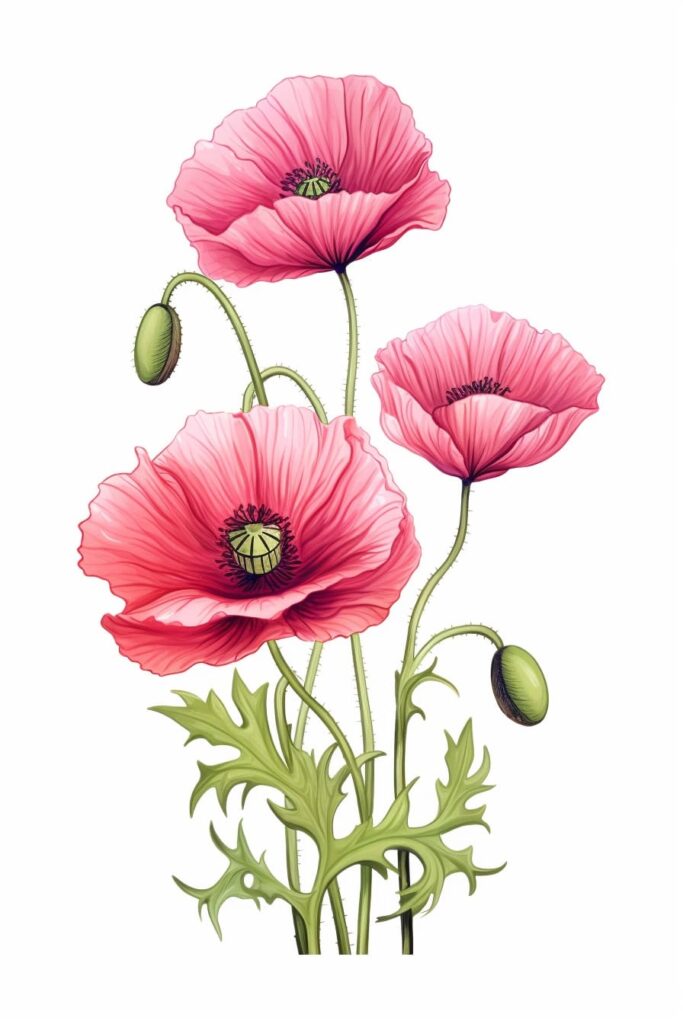
Are you ready to capture the delicate beauty of a poppy flower in your artwork? Welcome to this step-by-step guide, where we’ll explore how to draw a stunning poppy bloom. Known for their vibrant petals and graceful silhouettes, poppies are a symbol of remembrance and resilience, making them a meaningful and enchanting subject for artists.
Whether you’re an experienced artist or just starting out, this tutorial will walk you through the process of how to draw a poppy flower. From sketching the flowing petals to adding texture and shading, you’ll gain the confidence to create a masterpiece. Grab your pencils and let’s dive into the artistry of drawing poppies!
Materials Required:
Before we begin, let’s gather the materials you will need for this drawing tutorial. Don’t worry, you won’t need a whole lot of fancy equipment. Here’s what you’ll need:
- Pencil: A regular HB pencil will work just fine for this tutorial. Make sure it’s sharpened.
- Paper: Select a smooth, high-quality drawing paper that is suitable for your preferred medium. A standard sketchbook will work perfectly fine.
- Eraser: Have a good quality eraser handy to correct any mistakes or guidelines as you draw.
Now that you have all your materials ready, we can dive into the step-by-step process of drawing a poppy flower.
Step-by-Step Guide to How to Draw a Poppy Flower
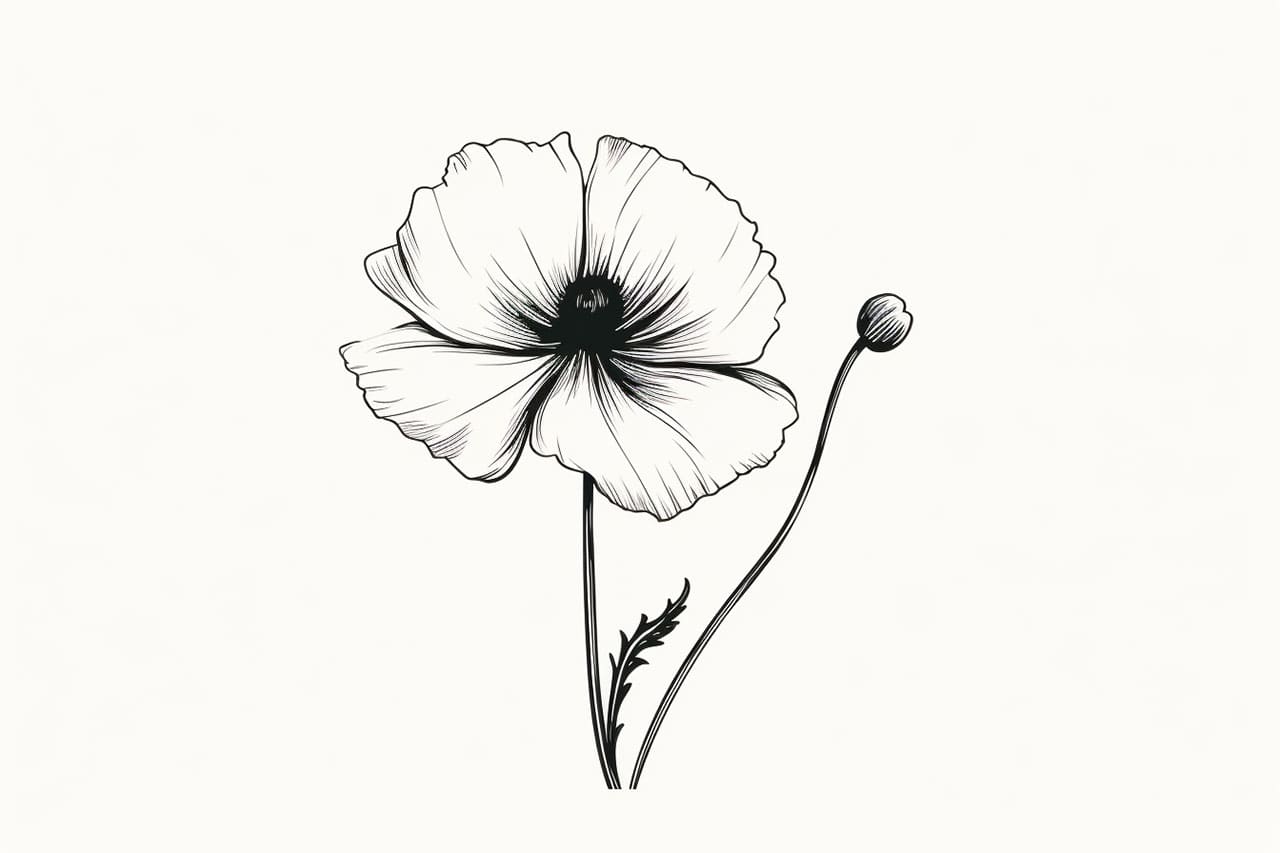
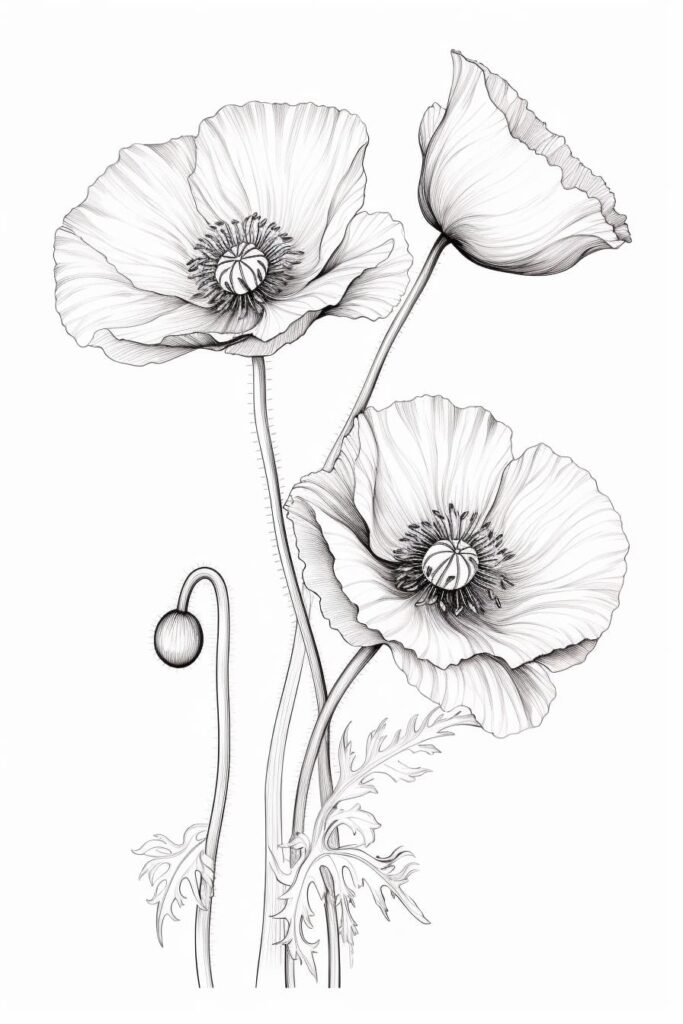
Step 1: Sketch the Basic Outline
Begin by lightly sketching a small circle in the center of your paper. This will act as a guide for the flower’s center. Below the circle, draw a gently curved line to establish the lower base of the poppy flower. Since poppies have delicate, slightly wavy petals, this curved line will help define the natural flow of the flower’s shape.
Step 2: Establish the Petal Placement
Now, start adding the poppy’s signature petals. Begin by sketching two large, curved lines that extend outward from the top of the central circle, meeting at a soft point at the bottom. These will form the first layer of petals. Next, add two slightly smaller curved lines emerging from the center of the circle, curving downward to add dimension. Finally, draw one more large petal on the opposite side of the flower to give it a well-rounded, natural look. Since poppy petals are known for their soft, flowing appearance, keep your lines light and organic.
Step 3: Refine the Petal Shapes
Now, refine the shape of each petal by adding subtle details. Poppy petals have a delicate, crinkled texture, so slightly adjust the petal edges by adding gentle curves and irregularities. You don’t need perfectly smooth lines—allow for a few natural waves and folds in each petal to capture the organic appearance of a real poppy. Lightly erase any unnecessary guidelines and enhance the curvature of the petals where needed.
Step 4: Add Details to the Flower’s Center
Next, focus on the intricate details of the poppy’s center. Inside the original central circle, draw a smaller oval or circular shape to represent the stamen. Add short, curved lines extending outward from this central shape to mimic the textured look of the stamen. Surround the center with small dots and slightly longer lines to enhance the intricate structure of the flower’s core. These details will add depth and realism to your drawing.
Step 5: Draw the Stem and Leaves
Extend a slightly curved vertical line downward from the base of the flower to create the stem. Poppy stems tend to have a somewhat thin and slightly rough texture, so add a few subtle diagonal or jagged lines along the stem to suggest its natural appearance.
Next, sketch two elongated, curving lines on either side of the stem to form the leaves. Poppy leaves are typically narrow and slightly jagged, so use uneven, wavy strokes to outline their shape. To enhance realism, add a few smaller veins within the leaves by drawing thin, slightly curved lines running from the center of each leaf outward.
Step 6: Final Refinements and Enhancements
Now that the structure of your poppy flower is complete, take a step back and assess your drawing. Adjust any lines as needed, ensuring the proportions of the petals, stem, and leaves feel balanced. Erase any leftover sketch guidelines to clean up your drawing.
For added depth, lightly shade areas where shadows naturally fall. For example, add soft shading at the base of the petals where they overlap and underneath the stamen to give the center more depth. You can use light, short strokes or gentle cross-hatching to achieve a more natural shading effect.
Conclusion
Congratulations! You have successfully drawn a beautiful poppy flower. By following these step-by-step instructions, you’ve learned how to capture the delicate elegance and intricate details of this iconic bloom. Keep practicing, experiment with different angles and styles, and explore adding color to bring your drawing to life. Whether you’re illustrating a field of poppies or creating a botanical sketch, your artistic skills will continue to flourish with every drawing. Happy sketching!
Love flowers? Try our guide on how to draw a rose.
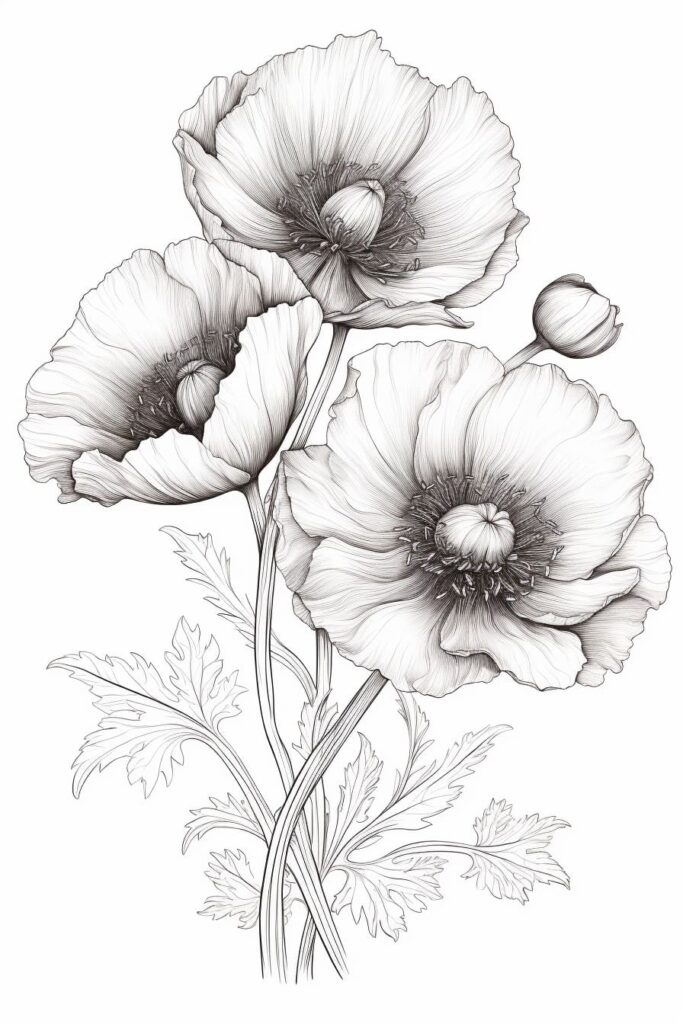
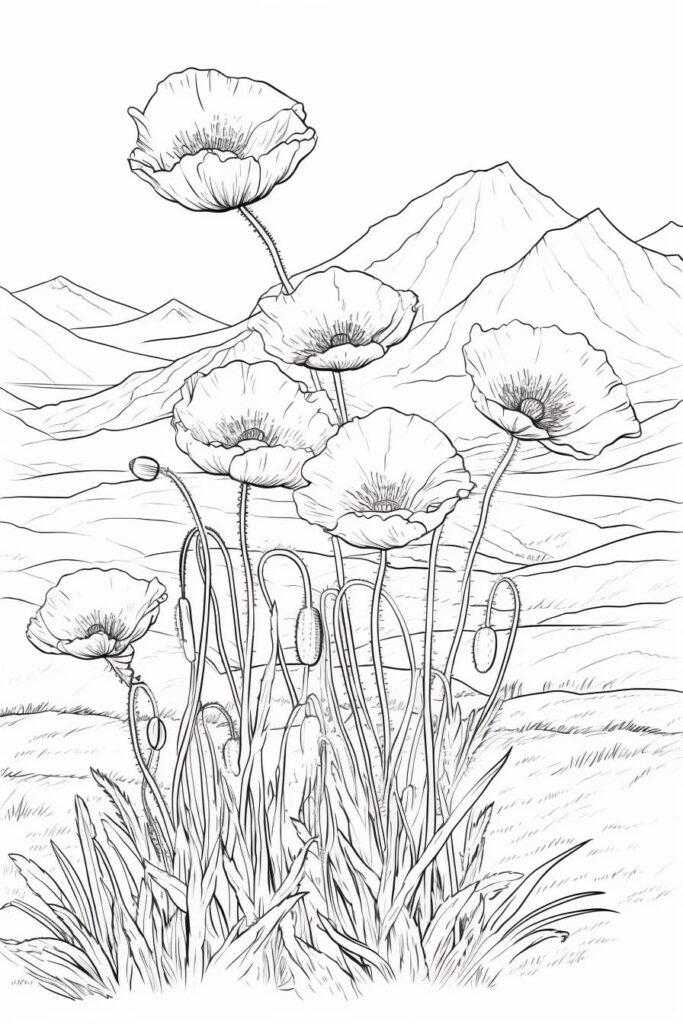
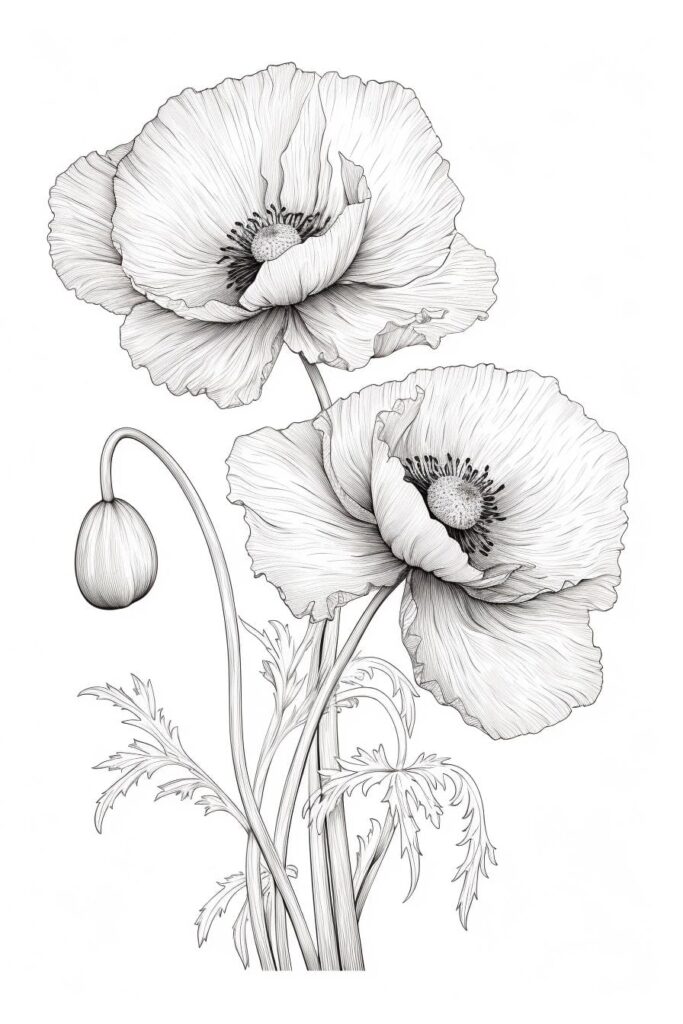
Gallery of Poppy Flower Drawings

Related posts:
 How to Draw a Cute Flower in 6 Simple Steps
 How to Draw a Tulip in 7 Simple Steps
 How to Draw a Flower Petal in 6 Simple Steps
 How to Draw a Sunflower in 10 Simple Steps
 How to Draw a Lotus Flower in 10 Easy Steps
 How to Draw a Lily in 7 Simple Steps
 How to Draw a Peony Flower in 8 Easy Steps
 How to Draw a Zinnia in 11 Simple Steps
 Flower Power