How to Draw Stairs
Learn how to draw stairs in a clear, concise manner with this step-by-step guide. Develop your artistic skills and create realistic staircases for your artwork.
Materials You'll Need
- Pencil
- Paper
- Eraser
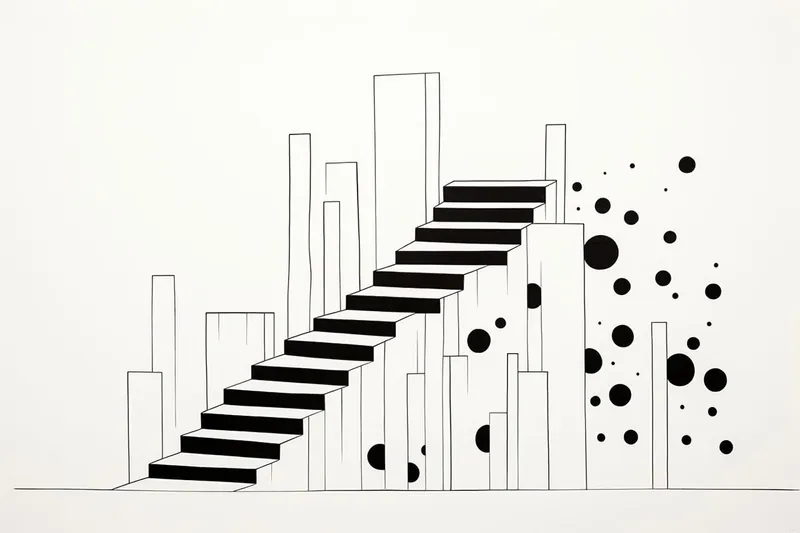
Stairs are a familiar yet fascinating architectural element found in countless environments, from grand historic buildings to cozy homes and bustling urban streets. Their repeating shapes and perspective lines make them a popular subject for artists who wish to convey depth, movement, and structure in their drawings. Learning how to draw stairs is not only a valuable skill for architectural sketches and interior scenes, but it also enhances your ability to represent space and perspective more accurately in any type of artwork. Whether you're interested in creating realistic renderings or simply want to add interesting elements to your illustrations, mastering stairs can add a new dimension to your creative toolkit.
Many artists find stairs challenging at first because of the need to understand perspective, proportion, and angle. However, drawing stairs is an excellent exercise for artists at any skill level who want to improve their technical abilities. In this tutorial on how to draw stairs, we'll break down the process into easy-to-follow steps, covering essential techniques such as establishing vanishing points, drawing parallel lines, and building up the structure one step at a time. As you work through this guide, you'll discover that with a little patience and some practice, creating convincing staircases becomes much less intimidating and a lot more rewarding.
No matter if you are a beginner eager to learn new drawing techniques or a more experienced artist looking to refine your perspective skills, you'll find that drawing stairs can open up new possibilities in your art. So, gather your materials, embrace the process, and remember—every artist improves with practice. Let's start exploring the world of staircases together, step by step!
Materials Required
Before we begin, let's gather the materials you'll need:
- [Drawing paper or sketchbook](https://yonderoo.com/best-sketchbooks-for-artists/)
- Pencil (preferably an HB or 2B)
- Eraser
- Ruler
- Optional: Colored pencils or markers for shading and adding depth
Now that you have everything you need, let's dive into the steps of drawing stairs.
Step 1: Determine the Perspective
To draw stairs realistically, we need to establish the perspective from which we are viewing them. Decide whether you want the stairs to appear in one-point, two-point, or three-point perspective. This will determine the angle and placement of the stairs in your drawing.
Step 2: Sketch the Base Line
Start by drawing a straight horizontal line where the base of your stairs will be. Use a ruler to ensure accuracy. This line will serve as a reference point for the rest of the stairway.
Step 3: Determine the Stair Dimensions
Decide on the dimensions of your stairs. Consider the height and depth of each step. This will depend on the scale and style of your drawing. Use your ruler to mark the desired height and depth for each step along the base line.
Step 4: Outline the Staircase
Using the dimensions you determined in the previous step, draw the outline of the staircase. Start at the bottom of the base line and draw individual rectangular shapes for each step. Connect these rectangles with short vertical lines to form the risers. Ensure that each step is the same height and depth.
Step 5: Add Depth to the Steps
To make the stairs appear three-dimensional, add depth to each step. Draw additional lines parallel to the front edge of each step, indicating the thickness. These lines should be evenly spaced and extend from the top to the bottom of each step.
Step 6: Draw the Handrail and Banister
Tip: When drawing stairs, take the time to lightly sketch a grid or perspective lines before committing to the details; this will help ensure that your steps are evenly spaced and aligned correctly. Using a ruler to establish these guidelines not only aids in maintaining consistent dimensions but also reinforces the overall perspective of your drawing, making it look more realistic and structurally sound.
Next, add a handrail and banister to your staircase. Draw two parallel lines on one side of the stairs, following the angle of the steps. Connect the lines with vertical posts to create the banister. Then, draw a curved line above the posts to represent the handrail.
Step 7: Add Details and Texture
To make the stairs more realistic, add details and texture. Draw small lines on each step to represent the edges and corners. You can also add shading and highlights to create depth and dimension. Experiment with cross-hatching or stippling techniques to add texture to the steps and banister.
Step 8: Refine and Erase Guidelines
Take a moment to review your drawing and make any necessary adjustments. Erase any unnecessary guidelines or construction lines that are no longer needed. Use your eraser to clean up any stray marks or smudges.
Mistake Alert: One of the most common mistakes when drawing stairs is misaligning the treads (the horizontal parts you step on) so they aren't evenly spaced or don't follow the correct perspective, making the staircase look distorted or like it's sloping unnaturally. This often happens when artists eyeball each step individually instead of plotting them along perspective guidelines, especially in a scene with a strong vanishing point. To avoid this, lightly draw a pair of guide lines—one for the front edge of each tread and one for the back—converging toward your vanishing point. Then, measure out equal intervals along the staircase's side in perspective, using a ruler or straight edge if needed, to ensure each step is consistent and recedes naturally into space. Taking this extra planning step ensures your stairs look structurally sound and believable every time!
Conclusion
Congratulations! You have successfully learned how to draw stairs using a step-by-step guide. Remember, practice is key to improving your drawing skills, so don't be discouraged if your first attempt doesn't turn out as expected. With patience and dedication, you'll be able to create stunning staircase drawings in no time.
So grab your materials and start practicing. Before you know it, you'll be able to tackle more complex staircases and incorporate them into your artwork. Happy drawing!
Fun Facts About Stairs
- The oldest known stairs, dating back over 12,000 years, were discovered at the Gobekli Tepe archaeological site in Turkey.
- The world's longest staircase is found on the Niesen Mountain in Switzerland, featuring 11,674 steps.
- Spiral staircases were often built in medieval castles to give defenders an advantage, as most people are right-handed.
- The term "staircase wit" comes from the French "l'esprit d'escalier," describing the clever remark you think of after leaving a conversation.
- The famous Spanish Steps in Rome have 135 steps and are a popular tourist attraction.
- Staircases are a key element in building safety, with strict design codes outlined by organizations like the National Fire Protection Association.
- The "Penrose stairs" is an impossible object, a famous optical illusion created by mathematician Roger Penrose.
Suggestions for Scenes and Settings for Stairs Drawings
- A grand spiral staircase in an old mansion with ornate railings and a chandelier above.
- Outdoor stone steps winding up a forested hillside, covered in moss and dappled sunlight.
- A bustling subway station staircase filled with commuters and dramatic lighting.
- [A fire escape staircase zig-zagging down the side of a city building at sunset](https://yonderoo.com/how-to-draw-a-sunset/).
- A simple wooden staircase in a cozy cottage, decorated with family photos on the walls.
- Ancient stone stairs leading up to the entrance of a mysterious temple or ruin.
- A modern, floating staircase with glass railings in a sleek, minimalist home interior.
- Steps descending into a shadowy basement, with light streaming in from above.
- Children sitting on porch steps, playing with toys or sharing a story on a summer day.
- A dramatic staircase in a theater or opera house, with plush carpeting and gilded details.