Drawing an eraser may seem like a simple task, but it actually presents a wonderful opportunity to hone your observational skills and practice capturing the subtle details that make an object unique. The eraser, a humble tool that we often take for granted, has its own charm with its smooth edges, pliable texture, and functional purpose. By studying and sketching an eraser, you can delve into the fascinating world of still life drawing and explore the interplay of light and shadow on a seemingly mundane object. Join me as we embark on a journey to bring this everyday item to life on paper, discovering the beauty in the ordinary through the art of drawing.
Materials Required
To draw an eraser, you will need the following materials:
- Drawing paper or sketchbook
- Pencil for sketching and outlining
- Eraser for correcting mistakes
- Fine-tip markers or pens for outlining and detailing
- Colored pencils, markers, or crayons for coloring (optional)
- Reference image of an eraser for inspiration and accuracy
Make sure to have a comfortable and well-lit workspace to work on your drawing.
How to Draw an Eraser: a Step-by-step Guide
Step 1: Gather Your Materials
- Get a pencil (2B or HB), an eraser, a piece of paper, and a ruler (optional).
Step 2: Start with Basic Shapes
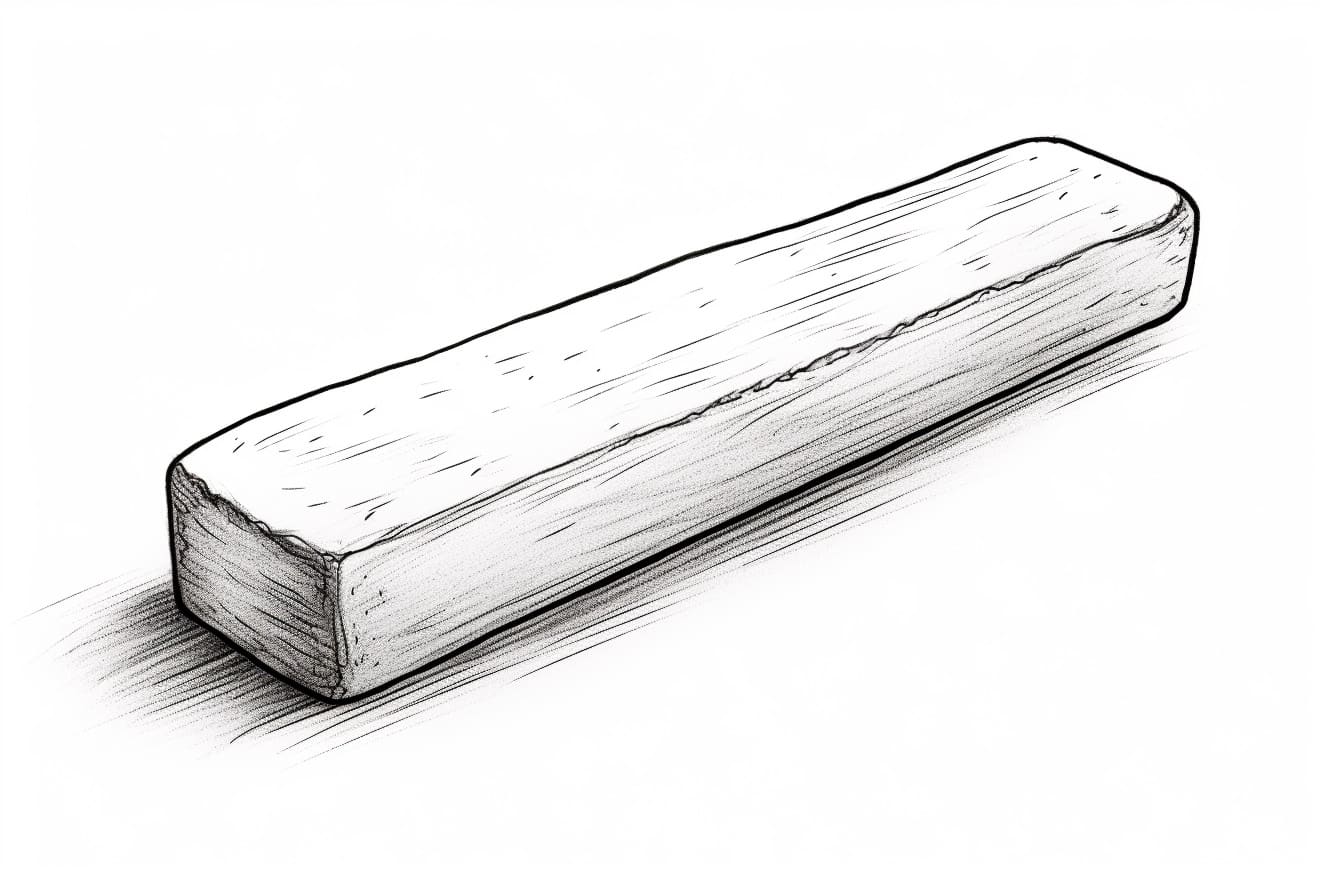
- Begin by lightly sketching a rectangle shape on your paper. This will be the main body of the eraser.
Step 3: Add Details
- Inside the rectangle, draw a smaller rectangle shape slightly off-center. This will represent the label on the eraser.
Step 4: Refine the Shape
- Round off the corners of the main rectangle to give the eraser a more realistic look. Make sure the edges are smooth.
Step 5: Add Texture
- Draw a series of small, parallel lines across the surface of the eraser to create a textured appearance. This will give the eraser a more three-dimensional look.
Step 6: Add the Label
- Within the smaller rectangle you drew earlier, sketch the word “ERASER” or any other label you prefer. You can also add some small details like a logo or brand name.
Step 7: Final Touches
- Erase any unnecessary guidelines and darken the lines of your eraser drawing to make it stand out. Add shading if desired to give the eraser more depth and realism.
Step 8: Review and Refine
- Take a step back and review your drawing. Make any necessary adjustments to ensure the proportions and details are accurate.
Step 9: Practice and Experiment
- Practice drawing more erasers using different angles and perspectives. Experiment with different shading techniques to enhance your drawings.
Step 10: Share and Seek Feedback
- Show your eraser drawing to friends, family, or fellow artists for feedback. Constructive criticism can help you improve your skills and grow as an artist.
Conclusion
In conclusion, drawing an eraser may seem like a simple task, but it requires attention to detail and understanding of basic shapes and shading techniques. By following the step-by-step instructions outlined in this article, you can improve your drawing skills and create realistic and three-dimensional representations of an eraser. Remember to practice regularly and experiment with different styles to develop your own unique artistic voice. With patience and dedication, you can master the art of drawing an eraser and continue to expand your artistic abilities.
Fun Facts About Erasers
- The invention of the modern eraser is credited to English engineer Edward Nairne in the 18th century. He accidentally picked up a piece of rubber instead of bread to erase a pencil mark, leading to the creation of the eraser we know today.
- Erasers work by lifting graphite or ink particles from the paper’s surface, rather than just rubbing them away.
- The pink eraser commonly found on pencils is made of synthetic rubber called vinyl, while white erasers are typically made of natural rubber or gum.
- Kneaded erasers, popular among artists and drafters, are pliable and can be shaped into any form, making them useful for precise erasing and highlighting.
- Dust-free erasers are designed to minimize the residue left behind when erasing, keeping the work area clean.
- Erasers have been used for more than just correcting mistakes; they have been used as art mediums for creating intricate designs by selectively removing pencil marks.
- The largest eraser in the world is located in the USA and stands at over 19 feet tall.
- Some specialty erasers are scented or come in different shapes and sizes, making erasing a more engaging experience.
- Erasers are not only used on paper but can also be effective in removing pencil marks from walls, clothing, and other surfaces.
- In Japan, erasers are known as “rubbers,” and collecting unique and decorative erasers has become a popular hobby known as “keshigomu.”