How to Draw a Ziggurat
Learn how to draw a ziggurat with this step-by-step guide. Discover the techniques required to create a detailed and realistic representation of this ancient architectural structure.
Materials You'll Need
- Pencil
- Paper
- Eraser
Ziggurats are some of the most striking monuments of ancient Mesopotamia, towering above the landscape with their distinctive stepped forms. Built as temple complexes, these structures were central to religious and civic life in cities like Ur and Babylon, and their bold, geometric design has fascinated historians and artists alike for centuries. Learning how to draw a ziggurat is not just an engaging artistic challenge, but also a way to connect with the rich cultural heritage of one of the world's earliest civilizations. Whether you are a history enthusiast, a student working on a school project, or simply someone who loves architectural drawing, delving into the details of a ziggurat can be both educational and creatively rewarding.
This tutorial is designed for artists of all skill levels, from beginners to those with some experience in architectural drawing. You'll practice using basic shapes, learn about perspective, and apply shading techniques to give your ziggurat depth and realism. Drawing a ziggurat requires a keen eye for symmetry and proportion, making it an excellent exercise for developing your observation and technical drawing skills. As you follow this step-by-step guide on how to draw a ziggurat, you'll discover how simple geometric forms can come together to create an iconic structure. Don't worry if you're new to drawing buildings—each step is clearly explained, so you can progress with confidence and enjoy the process of bringing ancient architecture to life.
So grab your pencils and ruler, and get ready to explore the art and history of Mesopotamia through drawing. Remember, every artist starts somewhere, and with patience and practice, you'll be amazed at what you can create. Let's embark on this creative journey together and see just how fun and accessible it can be to learn how to draw a ziggurat!
Materials Required
Before we start, let's gather all the materials you will need for this drawing:
- Drawing paper or sketchbook
- Pencil (preferably HB or 2B)
- Eraser (preferably kneaded eraser)
- Ruler
- Fine-tip black pen or marker (optional)
Now that you have your materials ready, let's dive into the step-by-step process of drawing a ziggurat.
Step 1: Basic Outline
Start by drawing a horizontal line near the bottom of your paper. This line will serve as the base of the ziggurat. The length of the line will determine the overall size of your ziggurat, so choose accordingly. Next, draw another horizontal line parallel to the first one, but slightly shorter. Repeat this process until you have a series of horizontal lines stacked on top of each other, gradually decreasing in length. These lines will be the platforms of the ziggurat.
Step 2: Adding Depth and Dimension
To create a more three-dimensional effect, add vertical lines connecting the corresponding ends of the parallel horizontal lines. These lines will represent the sides of each platform. Make sure the lines are straight and evenly spaced.
Step 3: Detailing the Platforms
Now it's time to add some details to the platforms. Divide each platform into smaller sections by drawing short vertical lines across the width of the platforms. These lines should align with the connecting vertical lines you drew in the previous step. The number of sections can vary, but it is common to have around four to six sections per platform.
Step 4: Creating the Stairs
To create the illusion of stairs, draw diagonal lines connecting the edges of each platform. Start from the outer edge of the top platform and work your way down towards the base. Make sure that the lines are evenly spaced and parallel to each other. These lines will give your ziggurat a distinct stepped appearance.
Step 5: Adding Architectural Elements
Now that the basic structure of the ziggurat is complete, let's add some architectural details. At the center of the top platform, draw a small rectangular structure called a temple. This is a characteristic feature of a ziggurat. You can also add embellishments like columns, windows, and doorways to the temple to make it more visually interesting.
Step 6: Finalizing the Outline
Take a moment to review the overall outline of your ziggurat. Make any necessary adjustments to ensure that the lines are clean and precise. Erase any guidelines that are no longer needed, such as the initial horizontal lines you drew in Step 1.
Step 7: Adding Shading and Texture
To add depth and realism to your drawing, it's time to introduce shading and texture. Start by determining the direction of the light source. Imagine the light hitting the ziggurat from one side. Shade the areas that are facing away from the light source, creating a gradient effect. Use a pencil or a fine-tip black pen to fill in the shaded areas.
For added texture, lightly sketch horizontal lines or cross-hatching on the sides of the platforms. This will mimic the look of stone or brickwork.
Step 8: Final Touches
Take a step back and assess your drawing. Are there any areas that need further shading or detail? Use a kneaded eraser to lighten certain areas and create highlights, giving your ziggurat more dimension. Be careful not to overdo it, as subtlety is key.
Did You Know?: Many ancient ziggurats were constructed with sun-baked mud bricks at their core and fired bricks as an outer layer, which were often glazed in vibrant colors such as blue, red, and gold. The famous ziggurat of Ur, for example, featured a grand staircase and three massive terraces, each smaller than the one below, creating a striking stepped silhouette that could be seen for miles across the flat Mesopotamian plains. These towering structures were designed to connect the earth with the heavens, serving as a bridge between people and their gods. As you draw your ziggurat, imagine the lively scenes that once surrounded these temples—markets, processions, and ceremonies—all taking place in the shadow of these awe-inspiring monuments.
Tip: To effectively capture the unique structure of a ziggurat, start by breaking it down into basic geometric shapes—rectangles for the base and steps, and triangles for the top. Use a ruler to ensure your lines are straight and your proportions are accurate, as ziggurats are defined by their symmetry. When sketching the steps, pay attention to the diminishing size as you ascend; this will create a convincing perspective. For added depth, consider the light source in your drawing and apply shading to the sides of the steps, giving them a three-dimensional feel. Finally, don't hesitate to add texture or patterns reminiscent of ancient bricks on the surface to enhance the authenticity of your ziggurat. Happy drawing!
Conclusion
Congratulations! You have successfully learned how to draw a ziggurat. By following these step-by-step instructions, you have created a detailed and visually appealing representation of this ancient architectural structure. Remember to practice and experiment with different styles and techniques to further develop your drawing skills. Keep exploring the world of art and continue to challenge yourself. Happy drawing!
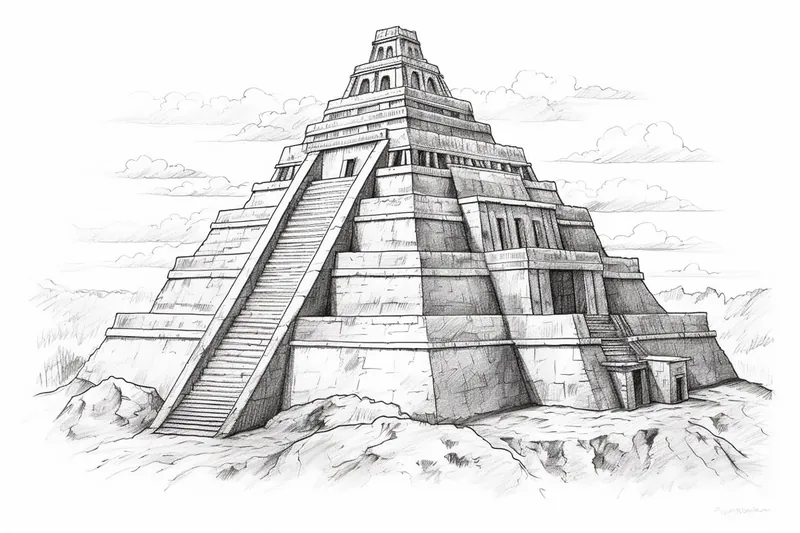
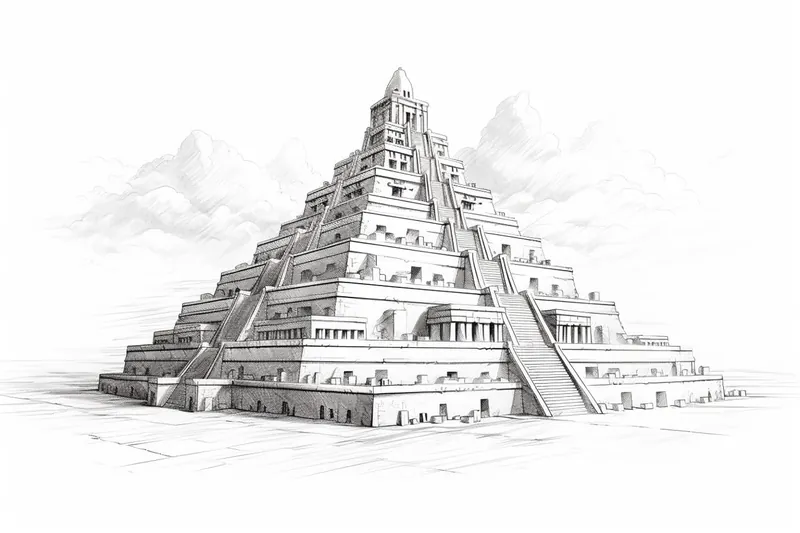
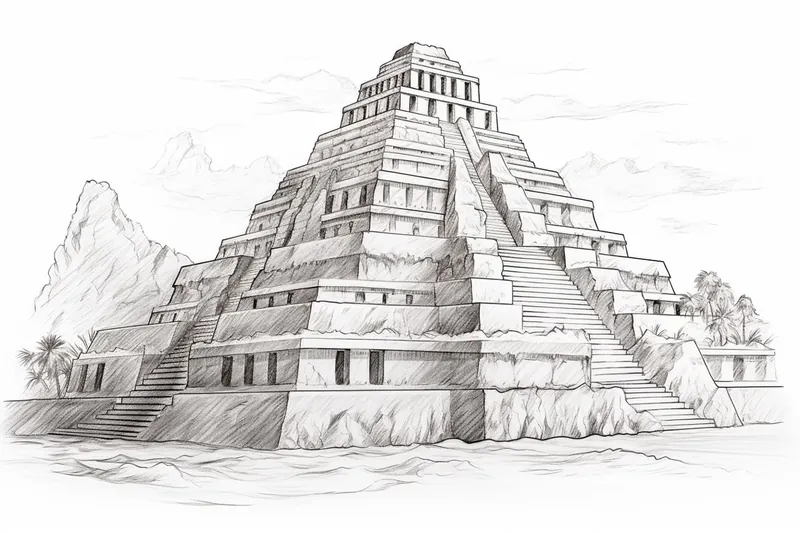
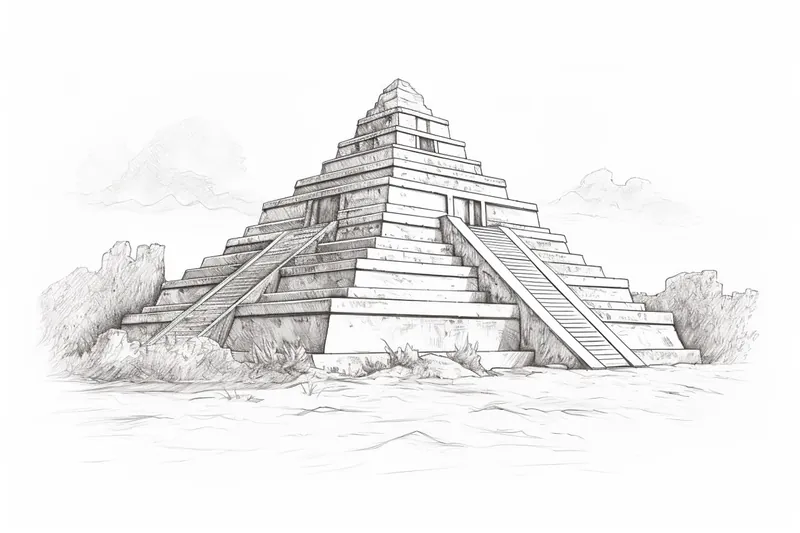
Gallery of Ziggurat Drawings
Fun Facts About Ziggurat
- The word ziggurat comes from the Akkadian term "ziqqurratu," meaning "height" or "pinnacle."
- Ziggurats were built as temple complexes dedicated to the main god of each Mesopotamian city-state.
- The most famous ziggurat is the Ziggurat of Ur, constructed around 2100 BCE in present-day Iraq.
- Ziggurats typically had multiple levels or terraces, each smaller than the one below, creating a stepped appearance.
- Unlike Egyptian pyramids, ziggurats were not tombs but platforms for temples where priests performed rituals.
- Many ziggurats were constructed using sun-baked bricks for the core and fired bricks for the outer layers.
- The top of a ziggurat was believed to be a dwelling place for the gods, accessible only to priests.
- Some scholars believe the biblical Tower of Babel was inspired by Mesopotamian ziggurats.
- Ziggurats influenced later architectural forms, including step pyramids.
Suggestions for Scenes and Settings for Ziggurat Drawings
- A ziggurat at sunrise, towering over the misty plains of ancient Mesopotamia with early morning shadows stretching across the landscape.
- The bustling city of Babylon with market stalls and busy citizens gathered around a grand ziggurat at the city center.
- A ziggurat as seen from above, with its geometric terraces and stairways surrounded by lush gardens and irrigation canals.
- A priest ascending the steps of the ziggurat to perform a ritual at the temple on the top platform, with offerings and ceremonial decorations.
- A ziggurat during a festival, adorned with banners and torches, crowds of people in ancient attire celebrating at its base.
- The ziggurat of Ur at sunset, with dramatic lighting and the silhouette of the temple against a fiery sky.
- An abandoned, overgrown ziggurat reclaimed by nature, with vines and small trees growing between the stepped platforms.
- A ziggurat under construction, with scaffolding, workers, and carts hauling mud bricks to the upper terraces.
- A stormy scene with lightning illuminating the ziggurat, emphasizing its massive, protective presence in the landscape.
- An imaginative, futuristic cityscape inspired by ziggurat architecture, blending ancient forms with modern design elements.