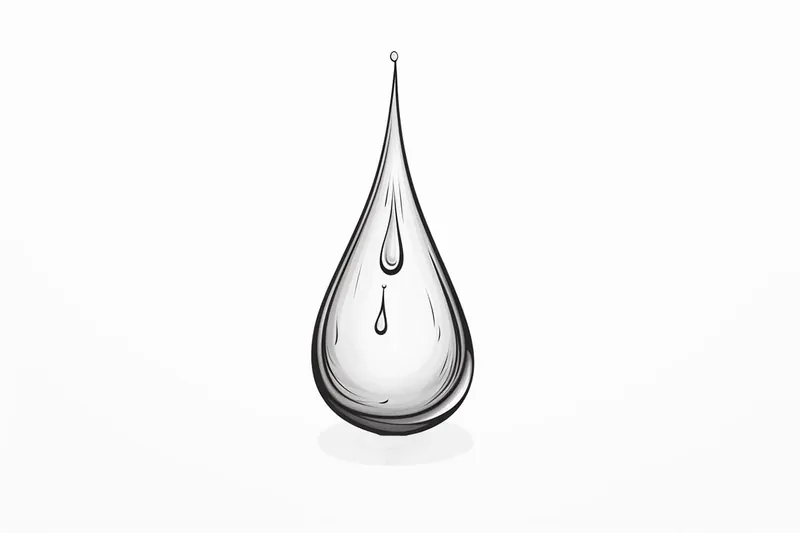
How to Draw a Tear Drop
Learn how to draw a tear drop with this step-by-step drawing tutorial. Master the art of drawing tear drops and elevate your artwork to new heights.
Materials You'll Need
- Pencil
- Paper
- Eraser
The tear drop is a timeless and universally recognized symbol, often associated with emotions such as sadness, empathy, or even joy. Its graceful, rounded form can be found in a wide range of artistic expressions, from detailed portraits where a single tear conveys deep emotion, to abstract artworks and decorative patterns. Learning how to draw a tear drop is a valuable skill for artists of all levels, as this simple shape can add depth and narrative to your creations or serve as a building block for more complex compositions.
People often want to draw a tear drop to enhance their ability to communicate feelings in their art, to practice mastering smooth curves, or to embellish their designs with elegant shapes. While it may seem straightforward, drawing a tear drop with realistic proportions and convincing highlights requires attention to contour, shading, and symmetry. This tutorial is perfect for beginners who want to strengthen their understanding of basic forms, as well as for intermediate artists seeking to refine their technique. You'll learn step by step how to draw a tear drop, from outlining the unique shape to adding subtle shading for a three-dimensional effect.
Don't worry if you're new to drawing—mastering the tear drop will help you build confidence and improve your control over lines and shading. Whether you're adding a touch of emotion to a portrait or exploring creative patterns, this guide will walk you through each stage with clear instructions. Grab your drawing tools, follow along, and soon you'll be able to create beautiful tear drops with ease. Let's get started and see just how versatile and expressive this simple shape can be!
Materials Required:
To draw a tear drop, you will need the following materials:
- Paper: Use a smooth and sturdy paper that is suitable for drawing. A sketch pad or drawing paper will work well.
- Pencil: Choose a medium to soft graphite pencil that allows for easy shading and erasing. A 2B or HB pencil is commonly used.
- Eraser: Have a good quality eraser on hand to correct any mistakes or lighten areas of your drawing.
That's it! With these basic materials, you're all set to begin drawing a tear drop.
Step 1: Position Your Paper
Place your paper on a flat surface and ensure it is in a comfortable position for drawing. Make sure your hand has enough space to move freely without smudging the pencil marks.
Step 2: Draw a Guide Line
Start by drawing a vertical straight line in the center of your paper. This line will act as a guide for the placement and symmetry of your tear drop shape.
Step 3: Create the Top Curve
At the top end of the guide line, draw a curved line that bends towards the right. Imagine a small arch or a rounded letter "C" shape. This curve will form the rounded top of the tear drop.
Step 4: Draw the Bottom Curve
From the other end of the guide line, draw a curved line that bends downwards, mirroring the shape of the top curve. This line should be slightly longer than the top curve to create the tapered point of the tear drop.
Step 5: Join the Curves
Connect the top and bottom curves by drawing another curved line that starts from the end of the top curve and smoothly flows into the start of the bottom curve. This line should follow a gentle curve, creating a seamless transition between the two curves.
Step 6: Refine the Shape
Take a close look at your tear drop shape and make any necessary adjustments to ensure symmetry and fluidity. You can use your pencil to lightly sketch additional lines or erase any unwanted marks until you're satisfied with the overall shape.
Step 7: Add Shading
To give your tear drop a three-dimensional appearance, we'll add some shading. Begin by identifying the light source in your drawing, which determines where the light is coming from. For simplicity, let's assume the light is coming from the top left.
Step 8: Shade the Top Curve
Using light, gentle strokes, shade the top curve of the tear drop. Start with a light layer of shading and gradually build up the darkness by applying more pressure with your pencil. The area closer to the light source should be lighter, while the opposite end will be darker.
Step 9: Shade the Bottom Curve
Similar to the top curve, shade the bottom curve of the tear drop, but make it slightly darker. This contrast will enhance the illusion of depth and make the tear drop appear more realistic.
Step 10: Blend the Shading
To create a smooth transition between the light and dark areas, use a blending tool such as a tortillon, blending stump, or even a soft tissue. Gently rub the tool back and forth over the shaded area to blend the graphite and soften any harsh lines.
Step 11: Add Highlights
To make your tear drop shine, add highlights using an eraser. Identify the brightest spot on your tear drop, which is usually located at the top curve where the light source reflects the most. Lightly erase a small area to create a highlight.
Step 12: Final Touches
Take a step back and assess your drawing. Make any final adjustments or fixes to improve the shape, symmetry, and shading of your tear drop. Once you're satisfied with the result, you can sign your artwork and proudly display it!
Tip: When drawing a tear drop, focus on achieving a smooth, flowing curve that captures the essence of the shape. Begin by lightly sketching an oval for the upper portion and a pointed end for the drop, ensuring the top is wider and the bottom tapers delicately. Use a fine-tipped pencil or a mechanical pencil for precision, and don't hesitate to erase and refine your lines to maintain symmetry. Once you are satisfied with the outline, apply gentle shading along one side to give the tear drop a three-dimensional look; consider where your light source is to add highlights on the opposite side. Practicing this technique will not only enhance your ability to draw tear drops but will also improve your overall control over curve and shading in your artwork!
Conclusion
Drawing a tear drop may seem simple, but paying attention to the subtle curves and shading can elevate your artwork to another level. By following these step-by-step instructions, you have learned how to draw a tear drop with confidence and precision. Remember to practice regularly and experiment with different sizes and angles to expand your drawing skills. So, grab your pencil and start creating beautiful tear drops in your artwork!
Fun Facts About Tear Drop
- The tear drop shape is often used in art and design to symbolize emotion and fluidity.
- In jewelry, the tear drop or "pear" cut is a popular gemstone shape known for its elegance and brilliance.
- The tear drop motif appears in many cultures, including the famous paisley pattern from Persian and Indian textiles.
- Human tears are composed of water, oils, and mucus, and their unique shape is influenced by surface tension and gravity.
- The tear drop is a common symbol in tattoo art, often representing personal stories or emotions.
- Raindrops are often depicted as tear drops, but in reality, they are more spherical in shape due to air resistance.
- The tear drop shape is used in aerodynamics for its low drag properties, as seen in aircraft and car designs.
- In psychology, the act of shedding a tear is linked to emotional release and stress relief.
- The tear drop has inspired the design of famous sculptures, such as the "Tear Drop Memorial" gifted to the U.S. by Russia.
Suggestions for Scenes and Settings for Tear Drop Drawings
- A close-up portrait of a face with a single tear drop rolling down the cheek, emphasizing emotion.
- An abstract pattern where multiple tear drops form a flowing, decorative border or mandala.
- A tear drop falling into a pool of water, creating ripples and reflections.
- A stylized eye with a shimmering tear drop clinging to the lower lid.
- A nature scene where a tear drop hangs from the tip of a leaf after a rainstorm.
- A symbolic drawing of a tear drop transforming into a tiny flower or butterfly at its tip.
- A surreal scene where giant tear drops float above a landscape, casting shadows below.
- A cartoon character holding a giant, exaggerated tear drop to express exaggerated sadness or joy.
- A hand catching a falling tear drop, suggesting comfort or empathy.
- A collection of tear drops with different patterns and shading, each representing a different emotion.