How to Draw a Stick
Learn how to draw a stick in a few simple steps with this step-by-step guide. Create realistic stick illustrations with ease using our expert tips and techniques.
Materials You'll Need
- Pencil
- Paper
- Eraser
Sticks may seem like the simplest objects in nature, but they offer a surprising amount of artistic opportunity and challenge. Whether found scattered on a forest floor or used as classic props in storybook illustrations, sticks can serve as the basis for more complex drawings, such as trees, branches, or even character sketches. By learning how to draw a stick, you're not just practicing a basic shape—you're laying the groundwork for developing your eye for proportion, texture, and subtle details that bring your artwork to life.
Drawing a stick might appeal to beginners who want to build confidence with simple forms, as well as to more advanced artists interested in honing their observation skills. Understanding the nuances of a stick—its irregular contours, varying thicknesses, and textures—can improve your ability to capture natural objects realistically. In this tutorial, we'll explore techniques such as line work, shading, and adding texture, all at a comfortable pace. Whether you want to use sticks in landscape scenes, still lifes, or as structural elements in your drawings, mastering how to draw a stick is an essential and rewarding step in your artistic journey.
No matter your skill level, taking the time to observe and practice drawing something as fundamental as a stick will help you grow as an artist. Remember, every accomplished illustrator started with simple shapes, and with patience and practice, you'll soon notice your progress. Gather your materials, keep an open mind, and let's discover the art hidden within the ordinary stick together!
Materials Required
To begin drawing a stick, you will need just a few basic materials. Gather the following:
- Paper: Choose a smooth surface that is suitable for drawing, preferably in a light color.
- Pencil: Opt for a mechanical pencil or a regular graphite pencil with a medium hardness (HB or 2B) for your initial sketch.
- Eraser: Keep a soft eraser handy to remove any unwanted lines or mistakes.
- Fine-tipped pen: You'll use this for outlining and refining your stick drawing, so choose a pen with a fine point.
Now that you have your materials ready, let's jump into the step-by-step instructions.
Step 1: Start with the Base Line
Begin by drawing a simple horizontal line across your paper. This line will serve as the base of your stick. Make it as long or as short as you desire, keeping in mind that a stick is generally tall and slender.
Step 2: Add the Vertical Line
From the center of the base line, draw a straight vertical line upwards. This line will represent the main body of the stick. It should be relatively longer than the base line, as a stick is usually vertical in shape.
Step 3: Shape the Base
At the bottom of the base line, draw two slanting lines that meet at a point with the vertical line. This shape will resemble an inverted "V" and act as the base of the stick, providing stability.
Step 4: Taper the Ends
Using the vertical line as your guide, gradually taper both ends of the stick. Start narrowing the lines as you move away from the base towards the top. Keep the lines parallel to maintain symmetry.
Step 5: Refine the Tapered Ends
Now, carefully round off the tapered ends of the stick. These rounded ends will give your stick a more natural appearance. Pay attention to keeping both ends symmetrical and proportionate.
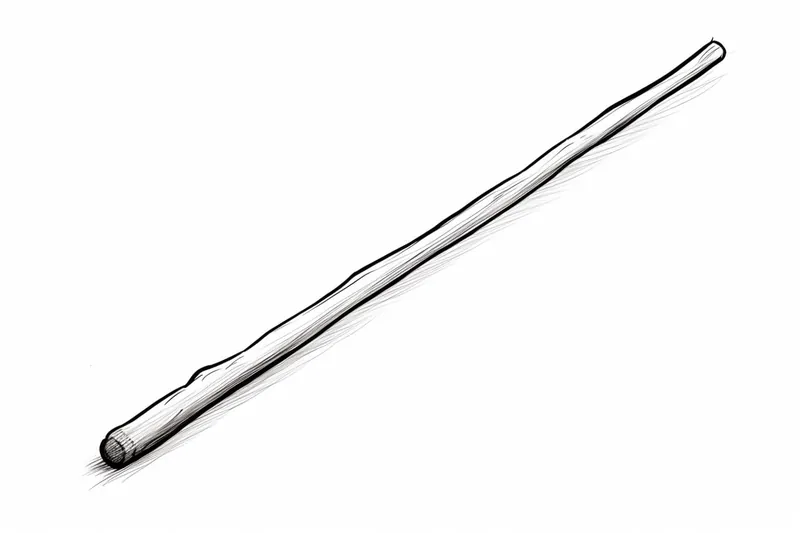
Step 6: Add Texture
To make your stick drawing more realistic, add some light texture to the surface. Draw faint horizontal lines across the length of the stick, following its shape. This texture will mimic the natural patterns found on a real stick.
Step 7: Finalize the Outline
Using a fine-tipped pen, trace over the refined lines of your stick drawing. Create a clean, bold outline that emphasizes the shape and form. Erase any remaining pencil marks to enhance the clarity of your illustration.
Tip: When drawing a stick, start with a light, loose sketch using an HB or 2H pencil to map out its main direction and proportions—don't worry about making it perfectly straight, as natural sticks often have subtle bends and irregularities. Pay close attention to how the stick tapers and where it changes thickness, gently adjusting your lines to reflect these variations. For texture, use short, broken pencil strokes along the contour to suggest rough bark or small knots, layering with a softer pencil (like a 2B) for shadows and depth. If you want extra realism, lightly smudge some areas with a blending stump to create the illusion of rounded form, but leave crisp edges where the stick splinters or snaps for added character.
Conclusion
Congratulations on completing your stick drawing! With just a few simple steps, you have successfully created a realistic representation of a stick. Remember, practice makes perfect, so keep honing your skills, and don't be afraid to experiment with different styles and techniques.
So go ahead and use this newfound knowledge to draw sticks in various scenarios, such as a forest scene or even as a prop for other drawings. The possibilities are endless! Enjoy the world of art, and keep exploring.
Fun Facts About Stick
- The word "stick" comes from the Old English "sticca," meaning a slender piece of wood.
- Sticks have been used as tools and weapons by humans and animals for thousands of years.
- Many animals, such as chimpanzees, use sticks as simple tools to extract insects or honey.
- Sticks play a crucial role in ecosystems by providing habitats for insects and fungi, as explained by the RSPB.
- In art, sticks have been used as drawing implements since prehistoric times, with charcoal sticks being among the earliest tools.
- Sticks are essential in many traditional games, such as stickball and hockey.
- Some plants, like the stick insect's namesake, have evolved to resemble sticks as a form of camouflage.
- Sticks are often used in survival situations for building shelters, making fire, and crafting tools.
- In literature and folklore, sticks frequently symbolize journeys, magic, or transformation.
Suggestions for Scenes and Settings for Stick Drawings
- Draw a stick partially buried in forest floor leaves, surrounded by scattered acorns and pebbles.
- Illustrate a stick as the main branch of a tree, with smaller twigs sprouting from it and textured bark details.
- Create a whimsical scene of a stick as a magical wand, glowing or surrounded by sparkles and mystical symbols.
- Depict a stick propped up as a support for a small tent or shelter in a camping scene.
- Draw a close-up of a stick with intricate textures—knots, cracks, and broken tips—emphasizing its natural imperfections.
- Show a stick being used as a walking stick by a cartoon character or animal.
- Arrange several sticks in a crisscross pattern, as if they're being built into a campfire or teepee.
- Illustrate a stick floating in a gentle stream, with ripples and reflections in the water.
- Draw a stick as part of a still life composition, placed alongside rocks, leaves, and a feather.
- Imagine a stick as a bridge for tiny insects, with ants or beetles marching across its surface.