How to Draw a Snowman
Learn how to draw a snowman with this step-by-step tutorial. From the basic shapes to the finishing details, follow the instructions to create your very own snowman drawing.
Materials You'll Need
- Pencil
- Paper
- Eraser
Few icons capture the magic and nostalgia of winter quite like the snowman. With their cheerful faces, round, stacked bodies, and playful accessories like scarves and top hats, snowmen have long been a beloved symbol of the colder months and holiday festivities. Whether you remember spending snowy afternoons rolling giant snowballs or admire the whimsical charm of snowmen in holiday cards and decorations, this character brings a sense of warmth and joy to artists and viewers alike. Learning how to draw a snowman allows you to recreate this classic figure on paper, making it perfect for seasonal greeting cards, winter-themed crafts, or simply practicing your drawing skills.
Drawing a snowman is an excellent choice for beginners and experienced artists alike. The simple geometric shapes—mainly circles—make it approachable for those just starting, while creative details like facial expressions, different types of hats, and snowy backgrounds offer plenty of opportunities for more advanced artists to add their unique flair. In this tutorial, you'll discover how to draw a snowman step by step, breaking down each part from the basic snowy forms to the finishing touches that give your snowman personality. Along the way, you'll learn important techniques such as sketching basic shapes, layering details, and adding shading for dimension.
No matter your skill level, drawing a snowman is a delightful way to celebrate the season and hone your artistic abilities. So grab your favorite drawing tools, bring your imagination, and let's dive into this fun and frosty tutorial. By the end, you'll have your own charming snowman to share with friends and family or use as inspiration for even more creative projects!
Materials Required
Before we begin, let's gather the materials you'll need to draw a snowman. Here's what you'll need:
- Paper: Start with a clean sheet of white paper. You can use any type of paper, but a heavier-weight paper or sketch pad works best for drawing with pencils or markers.
- Pencil: Use a medium or soft graphite pencil for sketching the initial lines. This will allow you to easily make adjustments as you go.
- Eraser: Keep a soft eraser handy to correct any mistakes or lighten lines.
- Colored pencils or markers (optional): If you want to add some color to your snowman, have some colored pencils or markers available. These can be used for the scarf, hat, buttons, and other details.
Now that we have our materials ready, let's dive into the step-by-step process of drawing a snowman!
Step 1: Draw the Snowman's Body
Start by drawing a large circle in the middle of your paper. This will be the snowman's body. Make the circle as big or as small as you'd like your snowman to be. Remember, snowmen come in all shapes and sizes!
Step 2: Add the Snowman's Head
Above the body circle, draw a smaller circle to represent the snowman's head. The head should be slightly smaller than the body. Make sure the two circles touch each other, as this will create a seamless transition between the body and head.
Step 3: Draw the Snowman's Face
Now it's time to give your snowman some personality! Draw two small circles for the eyes inside the head circle. Place them slightly above the middle of the head. Below the eyes, draw a curved line for the snowman's smile. You can make the smile as big or as small as you'd like.
Step 4: Add the Carrot Nose
No snowman is complete without a carrot nose! At the center of the face, below the eyes and above the smile, draw a small triangle shape to represent the carrot. Start with a straight line that angles downwards, then connect the two ends with curved lines. Make the nose as big or as small as you'd like.
Step 5: Draw the Snowman's Arms
Extend two slightly curved lines outwards from the snowman's body, near the middle. These will be the snowman's arms. You can make the arms as long or as short as you'd like. At the end of each line, draw a small circle to represent the snowman's mittens.
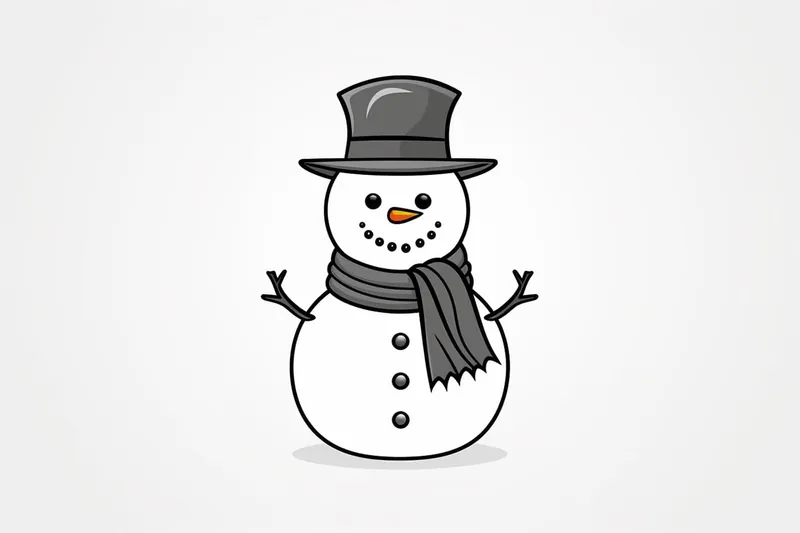
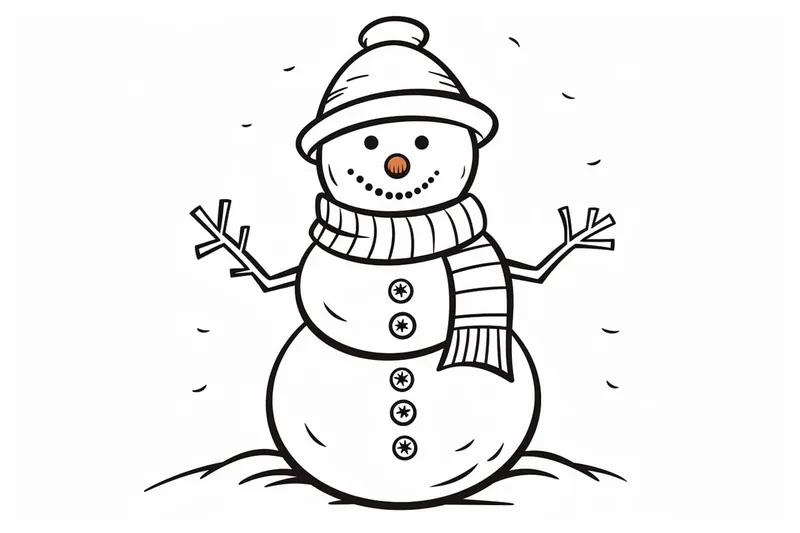
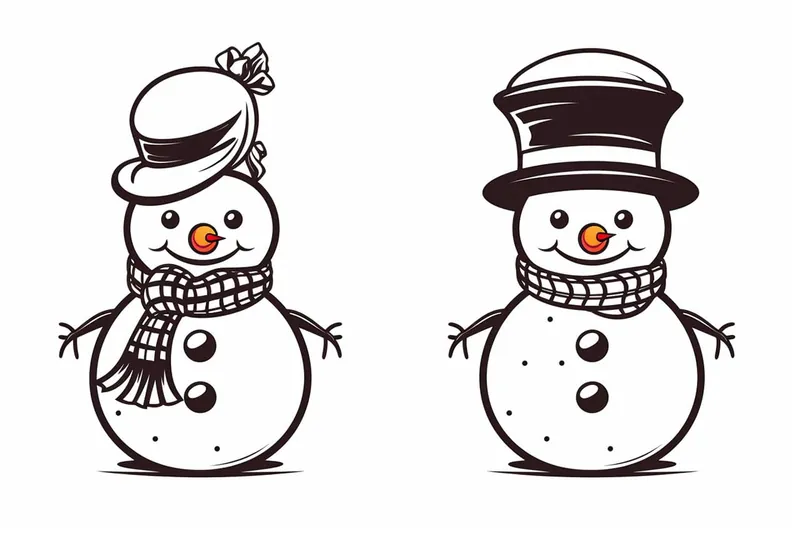
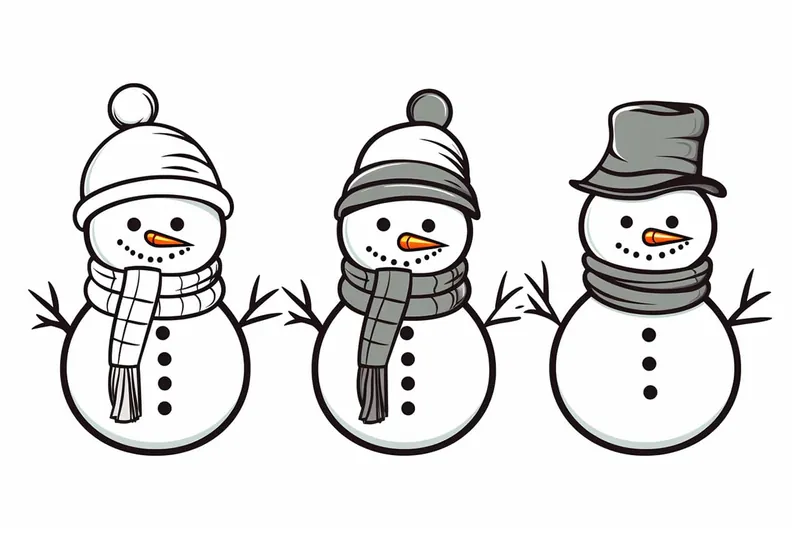
Step 6: Add the Snowman's Hat
Above the snowman's head, draw a rectangle or trapezoid shape to represent the hat. Make the bottom of the shape slightly wider than the top. You can make the hat as tall or as short as you'd like. To add a bit of detail, draw a small rectangle shape on the bottom part of the hat, near where it touches the head.
Step 7: Draw the Snowman's Scarf
Around the snowman's neck, draw a wavy line to represent the scarf. The line should start from one side of the neck and extend towards the opposite side. Add a few vertical lines across the scarf to create a textured look. You can also draw fringe or tassels at the ends of the scarf for extra flair.
Step 8: Add Buttons
On the snowman's body, draw three small circles in a vertical line. These will be the snowman's buttons. You can space them evenly or make them slightly staggered for a more playful look.
Step 9: Perfect the Outline
Now that you've drawn all the main features of the snowman, go back and refine the outline. Use your pencil to darken the lines that you want to keep. Lightly erase any unnecessary lines or mistakes. This step is all about refining the shapes and making the snowman look clean and polished.
Step 10: Add Details and Shadows
Tip: As you draw your snowman, don't hesitate to experiment with different shapes and sizes for each element, such as the body, head, and accessories; this not only enhances your creativity but also allows you to develop a unique character for your snowman. Incorporating varied facial expressions, hats, and scarves can bring your drawing to life, making it a reflection of your personal style.
To bring your snowman to life, add some details and shading. Use your pencil or colored pencils to shade the scarf, hat, and other elements of the snowman. You can also add some shading to create depth and dimension. Remember to blend the shades smoothly to create a realistic effect.
Congratulations! You've successfully drawn a snowman from start to finish. Now you can add some color, personalize your snowman, or even create a whole snowman family. Don't be afraid to get creative and have fun with your drawing!
Wild Inspiration: Imagine your snowman as the centerpiece of a magical, celestial parade—its body stacked not from simple snowballs, but from shimmering planets and swirling nebulae! Give your creation a cosmic twist by transforming its scarf into a flowing ribbon of the Northern Lights, and replace coal buttons with sparkling stars or tiny, orbiting moons. Instead of a carrot nose, try a glowing comet or a crystal icicle, and let its hat become a miniature galaxy complete with swirling stardust. Surround your snowman with floating snowflakes shaped like constellations, and set the scene on an alien winter landscape with frosty blue mountains and vibrant, otherworldly trees. This interstellar snowman is the perfect way to blend winter whimsy with out-of-this-world imagination—so let your creativity blast off!
Conclusion
Drawing a snowman is a wonderful way to celebrate the winter season and get into the holiday spirit. By following these step-by-step instructions, you can create your very own snowman masterpiece. Remember to start with the basic shapes, add details gradually, and take your time to refine the drawing. Whether you're a beginner or an experienced artist, drawing a snowman is a delightful activity that anyone can enjoy. So grab your drawing materials and let your creativity shine!
Gallery of Snowman Drawings
Fun Facts About Snowman
- The earliest known illustration of a snowman dates back to a 1380 manuscript.
- Snowmen are traditionally made with three snowballs stacked on top of each other, a custom popularized in Western cultures.
- The world's largest snowman, named Olympia, was built in Maine in 2008 and stood over 122 feet tall.
- In Japan, snowmen are typically made with just two snowballs, a style called Yukidaruma.
- The carrot nose became a popular snowman feature in the 19th century.
- Snowmen have appeared in art and literature for centuries, including in Hans Christian Andersen's 1861 fairy tale "The Snowman".
- Building snowmen is a winter tradition in many countries, with some places hosting annual snowman festivals, such as Snowman World in Finland.
- Frosty the Snowman, a famous character from a 1950 song, helped popularize the snowman in American holiday culture.
Suggestions for Scenes and Settings for Snowman Drawings
- A snowman family having a snowball fight in a snowy backyard.
- A snowman wearing sunglasses and relaxing on a beach made of snow.
- A group of snowmen caroling beneath twinkling holiday lights at night.
- A snowman skating on a frozen pond with animal friends watching nearby.
- A snowman decorating a pine tree with ornaments and tinsel.
- A magical snowman coming to life under a full moon in a quiet forest clearing.
- A snowman holding an umbrella while snowflakes gently fall around him.
- A snowman helping children build more snowmen in a bustling winter park.
- A snowman at a winter carnival with hot cocoa stands and festive banners in the background.
- A snowman waving as the first rays of sunrise glisten on a frosty landscape.