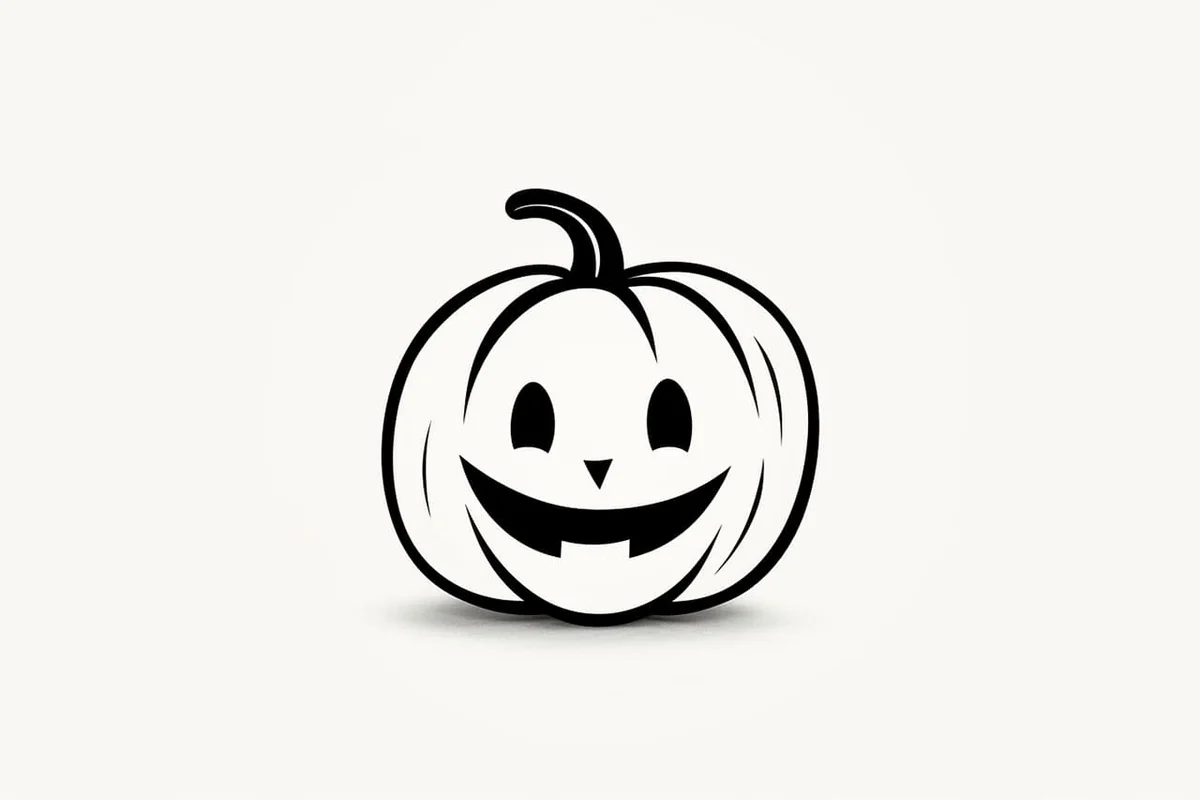
How to Draw a Pumpkin Face
Learn how to draw with this step-by-step tutorial.

Materials You'll Need
- Drawing paper
- Pencil (HB or 2B)
- Eraser
- Colored pencils
- Markers

Welcome to our delightful step-by-step guide on how to draw a charming pumpkin face! This fun and creative activity is perfect for anyone looking to capture the spirit of Halloween or simply want to engage in some artistic expression. Drawing a pumpkin face is not only a classic Halloween craft, but it's also a fantastic way to exercise your creativity, whether you're a seasoned artist or a complete beginner.
In this guide, we'll walk you through the process of how to draw a pumpkin face with clear and concise instructions, ensuring you have everything you need to bring your pumpkin to life on paper. From the basic outline to adding those whimsical facial features, we'll cover it all, making it easy for you to follow along.
So, gather your drawing materials, find a cozy spot, and get ready to unleash your creativity! Let's jump into the fun and inspiring world of pumpkin art!
Materials Required
Before we dive into the steps, let's gather the materials you will need:
-
Paper: Choose a clean sheet of drawing paper that is smooth and suitable for your preferred drawing medium (pencil, pen, or marker).
-
Pencil: A pencil will allow you to make light initial sketches and easily erase any mistakes.
-
Eraser: A soft eraser will come in handy for removing any unwanted lines or smudges.
-
Fine-tipped Pen or Marker: If you prefer to create a more defined and bold outline, a fine-tipped pen or marker can be used instead of a pencil.
-
Colored Pencils or Markers (optional): If you wish to add color to your pumpkin face, have some colored pencils or markers ready.
Now that we have all our materials prepared, let's move on to the step-by-step instructions.
Step 1: Draw the Outline of the Pumpkin
To begin, draw a large oval shape in the center of your paper. This will form the base of your pumpkin. Don't worry about making it perfect – pumpkins come in various shapes and sizes, so embrace the uniqueness of your creation!
Step 2: Add the Facial Features to the Pumpkin
Next, draw two horizontal lines across the pumpkin to serve as guides for the eyes and nose. Position them slightly above the center of the oval. Then, draw two vertical lines intersecting the horizontal lines to create the divisions for the eyes and nose.
Step 3: Sketch the Eyes, Nose, and Mouth
Using the guideline you just drew, start sketching the eyes, nose, and mouth of the pumpkin. Let your creativity flow as you decide on the shape and expression you want to give your pumpkin. Remember, the eyes can be triangular, oval, or any shape you prefer, while the nose can range from a simple triangle to a more elaborate design. For the mouth, consider adding jagged or uneven teeth to give your pumpkin a spooky touch.
Step 4: Refine the Facial Features
Now that you have the basic shapes in place, refine the facial features by adding more details. Add small curves and lines to create depth and dimension. Experiment with different shading techniques to give your pumpkin a three-dimensional appearance. Don't be afraid to adjust and modify your lines until you are satisfied with the overall look.
Step 5: Erase Unwanted Lines
Once you are happy with your pumpkin face, use the eraser to carefully remove the initial guidelines and any other unwanted lines. Take your time and erase gently to avoid smudging or damaging your drawing.
Step 6: Optional - Add Color to Your Pumpkin Face
If you prefer a colorful pumpkin face, this is the step for you! Using colored pencils or markers, carefully fill in the different sections of your pumpkin face. Consider using warm hues like orange, red, and yellow for a traditional pumpkin look. You can also experiment with cooler tones if you want a unique twist. Remember to blend and layer the colors to create depth and texture.

Tip: To create a captivating pumpkin face, start by sketching a basic oval shape for the pumpkin body, then lightly outline where you want the facial features to go; this allows for easy adjustments. Use a variety of pencils – a harder pencil (like H) for initial outlines and a softer one (like B) for darker lines as you refine your drawing. When detailing the eyes and mouth, think about the expression you want to convey; playful or spooky? For added dimension, consider shading around the edges of the pumpkin to give it a rounded appearance, and don't forget to include the stem at the top for a finishing touch. Lastly, if you're looking to add color, warm oranges and yellows can bring your pumpkin to life, so feel free to experiment with colored pencils or markers!
Conclusion
Congratulations! You have successfully drawn a pumpkin face. By following these step-by-step instructions, you were able to create a spooky and festive masterpiece. Whether you're planning to showcase your artwork or use it as a decoration, your pumpkin face is sure to impress. So gather your materials, let your creativity soar, and enjoy the process of bringing your pumpkin to life! While you're in the Halloween spirit, you can also learn to draw a witch's hat or a cornucopia.
Gallery of Pumpkin Face Drawings


