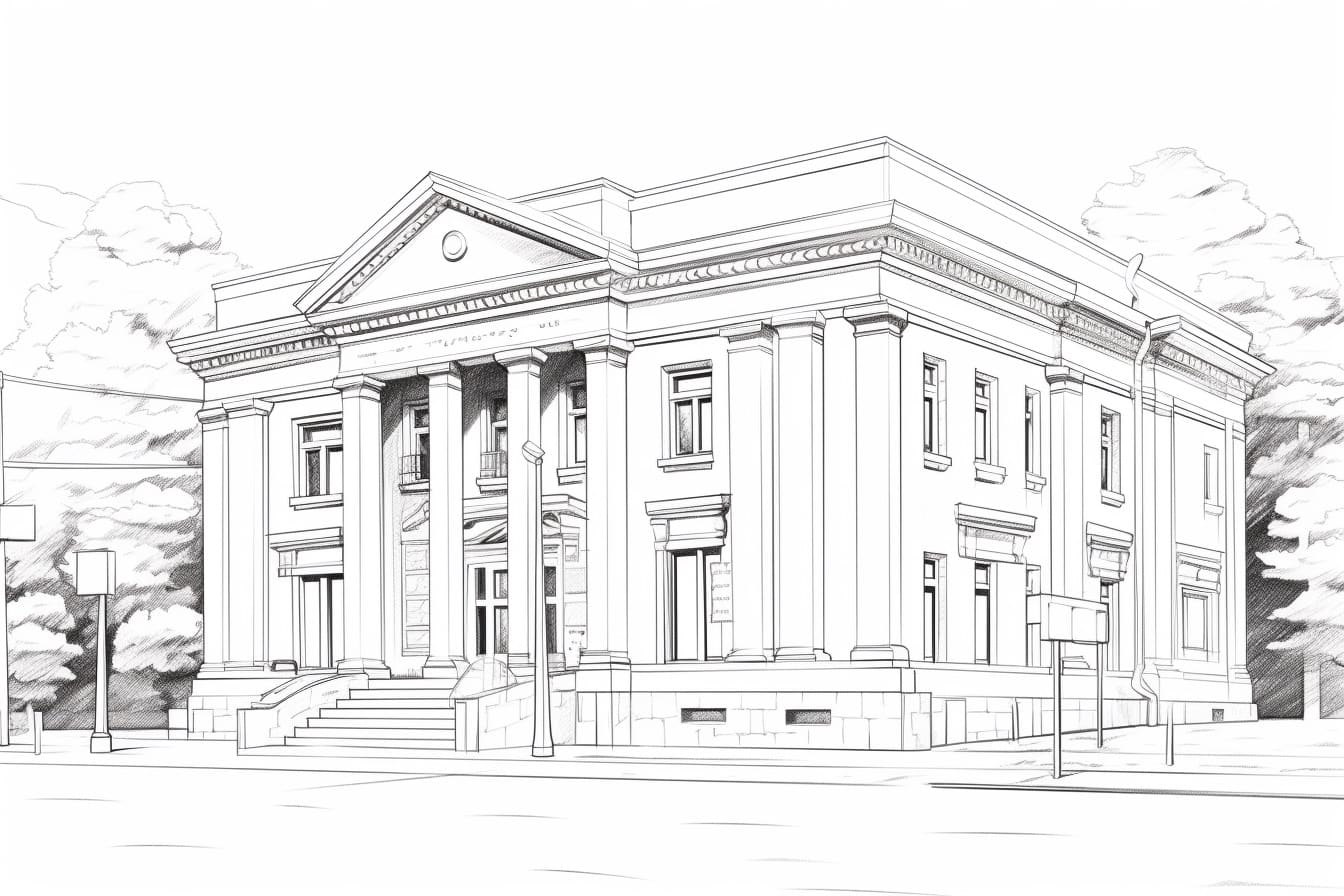
Have you ever wanted to draw a post office? In this step-by-step tutorial, I will guide you through the process of creating a realistic drawing of a post office building. Whether you’re an experienced artist or a beginner, this tutorial will help you create a beautiful artwork that showcases the charm and character of a post office.
Materials Required
Before we begin, let’s gather the materials you’ll need for this drawing:
- Drawing paper or sketchbook
- Pencil (HB or 2B recommended)
- Eraser (kneaded or vinyl eraser)
- Fine-tip black pen or marker
- Ruler
- Coloring materials (optional)
Now that we have everything we need, let’s get started!
Step 1: Sketch the Basic Shapes
Begin by lightly sketching the basic shapes of the post office building. Start with a rectangle for the main structure, and add a smaller rectangle on top for the roof. Make sure to leave enough space at the front for the entrance and windows. Use your ruler to ensure straight lines and accurate proportions.
Step 2: Add Details to the Building
Once you’re satisfied with the basic shapes, start adding more details to the post office building. Draw the entrance door, windows, and any architectural features that make the building unique. Take your time with this step, as the details will bring your drawing to life.
Step 3: Sketch the Surrounding Area
Next, sketch the surroundings of the post office building. This could include sidewalks, lampposts, trees, or any other elements you’d like to include in your artwork. Consider the perspective and placement of these objects to create a realistic scene.
Step 4: Refine Your Sketch
Take a moment to review and refine your sketch. Make any necessary adjustments to the proportions, details, or composition of your drawing. Use your eraser to clean up any unwanted lines or smudges.
Step 5: Ink Your Drawing
Once you’re happy with your sketch, it’s time to ink your drawing. Use a fine-tip black pen or marker to carefully trace over your pencil lines. Be confident and deliberate with your strokes to create bold and defined lines. Take your time and proceed slowly to avoid mistakes.
Step 6: Erase the Pencil Lines
After the ink has dried, erase the pencil lines from your drawing. Use a gentle touch and an eraser that won’t damage the inked lines. Take your time with this step to ensure a clean and professional-looking result.
Step 7: Add Color (Optional)
If you want to add color to your drawing, now is the time to do so. Choose your preferred coloring materials, such as colored pencils or markers, and carefully apply color to your artwork. Consider the lighting conditions and shadows to create depth and dimension.
Step 8: Final Details and Touches
To complete your post office drawing, add any final details and touches. This could include textures, shading, or additional elements that enhance the overall look of your artwork. Take a step back and evaluate your drawing to identify any areas that could benefit from further refinement.
Conclusion
Congratulations! You have successfully learned how to draw a post office. By following these step-by-step instructions, you have created a beautiful artwork that showcases the charm and character of a post office building. Remember, practice makes perfect, so don’t be afraid to try this tutorial multiple times to improve your skills. Now, go grab your art supplies and start drawing your very own post office masterpiece!


