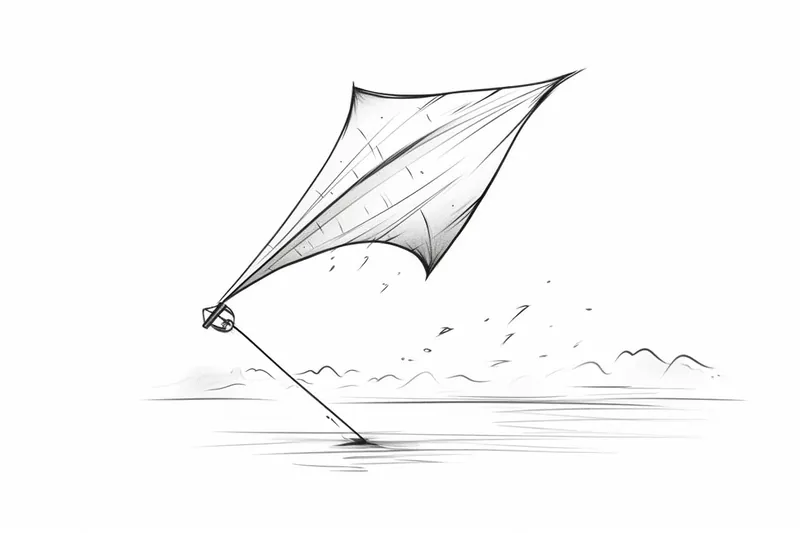
How to Draw a Kite
Learn how to draw a kite with this step-by-step tutorial. Whether you're a beginner or experienced artist, follow these instructions to create a beautiful kite artwork.
Materials You'll Need
- Pencil
- Paper
- Eraser
Welcome to this detailed and inspiring tutorial on how to draw a kite! Kites have fascinated people for centuries, symbolizing freedom, joy, and the simple pleasures of a breezy day outdoors. Capturing the elegant shape and vibrant patterns of a kite on paper is not only a fun artistic challenge but also a wonderful way to practice your drawing skills. Whether you're inspired by the geometric precision of a classic diamond kite or the whimsical curves of a modern design, learning how to draw a kite can add a playful and dynamic subject to your art portfolio.
This tutorial is designed to guide artists of all skill levels—from beginners who are just picking up their pencils to seasoned creators looking to refine their technique. You will learn essential drawing fundamentals such as proportion, perspective, and shading, which are all crucial when rendering a kite realistically. We'll cover how to outline the kite's frame with clean lines, add details like the tail and string, and bring it to life with shading and color suggestions. By breaking down the process into manageable steps, this guide ensures that you gain confidence while fostering your creativity.
So, if you've ever wanted to capture the beauty and lightness of a kite soaring through the sky, this tutorial on how to draw a kite is perfect for you. Gather your drawing materials, prepare your workspace, and get ready to enjoy a rewarding artistic experience. Remember, each stroke brings you closer to mastering this charming subject—let's take flight together and create something truly special!
Materials:
Before we begin, make sure you have the following materials:
- Drawing paper
- Pencil
- Eraser
- Ruler
- Colored pencils or markers (optional)
Step 1: Drawing the Kite Shape
Start by drawing the shape of your kite. Using a pencil, lightly sketch a diamond shape on your drawing paper. Remember that kites can come in various sizes, so feel free to adjust the dimensions based on your preference. Avoid pressing too hard with the pencil so that you can easily erase any unwanted lines later on.
Step 2: Adding the Tail
Next, let's add a tail to your kite. Draw a long, thin rectangle at the bottom of the diamond shape. The length of the tail is up to you, but make sure it is proportionate to the size of the kite. You can get creative here by making the tail colorful or adding patterns later on.
Step 3: Creating a Frame
Now, it's time to add a frame to your kite. Using a ruler, draw two diagonal lines that intersect at the center of the diamond shape. These lines will give your kite a three-dimensional look. Then, draw two more diagonal lines in the opposite direction, intersecting at the same center point. You should now have an "X" shape on your kite.
Step 4: Drawing the Bow
To make your kite more visually appealing, let's add a bow at the center. Draw a small circle where the diagonal lines intersect. From the circle, draw two curved lines on each side, resembling a bow shape. Feel free to adjust the size and shape of the bow according to your preference. This detail will add a touch of elegance and interest to your drawing.
Step 5: Adding the Spine
Now, let's draw the spine of the kite. Starting from the top of the diamond shape, draw a vertical line that extends down to the center of the kite. This line will give your kite stability and structure. Make sure the line is straight and centered.
Step 6: Creating the Border
To make your kite stand out, let's create a border around the diamond shape. Using a ruler, draw lines that follow the shape of the diamond, approximately 0.5 cm away from the edges. This border will add definition to your kite and make it pop off the page.
Step 7: Adding Details
Now that you have the basic structure of your kite, it's time to add some details. You can draw additional lines across the diamond shape to give it a pattern or texture. You can also create a design within the bow, such as small circles or dots, to make it more visually interesting. Use your creativity to personalize your kite.
Step 8: Erasing Unwanted Lines
Before moving on to coloring or shading, take a moment to erase any unwanted lines that are still visible. Use your eraser to carefully remove any stray marks or guidelines that you no longer need. This step will ensure that your final artwork looks clean and polished.
Step 9: Coloring Your Kite (Optional)
Now comes the fun part – coloring! You can use colored pencils, markers, or any other coloring tools you prefer. Think about the colors you want to use for your kite and tail. You can go for a traditional rainbow design, a single color scheme, or get creative with unique patterns and combinations. Take your time and enjoy the process of coloring your artwork.
Step 10: Shading and Highlights (Optional)
To add depth and dimension to your drawing, you can experiment with shading and highlights. Identify the direction of your light source and darken the areas that would be in shadow, such as the underside of the kite or the bow. Additionally, use a white pencil or eraser to add highlights on the areas that would catch the light, such as the top of the kite or the bow's edges. This step will bring your artwork to life.
Conclusion
Congratulations on completing your kite drawing! By following these step-by-step instructions, you have learned how to draw a realistic and visually appealing kite artwork. Remember, drawing is a skill that can be improved through practice, so don't hesitate to continue exploring and experimenting with different techniques. Enjoy the process and have fun with your art!
Fun Facts About Kite
- The earliest known kites were invented in China over 2,000 years ago and were originally used for military purposes.
- Kites can reach altitudes of over 20,000 feet, making them useful for scientific experiments and meteorological observations.
- The world's largest kite festival is held annually in Gujarat, India, attracting thousands of participants from around the globe.
- Kites have inspired the invention of the airplane; the Wright brothers studied kite flight to develop their first powered aircraft.
- In some cultures, kite flying is a traditional activity during festivals symbolizing freedom and joy.
- Modern kites come in various shapes and designs, including stunt kites that allow pilots to perform aerial tricks.
- Kites have been used to generate electricity by harnessing wind power in innovative renewable energy projects.
- The longest kite flight on record lasted over 12 hours, demonstrating the endurance and stability of well-designed kites.
Suggestions for Scenes and Settings for Kite Drawings
- A sunny park scene with children flying colorful kites against a bright blue sky.
- A windy beach setting where kites soar above crashing waves and sandy shores.
- A mountain meadow with wildflowers, where a single kite dances high near puffy clouds.
- An autumn landscape with falling leaves and a kite trailing a tail of vibrant reds and oranges.
- A festival scene featuring a sky filled with various kites of all shapes and sizes.
- A peaceful countryside field with a wooden fence and a kite string held by a joyful child.
- A twilight scene where a glowing kite floats gently as the sun sets behind distant hills.
- An imaginative fantasy sky where kites have whimsical shapes like dragons or mythical creatures.
- A rainy day under a protective umbrella, with a kite waiting to be flown once the clouds clear.
- An urban rooftop where a kite is flying high above city buildings and bustling streets.