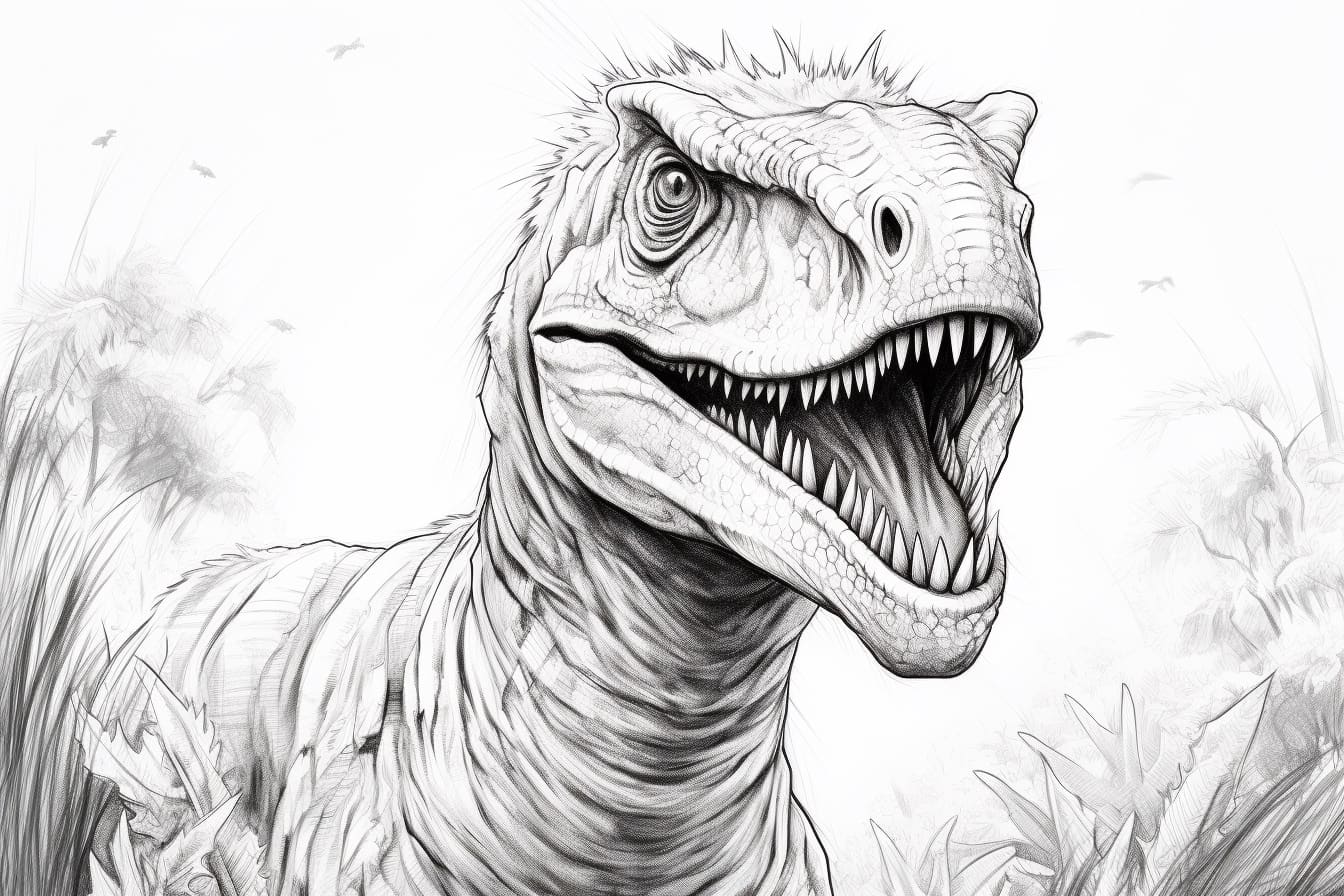
Drawing Dilophosaurus can be a thrilling and educational experience as you bring to life one of the most distinctive dinosaurs of the Jurassic period. Known for its striking double crests on its head and its venomous capabilities, the Dilophosaurus is a fascinating subject for artists of all levels. In this guide, we will explore the key features of this unique dinosaur and provide step-by-step instructions to help you capture its essence on paper. So grab your pencils and get ready to embark on a creative journey back in time to the age of the Dilophosaurus!
Materials Required
To draw a Dilophosaurus, you will need the following materials:
- Pencil: for sketching the initial outline and details.
- Eraser: for correcting mistakes and refining your drawing.
- Paper: preferably a sketch pad or drawing paper that can handle pencil drawings.
- Reference image of a Dilophosaurus: to help you capture the details and proportions accurately.
- Colored pencils or markers (optional): if you want to add color to your drawing.
- Blending stumps or q-tips (optional): for blending and shading techniques.
- Ruler (optional): to help with straight lines and proportions.
These materials will help you create a detailed and accurate drawing of a Dilophos
How to Draw a Dilophosaurus: a Step-by-step Guide
Step 1: Gather Your Materials
- Gather all the necessary materials for the drawing, including a pencil, eraser, paper, and any desired coloring tools like markers or colored pencils.
Step 2: Start with the Basic Shapes
- Begin by lightly sketching the basic shapes of the Dilophosaurus. Start with an oval for the body, a smaller oval for the head, and simple shapes for the limbs.
Step 3: Add Details to the Head
- Refine the shape of the head by adding details such as the eyes, nostrils, and mouth. The Dilophosaurus is known for its distinctive double crests on its head, so be sure to include those as well.
Step 4: Outline the Body and Limbs
- Once you are satisfied with the head, start outlining the body and limbs of the Dilophosaurus. Pay attention to the proportions and anatomy of the dinosaur as you sketch.
Step 5: Add Scales and Texture
- To add realism to your drawing, incorporate scales and texture to the skin of the Dilophosaurus. You can achieve this by drawing small, overlapping ovals or lines across the body.
Step 6: Refine Details and Features
- Take your time to refine the details of the Dilophosaurus, such as its claws, tail, and any other distinctive features. Add depth and dimension to your drawing by shading areas that would be in shadow.
Step 7: Erase Guidelines and Finalize
- Once you are happy with the overall look of your Dilophosaurus drawing, carefully erase any remaining guidelines and unnecessary marks. Make any final adjustments to ensure a polished finished piece.
Step 8: Add Color (Optional)
- If you choose to add color to your drawing, carefully select appropriate shades to bring your Dilophosaurus to life. Consider referencing images of this dinosaur to accurately depict its coloring.
Step 9: Sign and Date Your Artwork
- To complete your Dilophosaurus drawing, sign your name and date your artwork. This adds a personal touch and marks the completion of your creative endeavor.
Step 10: Share Your Artwork
- Share your Dilophosaurus drawing with others to showcase your talent and creativity. Consider framing it or displaying it in your art portfolio. Enjoy the process and celebrate your artistic accomplishment!
Conclusion
In conclusion, drawing a Dilophosaurus can be a fun and rewarding artistic challenge. By following the step-by-step instructions outlined in this article and practicing regularly, you can improve your skills and create impressive and lifelike representations of this fascinating dinosaur. Remember to be patient with yourself, embrace mistakes as learning opportunities, and most importantly, let your creativity and passion for art guide you as you bring the Dilophosaurus to life on paper. Happy drawing!
Fun Facts About Dilophosauruses
- Dilophosaurus was a large theropod dinosaur that lived during the Early Jurassic period, around 193 million years ago.
- Its name, Dilophosaurus, means “two-crested lizard” referring to the two crests on top of its skull.
- Despite its portrayal in popular culture, there is no evidence to suggest that Dilophosaurus had the ability to spit venom like in the movie Jurassic Park.
- Dilophosaurus had a long and slender skull with sharp teeth, indicating it was a carnivorous predator.
- It is estimated that Dilophosaurus grew to lengths of around 20 feet (6 meters) and weighed up to 1,000 pounds (450 kilograms).
- Dilophosaurus likely walked on two legs and had strong hind limbs, allowing it to run quickly to catch its prey.
- Fossil evidence suggests that Dilophosaurus may have been a social animal, living and hunting in groups.
- Dilophosaurus is one of the best-known early theropod dinosaurs, with several well-preserved fossil specimens found in Arizona, USA.
- Despite its relatively large size, Dilophosaurus had relatively small arms with three-fingered hands, typical of theropod dinosaurs.
- Dilophosaurus is considered an important dinosaur in understanding the evolution of theropods and their adaptations for hunting and survival.
Suggestions for Scenes and Settings for Dilophosaurus Drawings
Absolutely! Here are some specific suggestions for scenes and settings when drawing Dilophosaurus:
- Prehistoric Forest: Place the Dilophosaurus in a lush, dense prehistoric forest with tall ferns, towering trees, and rays of sunlight filtering through the canopy.
- Jurassic Riverbank: Show the dinosaur wading through a shallow river, with water splashing around its feet, surrounded by rocks and lush vegetation.
- Volcanic Landscape: Imagine the Dilophosaurus against the backdrop of an active volcano, with billowing smoke and ash filling the sky, creating a dramatic and dangerous setting.
- Mountain Pass: Set the scene in a rugged mountain pass, with the Dilophosaurus perched on a rocky outcrop, surveying the landscape below.
- Dusk in the Desert: Capture the Dilophosaurus at dusk in a desert landscape, with the last rays of sunlight casting long shadows across the sandy terrain.
- Canyon Oasis: Picture the dinosaur in a hidden oasis within a deep canyon, surrounded by lush greenery, a sparkling waterfall, and colorful birds flying overhead.
- Tropical Island: Place the Dilophosaurus on a tropical island beach, with palm trees swaying in the breeze, crystal-clear water lapping at the shore, and distant mountains on the horizon.
- Ancient Ruins: Show the dinosaur exploring ancient ruins, with crumbling stone walls, intricate carvings, and overgrown vegetation reclaiming the once grand structures.
- Moonlit Marsh: Set the scene in a misty marsh under the light of a full moon, with the Dilophosaurus moving stealthily through the murky waters, its glowing eyes reflecting the moonlight.
- Alien Landscape: Let your imagination run wild and place the Dilophosaurus in a surreal, alien landscape with bizarre rock formations, strange plants, and a sky filled with multiple moons or unusual celestial bodies.
Feel free to combine elements from these suggestions or come up with your own unique ideas to create captivating and imaginative drawings of Dilophosaurus in various scenes and settings!


