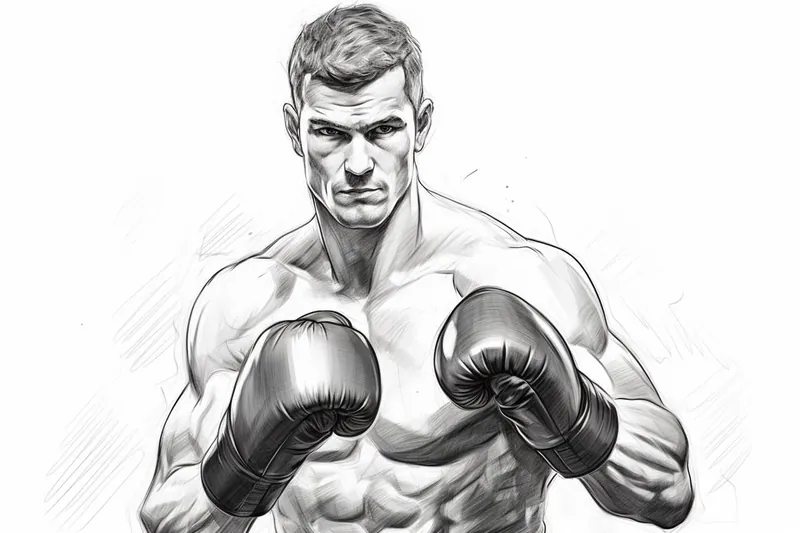
How to Draw a Boxer
Learn how to draw a boxer with this step-by-step tutorial. Capture the strength and intensity of this athletic figure in your artwork.
Materials You'll Need
- Pencil
- Paper
- Eraser
Welcome to this detailed, step-by-step guide on how to draw a boxer! Boxers are fascinating subjects to capture in art because they embody a unique blend of power, agility, and determination. Drawing a boxer allows artists to explore dynamic poses, muscular anatomy, and intense facial expressions, making it an exciting challenge that can help enhance your figure drawing skills. Whether you admire the sport or simply want to practice rendering human form in motion, learning how to draw a boxer offers a rewarding artistic experience.
Tip: As you work through the steps of drawing a boxer, consider using a variety of reference photos to capture different angles and expressions, which can enhance your understanding of the boxer's anatomy and movement. This diverse range of references will provide a richer context for your drawing, helping you to create a more dynamic and lifelike representation of the boxer in action.
This tutorial is designed to be accessible for artists of varying skill levels—from beginners eager to get comfortable with anatomy and proportions, to more advanced creators looking to refine their technique in illustrating movement and emotion. Throughout the process, you will learn how to sketch the boxer's stance, define muscular structure, and add shading to convey strength and depth. By the end, you'll have a dynamic and realistic representation that captures the intensity and grace characteristic of this powerful athlete.
So, grab your pencils and paper as we embark on this creative journey. Remember, mastering how to draw a boxer takes practice and patience, but with each step, you will gain confidence and improve your artistic abilities. Let's dive in and bring this strong, spirited figure to life on your canvas!
Materials Required
Before we begin, make sure you have the following materials:
- Pencil
- Eraser
- Paper
- Drawing board or table
- Reference photo of a boxer
Now that you have all the necessary materials, let's move on to the step-by-step instructions.
Step 1: Start with Basic Shapes
Begin by sketching the basic shapes to establish the pose of the boxer. Use simple geometric shapes like circles and ovals to represent the head, torso, and limbs. This initial framework will serve as a guide for the rest of the drawing.
Step 2: Define the Proportions
Now, it's time to refine the proportions of the boxer. Pay close attention to the reference photo and compare the sizes of different body parts. Adjust the size and position of the shapes to make them more accurate. Use light, loose lines for this stage as you will be making further adjustments later on.
Step 3: Add the Features
Next, start adding details to the boxer's face. Begin with the eyes, nose, and mouth. Pay attention to the angle and shape of each feature, as it contributes to the expression and character of the boxer. Use light strokes to outline the features before adding more depth and definition.
Step 4: Work on the Musculature
Now, focus on capturing the muscular physique of the boxer. Observe the reference photo carefully and identify the prominent muscles. Use curved lines to define the contours of the muscles. Pay attention to the light and shadows to create a three-dimensional effect. Remember to maintain consistency with the pose and proportions established earlier.
Step 5: Refine the Details
In this step, start refining the details of the boxer's face and body. Pay attention to the smaller features such as the eyebrows, ears, and hair. Gradually add more definition and shading to give your drawing a realistic look. Take your time with this step, as attention to detail is crucial for achieving a lifelike portrait.
Step 6: Bring the Drawing to Life
Now that the major details are in place, it's time to add depth and shading to bring your drawing to life. Observe the reference photo for areas of light and shadow, and use hatching and cross-hatching techniques to create texture and dimension. Build up the shading gradually, starting with lighter tones and gradually adding darker tones for a realistic effect.
Step 7: Final Touches
Once you are satisfied with the shading and overall appearance of your drawing, take a step back and assess it as a whole. Make any necessary adjustments to ensure accuracy and balance. Use an eraser to clean up any stray marks or smudges. You can also add additional details or highlights to enhance certain areas and create a focal point.
Conclusion
Congratulations! You have successfully learned how to draw a boxer. By following these step-by-step instructions and practicing regularly, you will improve your skills and create stunning artworks. Remember to be patient with yourself and enjoy the process of creating art. With time and dedication, you will continue to refine your techniques and create impressive drawings.
So grab your materials, find a reference photo, and let your creativity flow as you embark on your journey to draw a boxer!
Fun Facts About Boxers
- Boxers are known for their powerful punches and exceptional agility, making them one of the most dynamic athletes in combat sports.
- The Boxer breed of dog was named for its tendency to "box" with its front paws during play.
- Boxing has been an Olympic sport since 1904, showcasing the sport's long-standing global appeal.
- Famous boxers like Muhammad Ali and Mike Tyson have transcended sports to become cultural icons.
- [Boxers require rigorous training that includes strength, endurance, and technique to excel in the ring.Boxing training](https://www.verywellfit.com/boxing-training-for-beginners-3498583)
- [The stance and footwork of a boxer are crucial for both offense and defense, often studied in detail by artists and athletes alike.Boxing techniques](https://www.masterclass.com/articles/boxing-techniques-explained)
- Boxing gloves were introduced in the 18th century to protect fighters' hands and reduce facial injuries.
- Boxers have a unique combination of fast-twitch muscle fibers that contribute to their explosive power and speed.
Suggestions for Scenes and Settings for Boxer Drawings
- A boxer warming up with jump rope in a gritty urban gym setting.
- Action shot of a boxer throwing a powerful punch during a match, with a blurred crowd in the background.
- A boxer resting between rounds, sitting on a stool in the corner of the ring, sweat and determination visible.
- Close-up portrait capturing intense facial expression and detailed musculature under dramatic lighting.
- A boxer shadowboxing in front of a cracked mirror, emphasizing form and movement.
- A vintage-style boxing poster featuring a classic boxer pose with bold typography.
- A boxer training outdoors at sunrise, with rays of light accentuating muscle definition.
- A boxer tying their gloves before stepping into the ring, showing focus and preparation.
- A dynamic scene of a boxer dodging an opponent's punch, highlighting agility and reflexes.
- A boxer cooling down post-fight, wrapped in a towel with a reflective, contemplative mood.