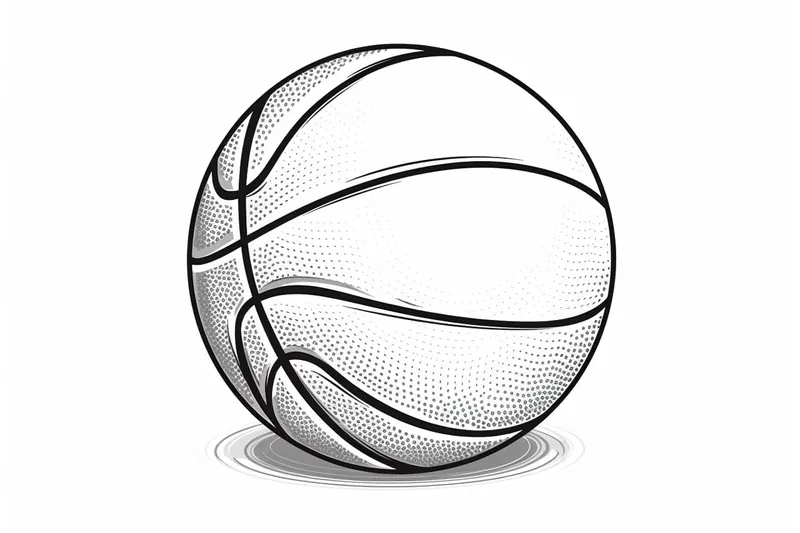
How to Draw a Basketball
Learn how to draw a basketball with this step-by-step tutorial. Create a realistic depiction of a basketball using simple techniques and materials.
Materials You'll Need
- Pencil
- Paper
- Eraser
Drawing a basketball offers a wonderful opportunity to practice capturing both form and texture in your artwork. The basketball is not only an iconic symbol of sports culture but also a fascinating subject due to its unique shape, detailed panel lines, and textured surface. Learning how to draw a basketball allows artists to develop skills in shading, perspective, and proportion, all of which are fundamental to creating realistic illustrations. Whether you're a sports enthusiast wanting to immortalize your favorite game or an artist aiming to improve your technique, this tutorial is designed to guide you through the process with clarity and ease.
This tutorial on how to draw a basketball is suitable for artists of all skill levels—from beginners taking their first steps in drawing spherical objects to more advanced creators looking to refine their ability to depict texture and light. We will break down the drawing into manageable steps, starting with the basic shape and moving toward the intricate details like the seams and the pebbled surface that give a basketball its distinctive look. You'll learn how to use shading techniques to convey depth and dimension, making your basketball appear three-dimensional and lifelike on the page.
So grab your pencils, erasers, and paper, and prepare to dive into the world of sports art. With patience and practice, you'll soon be able to create a compelling and realistic basketball drawing that captures the essence of this classic sports ball. Remember, every great artist started with simple shapes—this tutorial will help you build your confidence and skills step by step. Let's get started and enjoy the rewarding process of bringing a basketball to life on your canvas!
Materials Required
Before we begin, make sure you have the following materials at your disposal:
- Drawing paper or a sketchbook
- Pencils (HB, 2B, and 4B)
- Eraser
- Ruler
- Compass or circular object (e.g. a jar lid)
- Colored pencils or markers (optional)
- Blending tool (optional)
Now that you have everything you need, let's delve into the step-by-step process of drawing a basketball.
Step 1: Draw the Outline Circle
Start by drawing a big circle in the center of your paper. Use a compass or a circular object as a guide to create a symmetrical and smooth circle. This circle will serve as the outline for our basketball.
Step 2: Add the Sections
Inside the circle, draw two vertical lines that intersect at the center. These lines will divide the basketball into four equal sections. They will act as reference points for the following steps.
Step 3: Draw the Seams
Draw curved lines following the contour of the circle, from the top to the bottom. There should be four curved lines, each originating from one of the intersections created in the previous step. These lines mimic the seams of the basketball.
Step 4: Shade the Sections
To add depth and dimension to the basketball, shade the sections alternately. Start by shading the top left section with a light, horizontal shading. This represents the illuminated part of the ball. Leave a small gap and then shade the bottom right section with a slightly darker shade. Repeat this process for the other two sections.
Step 5: Add the Texture
To give the basketball its unique texture, we'll create a series of curved lines across the shaded areas. These lines should follow the curvature of the sections and intersect the seams to create a realistic effect. Vary the length and spacing of the lines to make it look more natural.
Step 6: Define the Seams
Now it's time to emphasize the seams of the basketball. Darken the curved lines you drew in step 3, making them more prominent. Add some curved lines crossing over the seams to give them a raised appearance. This will make the ball look more three-dimensional.
Step 7: Erase Unnecessary Lines
Go over your drawing and erase any unnecessary or overlapping lines. Take your time to ensure your basketball looks clean and well-defined.
Step 8: Add Shadows and Highlights
To make your basketball drawing truly stand out, add shadows and highlights. Shade the area around the ball, creating a shadow underneath to give it a sense of depth. Use your eraser to create highlights on the illuminated part of the ball, adding a touch of realism.
Step 9: Color your Basketball (optional)
If you wish to add color to your drawing, use colored pencils or markers to bring your basketball to life. Choose shades of orange and brown for the shaded sections, and use lighter tones for the illuminated parts. Blend the colors smoothly with a blending tool or a tissue for a more polished look.
Conclusion
Congratulations on completing your basketball drawing! By following these step-by-step instructions, you've created a realistic representation of a basketball. Remember to practice regularly and experiment with different shading techniques to further enhance your artistic skills. Keep up the good work, and happy drawing!
Fun Facts About Basketball
- Basketball was invented in 1891 by Dr. James Naismith as a way to keep athletes active indoors during winter.
- The first basketball hoops were actually peach baskets nailed to a balcony.
- The NBA was founded in 1946 and has grown into the premier professional basketball league worldwide.
- Michael Jordan, often considered the greatest basketball player, won six NBA championships with the Chicago Bulls.
- The standard basketball has eight panels and is typically 29.5 inches in circumference for men's professional play.
- Basketball became an Olympic sport in 1936 at the Berlin Games.
- The three-point line was introduced in the NBA in 1979 to add a new strategic element to the game.
- Wilt Chamberlain holds the record for the most points scored in a single NBA game: 100 points.
- Basketball is one of the most popular sports worldwide, played by over 450 million people.
Suggestions for Scenes and Settings for Basketball Drawings
- A close-up view of a basketball resting on a wooden court floor, capturing the texture of both the ball and the polished wood.
- An action scene with a player dribbling the basketball mid-air during a jump shot, emphasizing motion and perspective.
- A vintage-style illustration of a worn-out basketball lying next to a cracked outdoor basketball hoop in a neighborhood playground.
- A still life composition featuring a basketball beside sports gear like sneakers, a water bottle, and a towel on a bench.
- A nighttime street basketball game scene under glowing floodlights, focusing on shadows and highlights on the ball and players.
- A dynamic close-up of hands gripping the textured basketball tightly, showing detailed skin texture against the ball's surface.
- A minimalist drawing emphasizing the basketball's unique panels and seams with strong contrast and shadowing.
- An illustrated sequence showing the phases of spinning a basketball on a player's fingertip, highlighting rotation and balance.
- A colorful scene of a basketball flying through the air towards the hoop, with motion blur effects to suggest speed.
- A conceptual drawing of a basketball morphing into a globe, symbolizing the global reach of the sport and its culture.