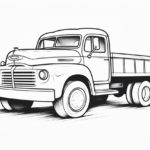
Are you an enthusiast of Ford trucks? If you’ve ever thought about capturing their rugged charm on paper, you’re in for an exciting creative journey! Drawing a Ford truck can not only be a delightful pastime but also a fantastic way to channel your artistic abilities. Whether you envision a highly detailed illustration that showcases every curve and feature or just wish to layout a quick and playful sketch, this comprehensive step-by-step guide is designed to help you breathe life into your artistic vision.
The beauty of drawing a Ford truck lies in its bold design and distinctive characteristics. From the broad, muscular body to the precision of the intricate details, every element tells a story of strength and reliability. Vanquishing the blank canvas might seem daunting at first, but fear not! With the right techniques and a bit of practice, you can transform your ideas into an impressive representation of this iconic vehicle.
So, are you ready to embark on this creative adventure? Grab your pencils, gather your materials, and let’s dive in together. Each step will empower you to develop your skills and encourage you to express your passion for these remarkable trucks through art. Let’s get started!
Materials Required
Before we dive into the drawing process, let’s make sure you have all the necessary materials. Here’s what you’ll need:
- Drawing paper: Choose a sturdy paper that can handle pencil and eraser without tearing easily.
- Pencils: Get a set of graphite pencils with different levels of hardness (2H, HB, 2B, 4B, 6B).
- Eraser: A kneaded eraser works well for smudging and removing pencil marks.
- Ruler or straight edge: You’ll need this for drawing straight lines and measuring proportions.
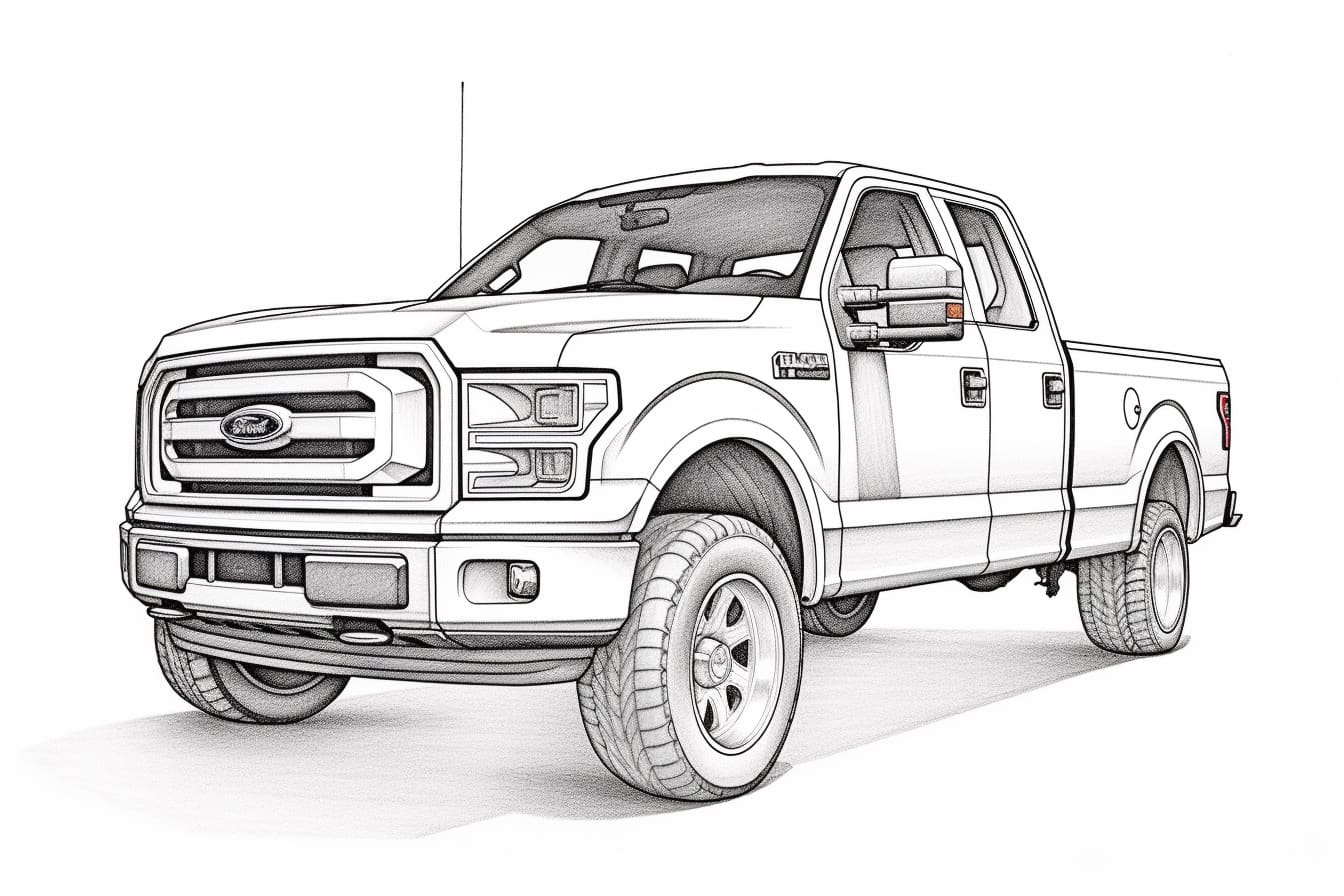
- Reference image: Find a clear picture of a Ford truck that you want to draw. It will help you with the details and proportions.
Now that you have all your materials gathered, let’s begin!
Step 1: Sketch the Basic Shapes
Start by lightly sketching the basic shapes of the truck. Use simple geometric shapes to outline the main body, cab, and bed of the truck. Pay attention to the proportions and angles. If needed, use a ruler or straight edge to help you achieve straight lines and correct proportions.
Step 2: Add Details to the Body
Once you are satisfied with the basic shapes, start adding more details to the body of the truck. Observe the reference image and carefully draw the contours, curves, and edges of the truck. Pay attention to the front grille, headlights, wheel wells, and any other distinct features that make the Ford truck unique.
Step 3: Define the Wheels and Tires
Next, focus on drawing the wheels and tires of the Ford truck. Start by sketching the circle shapes for the tires and then add the details like the rims and treads. Take your time to make the wheels symmetrical and proportional to the rest of the truck.
Step 4: Outline the Cabin and Windows
Move on to drawing the cabin of the truck. Pay attention to the angle of the windshield, side windows, and rear window. Use straight lines and gentle curves to outline the cabin, keeping it in proportion to the rest of the truck. You can also draw the side mirrors and other details on the cabin.
Step 5: Refine the Details
Now it’s time to add more details and refine your drawing. Look closely at the reference image and add any additional elements such as door handles, side steps, fenders, and other distinctive features. Take your time to get these details right, as they will give your drawing a more realistic and polished look.
Step 6: Shade and Add Depth
To bring your Ford truck drawing to life, it’s important to add shading and depth. Start by identifying where the light source is coming from in your reference image. Use lighter pencil strokes for areas that receive direct light and darker strokes for shaded areas. Gradually build up the shading to create a three-dimensional effect and make your truck appear more realistic.
Step 7: Final Touches and Erasing Guidelines
Now that you have added shading, take a moment to review your drawing and make any final touches. Erase any remaining guidelines or construction lines that you no longer need. Use your eraser to smudge and blend the shading, giving your drawing a smooth and polished finish.
Conclusion
Congratulations! You have successfully learned how to draw a Ford truck. By following these step-by-step instructions and using the right materials, you have created a stunning representation of this iconic vehicle. Remember to practice regularly to improve your skills and create even more impressive drawings. So keep your pencils sharp and continue exploring your artistic journey. Happy drawing!