Welcome to our detailed guide on how to draw a forest, a captivating experience that invites you to immerse yourself in nature’s beauty. Forests are more than just collections of trees; they are vibrant ecosystems filled with a myriad of colors, textures, and life forms. The act of drawing a forest not only stimulates your creativity but also allows you to connect with the serenity and charm that comes from the great outdoors.
In this tutorial, we’ll take you step by step through the process of capturing the enchanting world of the forest on paper. From sketching the foundational elements to adding intricate details, we will explore various techniques that will help you create a realistic and mesmerizing forest scene. Whether you are a beginner or an experienced artist, this guide is designed to inspire and enhance your artistic journey. So, gather your materials and let’s embark on this exciting adventure into the wilderness!
Materials Required
- Pencil
- Eraser
- Drawing paper
Step 1: Sketch the Background
To begin, sketch the background of the forest. Draw a simple outline of the horizon line and the ground. The ground can be uneven to give the forest floor a natural look.
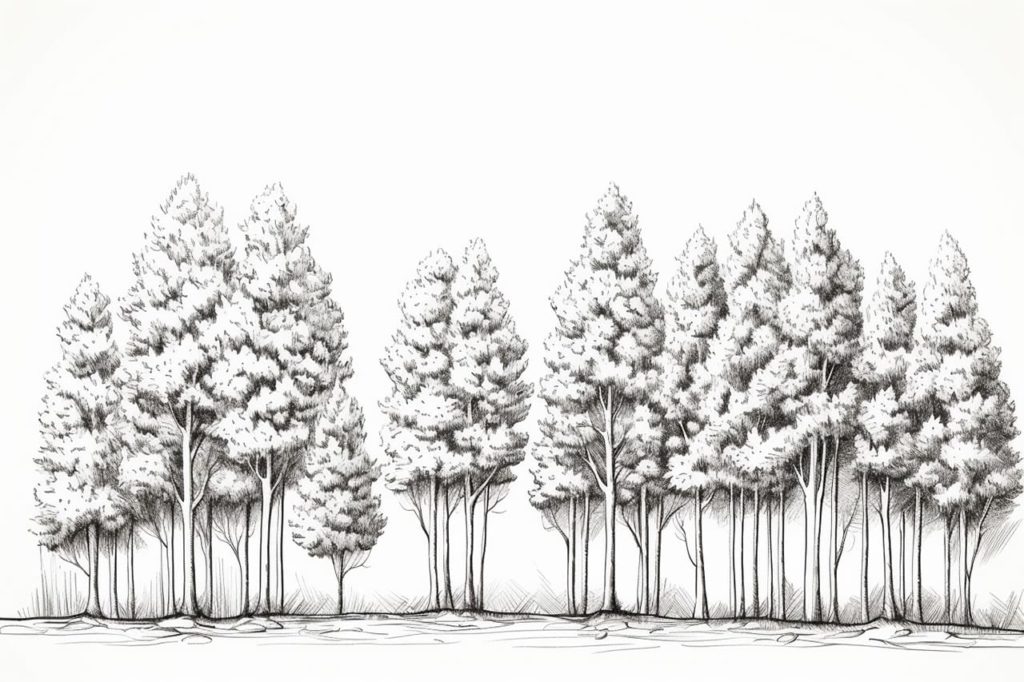
Step 2: Draw the Trees
Next, draw the trees in the forest. Start by drawing the trunks of the trees using vertical lines. Vary the thickness and height of the trunks to create a realistic forest scene. Draw different types of trees with different shapes and sizes to add diversity to your forest.
Step 3: Add the Foliage
Now, it’s time to add foliage to the trees. Draw the branches and leaves of the trees using various shapes and strokes. Make sure to create a dense canopy of leaves to give your forest a lush and vibrant look.
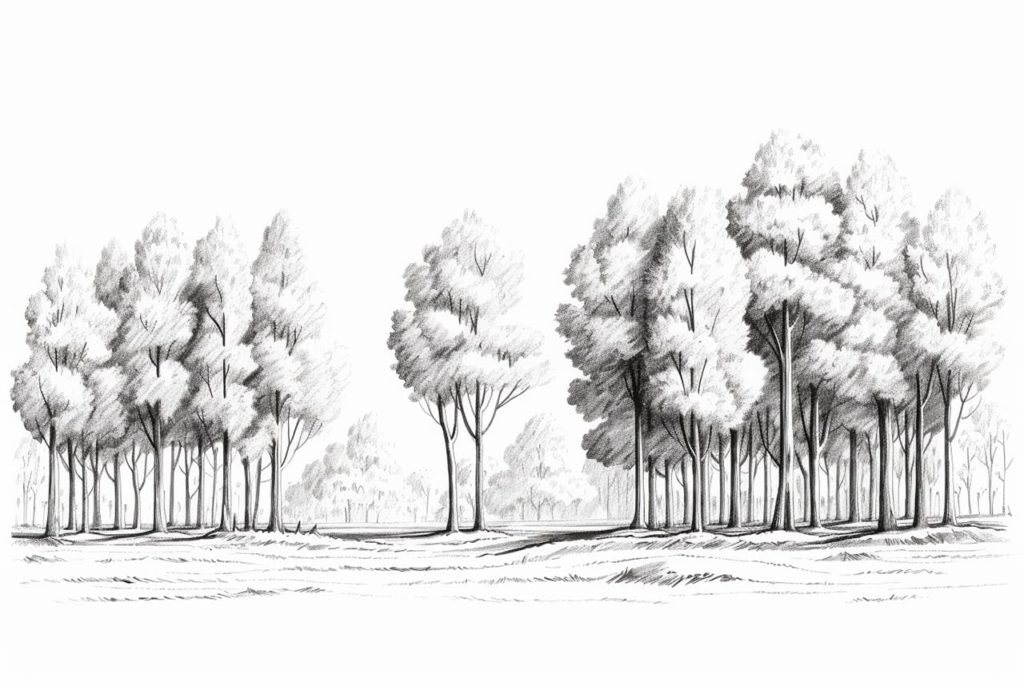
Step 4: Draw the Foreground
In this step, draw the foreground of the forest. Add some smaller bushes, shrubs, and plants in the front to create depth and perspective. These elements will add more realism to your forest drawing.
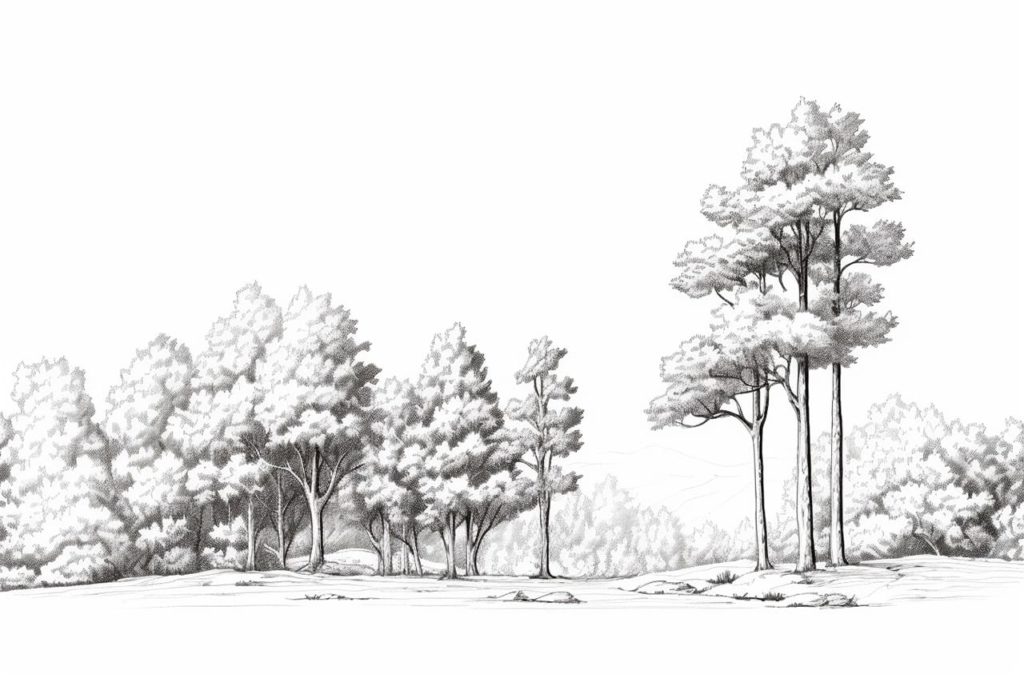
Step 5: Add Details and Texture
Now, let’s add some details and texture to your forest. Draw some fallen leaves on the ground, small rocks, and other natural elements to make your forest more lifelike. Pay attention to the direction of the strokes to show the texture of the leaves and foliage.
Step 6: Shade and Blend
In this final step, add shading to your forest drawing to create depth and dimension. Shade the trunks of the trees to give them a three-dimensional look. Add shadows under the trees and other elements to make them appear grounded. Blend the shading with your pencil or use a blending tool to make it look smooth and natural.
Conclusion
Congratulations! You have successfully drawn a forest that captures the essence of its beauty and serenity. The step-by-step process has allowed you to create a realistic and immersive forest scene. Continue practicing and experimenting with different techniques to expand your artistic skills. With patience and dedication, you can draw forests that transport your audience into the enchanting world of nature.
Gallery of Forest Drawings
Related posts:
 How to Draw an Oak Tree in 9 Simple Steps
 How to Draw a Mushroom in 7 Simple Steps
 How to Draw a Mountain in 6 Simple Steps
 How to Draw a Gnome in 7 Simple Steps
 How to Draw a House in 5 Simple Steps
 How to Draw a Tree in 5 Easy Steps
 How to Draw Godzilla in 5 Simple Steps
 How to Draw a Flower Petal in 6 Simple Steps