Learn to Draw Anything
Step-by-step tutorials to help you master drawing, from simple sketches to detailed artwork. Perfect for beginners and experienced artists alike.
Popular Tutorials
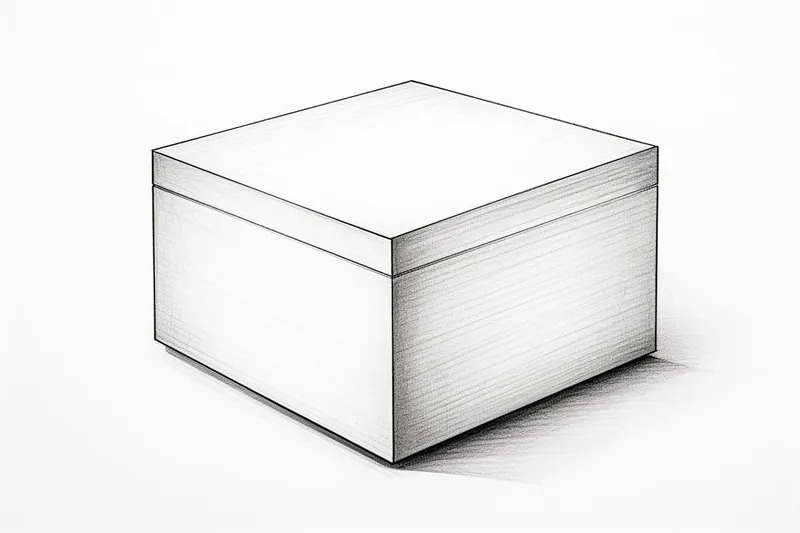
How to Draw a 3D Box
Learn how to draw a 3D box in this step-by-step guide. Follow these easy instructions to add depth and dimension to your artwork. Perfect for beginners and experienced artists alike.

How to Draw a 3D Chair
Learn how to draw a realistic 3D chair with this step-by-step tutorial. Master the art of perspective and add depth to your drawings. Perfect for aspiring artists and doodlers alike.

How to Draw a 3D Heart
Learn how to draw a 3D heart in this step-by-step guide. Create a realistic and eye-catching heart drawing with clear instructions and simple materials. Perfect for aspiring artists and creative enthusiasts.

How to Draw a 3D House
Learn how to draw a 3D house with this step-by-step guide. Enhance your artistic skills by following expert instructions and create a visually captivating piece of art.
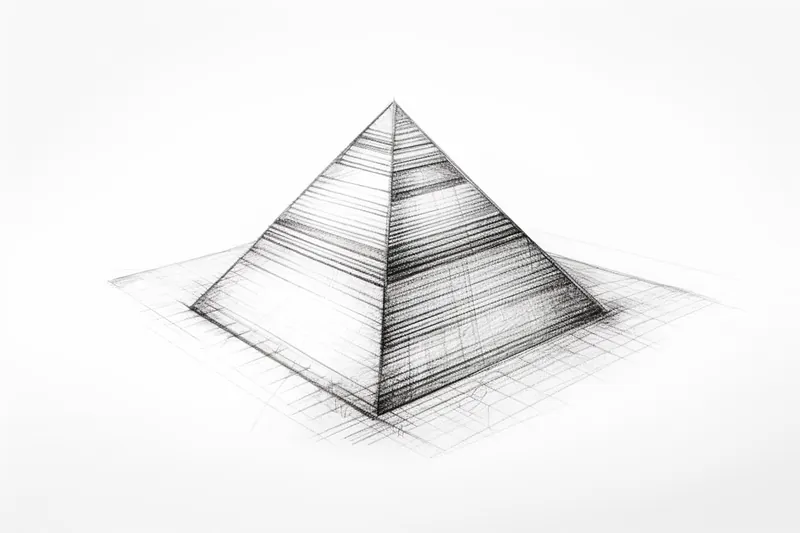
How to Draw a 3D Pyramid
Learn how to draw a 3D pyramid step by step in this beginner-friendly tutorial. Create realistic-looking pyramids using simple shapes and techniques.
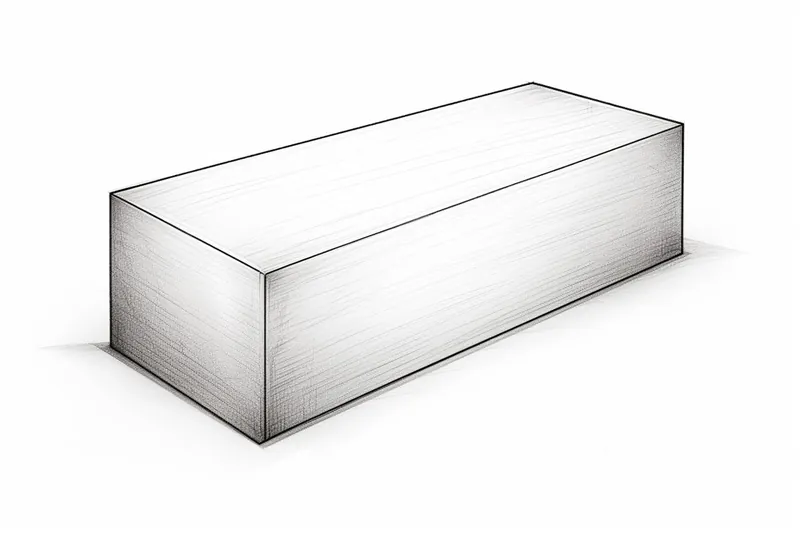
How to Draw a 3D Rectangle
Learn how to draw a 3D rectangle with this step-by-step tutorial. Enhance your drawing skills with these easy-to-follow instructions and create realistic three-dimensional shapes.
Find the Right Drawing Tools
Get expert recommendations on the best drawing supplies, from pencils and erasers to paper and tools. Our detailed product reviews help you choose the right materials for your art.
Why Learn with Yonderoo?
Step-by-Step Guides
Clear, detailed instructions that break down complex drawings into manageable steps
Learn at Your Pace
Take your time with each tutorial, practice as much as you need
Visual Examples
Galleries of artwork and examples to inspire your creativity