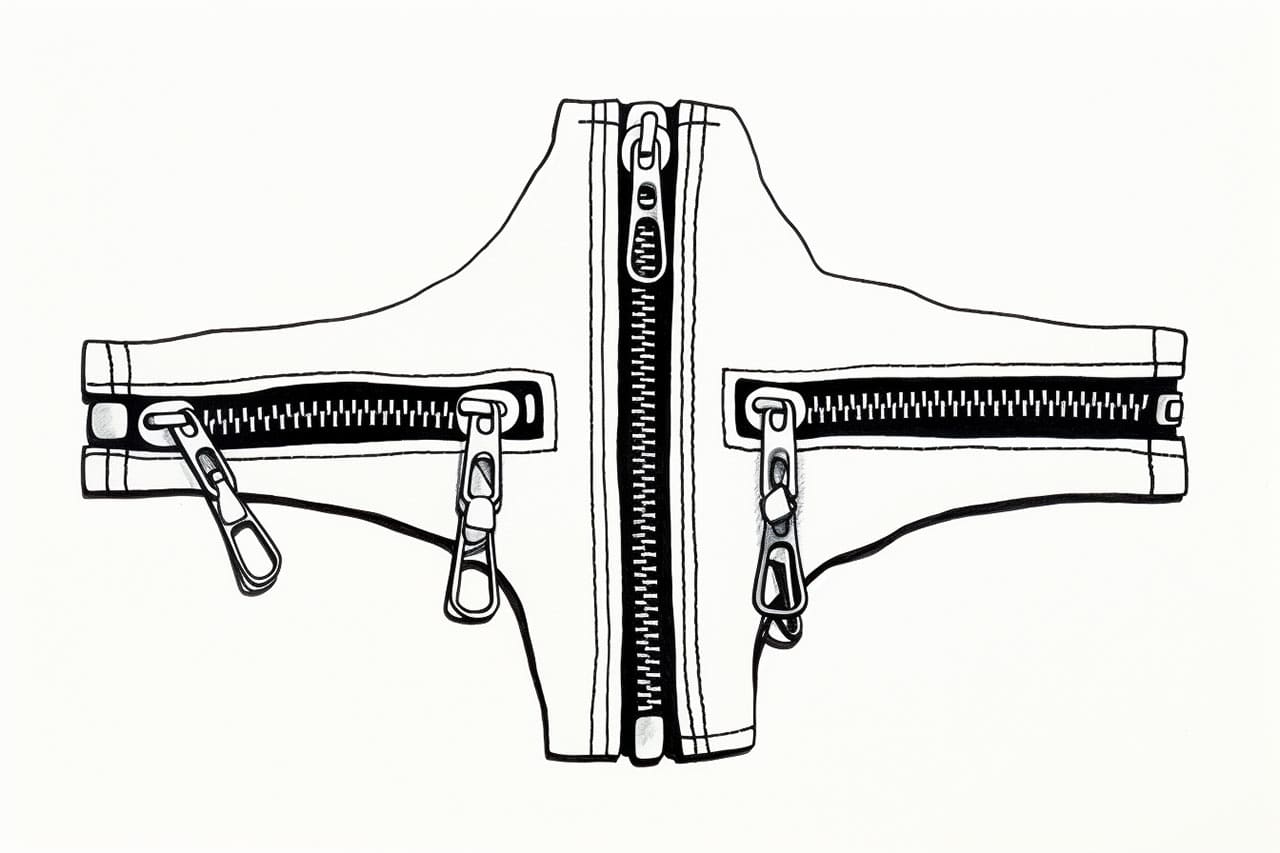
Welcome to our exciting step-by-step tutorial on how to draw a zipper! Whether you’re an aspiring artist honing your skills or someone looking for a creative pastime, drawing a zipper can be a fun and rewarding experience. This unique object, so commonplace in our daily lives, presents an interesting challenge that allows you to enhance your artistic abilities as you replicate its distinct features.
In this guide, I’ll provide you with clear and straightforward instructions that will take you from the first initial sketch to your finished piece. You’ll learn how to capture the intricate details of a zipper, including its teeth, slider, and even the subtle textures that give it life. So, grab your favorite pencil and some paper, and let’s embark on this artistic journey together!
Ready to unleash your creativity? Don’t worry if you’re a beginner; this tutorial is designed to be accessible and enjoyable for artists of all levels. With just a little practice and some patience, you’ll find yourself creating a stunning zipper drawing that you’re proud to show off. Let’s get started!
Materials Required
Before we begin, let’s make sure you have all the necessary materials. Here’s what you’ll need:
- A pencil
- Paper
- Eraser
- Ruler
Now that you have everything you need, let’s dive into the steps of drawing a zipper.
Step 1: Draw the Base Shape
Start by drawing a straight horizontal line across your paper. This will serve as the base shape of the zipper. Use your ruler to ensure that the line is straight and even.
Step 2: Add the Teeth
On the top edge of the base shape, draw a series of small rectangles standing on their sides. These rectangles will represent the teeth of the zipper. Keep them evenly spaced and make them slightly longer than the base shape.
Step 3: Outline the Teeth
Using short, diagonal lines, outline the teeth to give them a three-dimensional appearance. Start at the top left corner of each rectangle and draw a line towards the center of the zipper. Repeat this process for each tooth.
Step 4: Draw the Slider
At the bottom edge of the base shape, draw a small rectangle. This will serve as the slider of the zipper. Make sure it is centered and aligned with the teeth.
Step 5: Add Detail to the Slider
To make the slider look more realistic, add a rectangular handle at the top of it. This will allow you to grip and move the zipper. Don’t forget to add small details, such as curves or grooves, to make the handle look more interesting.
Step 6: Shade the Zipper
To add depth and texture to your drawing, use shading techniques to create shadows and highlights on the zipper. Start by shading the areas between the teeth, the slider, and the base shape. Use a pencil with a soft lead and blend the shading with your finger or a blending stump for a smooth effect.
Step 7: Erase Unwanted Lines
Now it’s time to clean up your drawing and remove any unwanted lines or smudges. Use your eraser to carefully erase any stray marks, making sure to leave behind only the visible parts of the zipper.
Step 8: Add Final Touches
To make your drawing stand out, consider adding some additional details. You can add a fabric texture to the base shape, or even draw a zipper pull tab on the top of the slider. These small touches can make a big difference in the overall appearance of your drawing.
Tip: To effectively capture the details of a zipper, start by sketching the basic shapes lightly with a pencil. Focus on drawing the elongated rectangle for the zipper tape and smaller rectangles for the slider and teeth. As you refine your drawing, pay close attention to the angle and curvature of the teeth, as they create the zipper’s unique texture. Use an eraser to clean up any stray lines and to enhance contrast by lightening areas where the light hits. Finally, consider using a fine-tip pen or a darker pencil to outline the details, which will make your zipper drawing pop and give it a polished finish. Remember, practice makes perfect, so don’t hesitate to try different styles until you find what works best for you!
Conclusion
Congratulations! You have successfully learned how to draw a zipper. This step-by-step guide has provided you with the instructions and techniques needed to create a realistic zipper drawing. Remember, practice is key, so don’t be discouraged if your first attempt doesn’t turn out exactly as you imagined. With time and dedication, you will improve your drawing skills and create beautiful artworks.
So, grab your art supplies and start exploring the world of drawing. Experiment with different styles, techniques, and subjects. And most importantly, have fun along the way! Happy drawing!
Fun Facts About Zippers
- The modern zipper was invented by Gideon Sundback in 1913, revolutionizing the world of fasteners.
- Zippers are composed mainly of two strips of fabric tape with metal or plastic teeth that interlock.
- They were originally called “clasp lockers” and were first used on boots and tobacco pouches.
- Zippers gained widespread popularity in the fashion industry during the 1930s, particularly in children’s clothing and men’s trousers.
- The longest zipper in the world is over 3 miles long and was used as an art installation at a park in Tennessee.
- NASA uses specially-designed zippers that can withstand extreme temperatures and conditions for astronaut suits.
- A fun fact about zippers: there’s a specific tool called a “zipper foot” used in sewing to apply zippers to fabric neatly.
- In Japan, zippers are a big deal; YKK, a Japanese company, is the largest manufacturer and produces around half of all the zippers in the world.
- To avoid jammed zippers, a pencil’s graphite can sometimes help lubricate the zipper and make it glide smoothly.
- Velcro was invented as a potential replacement for zippers but never fully replaced them due to zippers’ aesthetic appeal.
Suggestions for Scenes and Settings for Zipper Drawings
- Clothing Showcase: Design a fashionable scene displaying a garment rack filled with vibrant clothes, focusing on different styles and colors of zippers.
- Giant Zipper Bridge: Imagine a massive zipper being used as a bridge across a river, with people and vehicles using the interlocking teeth for crossing.
- Invention Workshop: Depict a 1910s inventiveness lab with Gideon Sundback at work, surrounded by zipper prototypes and sketches.
- Space Adventure: Craft an astronaut’s journey with spacesuits featuring intricate zippers, emphasizing their role in space survival.
- Magical Zipper Sea: Create an undersea world where creatures have zippers on their bodies, using them to open and close shells or sea caves.
- Industrial Revolution: Illustrate a factory scene in the early 20th century where zippers are being manufactured, capturing the hustle-bustle of industrial progress.
- Fantasy Quest: Design a medieval landscape where knights and dragons coexist, showcasing armor with zippers used for easy battle preparation.
- Pocket Dimension: Draw a whimsical illustration of a zipper on clothing being a portal to another world, inviting exploration and adventure.
- Garden of Zippers: Illustrate a garden where plants have zipper vines, and flowers open and close like zippers revealing vibrant petals.
- School Locker Mystery: Imagine a scene with lockers in a school hallway, each with a zipper instead of doors, leading to secret compartments or worlds.