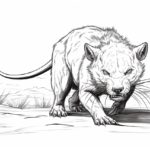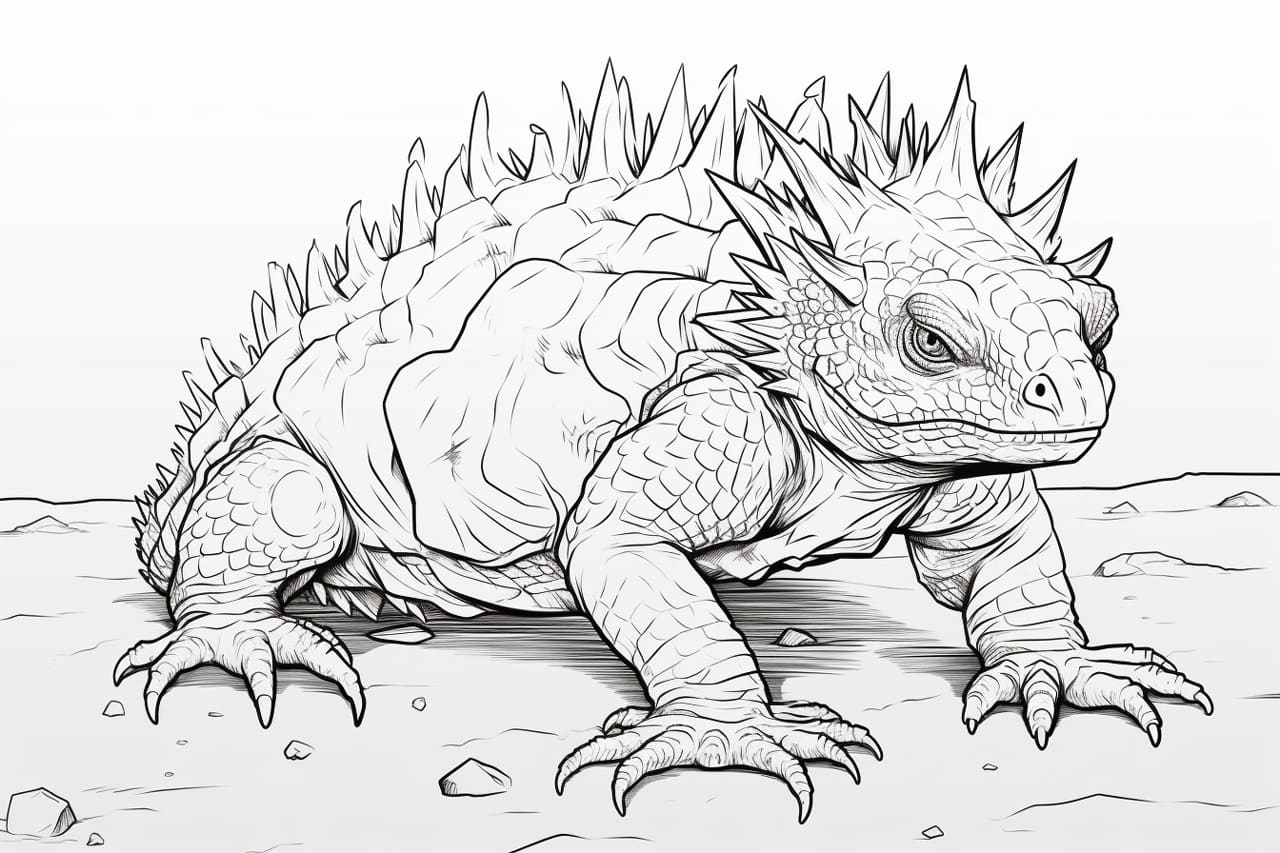
Drawing a Thorny Devil is a fascinating and rewarding experience that allows you to capture the unique beauty and intricate details of this remarkable creature. Known for its spiky exterior and distinctive features, the Thorny Devil is a creature of both mystery and wonder. In this guide, we will explore the step-by-step process of drawing a Thorny Devil, from capturing its spiky texture to highlighting its intricate patterns. Get ready to unleash your artistic skills and bring this incredible creature to life on paper!
Materials Required
To draw a Thorny Devil, you will need the following materials:
- Drawing paper or sketchbook
- Pencils (preferably a range of graphite pencils for different shades)
- Eraser (both a kneaded eraser and a regular eraser)
- Fine-tip pens or markers for outlining and detailing
- Colored pencils or markers if you wish to add color to your drawing
- Reference images of Thorny Devils for inspiration and accuracy
These materials will help you capture the unique textures and details of the Thorny Devil in your drawing.:
How to Draw a Thorny Devil: a Step-by-step Guide
Step 1: Gather Your Materials
Before you begin drawing a Thorny Devil, ensure you have the necessary materials. You will need a pencil, eraser, drawing paper, and any preferred coloring tools such as colored pencils or markers.
Step 2: Research and Reference
Take some time to research Thorny Devils to understand their physical characteristics and unique features. Look at reference images to get a sense of their appearance and anatomy.
Step 3: Start with Basic Shapes
Begin by lightly sketching the basic shapes that form the body of the Thorny Devil. Start with an oval for the body and add smaller circles for the head and limbs. Pay attention to proportions and placement.
Step 4: Add Details
With the basic shapes in place, start adding details to your Thorny Devil drawing. Focus on the creature’s thorny texture by drawing small spikes or bumps all over its body. Pay attention to the placement of these details to create a realistic effect.
Step 5: Define Features
Refine the features of the Thorny Devil by adding its eyes, mouth, and nostrils. Pay close attention to the placement of these features to capture the creature’s expression and personality.
Step 6: Refine and Shade
Once you have the basic outline and details in place, refine your drawing by erasing any unnecessary lines and adding shading to create depth and dimension. Use hatching and cross-hatching techniques to add shadows and highlights to your Thorny Devil drawing.
Step 7: Add Color (Optional)
If you choose to add color to your drawing, carefully select hues that match the Thorny Devil’s natural coloration. Use colored pencils or markers to fill in the body of the creature, paying attention to the distribution of colors and shading to enhance the realism of your drawing.
Step 8: Final Touches
To complete your Thorny Devil drawing, make any final adjustments or additions to enhance the overall composition. Take a step back and assess your drawing to ensure it accurately captures the unique characteristics of this fascinating creature.
Step 9: Practice and Experiment
Drawing a Thorny Devil may take practice to master its intricate details and textures. Don’t be afraid to experiment with different techniques and styles to develop your skills and create a drawing that reflects your artistic vision.
Conclusion
Well done on completing your drawing of the Thorny Devil! You have shown great attention to detail and skill in capturing the unique features of this fascinating creature. Your dedication to learning and improving your artistry is evident in the quality of your work. Remember to keep practicing and exploring different techniques to continue growing as an artist. Your creativity and passion shine through in your artwork, so keep up the great work and never stop expressing yourself through your art. Keep pushing yourself to try new things, and remember that every piece you create is an opportunity to learn and develop your skills further. Great job, and I look forward to seeing more of your wonderful creations in the future!
Fun Facts About Thorny Devils
- Thorny Devils, also known as Moloch horridus, are unique reptiles native to Australia.
- They are famous for their spiky appearance, with numerous conical spines covering their bodies that act as a defense mechanism against predators.
- Despite their intimidating appearance, Thorny Devils are relatively small, growing to an average length of about 20 cm (8 inches).
- These fascinating creatures have the ability to change their color from pale to dark depending on the temperature and their mood.
- Thorny Devils primarily feed on ants, using their specialized tongue to catch their prey. They can consume thousands of ants in a single day.
- Unlike other lizards, Thorny Devils do not rely on water sources for hydration. Instead, they absorb moisture through their skin from dew and rain.
- During the breeding season, male Thorny Devils develop bright orange markings on their bodies to attract females.
- Female Thorny Devils lay eggs in burrows, and the males play an active role in guarding the eggs until they hatch.
- Thorny Devils are known for their slow movements and deliberate behavior, often using their camouflage to blend into their surroundings.
- These unique reptiles are protected by law in Australia due to their declining populations in the wild, making conservation efforts crucial for their survival.
Suggestions for Scenes and Settings for Thorny Devil Drawings
Certainly! Here are some suggestions for scenes and settings for drawings of Thorny Devils:
- Desert landscape: Place the Thorny Devil in its natural habitat, surrounded by sandy terrain, sparse vegetation, and maybe a distant rocky outcrop or a setting sun.
- Close-up on scales: Focus on the intricate details of the Thorny Devil’s textured scales, capturing the patterns and spikes in a highly detailed drawing.
- Camouflaged among rocks: Draw the Thorny Devil blending in with its surroundings, nestled among rocks and boulders, showcasing its natural camouflage abilities.
- Drinking from a water source: Illustrate the Thorny Devil delicately sipping water from a small puddle or droplet, emphasizing its unique drinking behavior.
- Interacting with another Thorny Devil: Show two Thorny Devils in a social interaction, such as mating rituals, territorial disputes, or simply walking together in the desert.
- Under a starry night sky: Create a mystical scene with the Thorny Devil under a star-filled sky, capturing the creature in a moment of quiet contemplation or movement.
- Climbing a tree or bush: Depict the Thorny Devil navigating its environment by climbing a tree or bush, showcasing its agility and unique physical characteristics.
- Emerging from a burrow: Draw the Thorny Devil emerging from its underground burrow, emphasizing its secretive and elusive nature.
- In a scientific illustration: Create a detailed scientific drawing of the Thorny Devil, highlighting its anatomy, physical adaptations, and unique features for educational purposes.
- Fantasy setting: Let your imagination run wild and place the Thorny Devil in a fantastical setting, such as a mythical desert realm with magical elements and creatures.