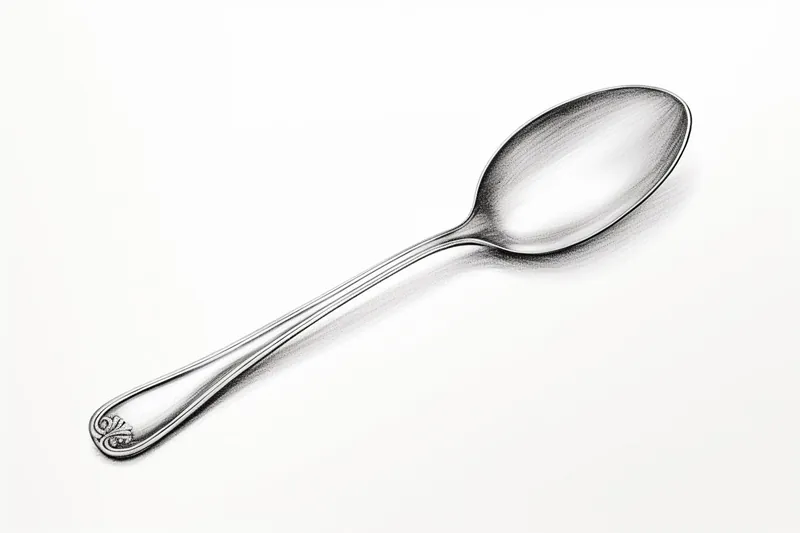
How to Draw a Spoon
Learn how to draw a spoon in a realistic and detailed manner with this step-by-step tutorial. Get ready to enhance your art skills and create amazing drawings of everyday objects.
Materials You'll Need
- Pencil
- Paper
- Eraser
The humble spoon is a common yet fascinating object, found in kitchens and dining rooms around the world. Its simple, elegant shape makes it an ideal subject for artists looking to improve their observation and rendering skills. Learning how to draw a spoon not only helps you practice drawing curved lines, ellipses, and subtle reflections, but it also encourages you to pay attention to proportion and perspective. The reflective surface of a spoon adds an extra challenge, making this everyday utensil a surprisingly rewarding subject for both beginners and more experienced artists.
People often choose to draw utensils like spoons as part of still life studies, to build foundational drawing skills, or to add realism to their artwork. Knowing how to draw a spoon can help you create more convincing kitchen scenes, food illustrations, or even detailed sketches for design projects. This tutorial is designed for artists of all levels, breaking down the process into easy-to-follow steps. We'll cover basic shapes, shading techniques, and tips for capturing the spoon's metallic sheen. Whether you're just starting your artistic journey or looking to refine your technique, this lesson will offer valuable practice and creative satisfaction.
Remember, drawing is as much about observation as it is about technique. Don't worry about achieving perfection on your first try—focus on enjoying the process and noticing the unique details of your subject. With a little patience and practice, you'll be amazed at how much you can improve. So grab your materials, follow along, and let's discover together how to draw a spoon with confidence and creativity!
Materials Required
To complete this drawing tutorial, you will need the following materials:
- Paper: A smooth-surfaced paper such as sketch paper or Bristol board would work well.
- Pencil: Choose a medium-soft graphite pencil (HB or 2B) for sketching and shading.
- Eraser: A kneaded eraser or a vinyl eraser will be handy for correcting mistakes and adding highlights.
- Ruler: A straight edge will help you maintain proportion and draw straight lines.
Now that you have gathered your materials, let's dive into the step-by-step process of drawing a spoon.
Step 1: Outline the Basic Shape
Start by lightly sketching a horizontal line across the middle of your paper. This line will act as a guideline for the handle of the spoon. Next, draw a slightly curved oval shape at the top of the guideline. This will be the bowl of the spoon. Remember to keep your lines light and loosely drawn at this stage.
Step 2: Refine the Handle
Using the guideline as a reference, sketch the handle of the spoon. Pay attention to the curve and thickness of the handle, making sure it is proportional to the bowl. Take your time to get the shape just right. You can also add some subtle curves or details to make the handle more interesting and realistic.
Step 3: Define the Bowl Shape
Now it's time to refine the shape of the spoon bowl. Start by outlining the top edge of the bowl, following the oval shape you sketched earlier. Then, draw a curved line connecting the top edge to the bottom of the bowl. Make sure the bottom edge of the bowl aligns with the handle. Pay attention to the curves and proportions to create a symmetrical and balanced shape.
Step 4: Add Dimension
To add depth and dimension to your spoon, we need to create some shading. Identify the direction of your light source (e.g., top left corner) and imagine where the shadows would fall. Begin by shading the areas on the handle opposite the light source, using light, even strokes. Gradually build up the shading, making it darker as you move away from the light source. Use your pencil to blend the shading for a smooth transition.
Step 5: Add Details
Now that you have established the basic form of the spoon, it's time to add some details. Start by adding the reflection on the spoon's bowl. To do this, lightly shade a small oval shape inside the bowl but leave a small area unshaded to represent the reflection of light. This will give the spoon a shiny and reflective appearance.
Next, add a subtle highlight along the top edge of the spoon bowl and the top surface of the handle. Use your eraser to gently lift off some graphite in these areas, creating a contrast with the darker shading. This will enhance the three-dimensional look of the spoon.
Step 6: Refine and Finalize
Tip: As you work through the steps of drawing a spoon, take frequent breaks to step back and view your drawing from a distance; this perspective can help you identify areas that need refinement in shape, proportion, or shading. Additionally, consider using reference images of spoons in various lighting to better understand how light interacts with the spoon's curves and surface, enhancing the realism of your drawing.
Take a step back and assess your drawing. Look for any areas that need refinement or adjustment. You may want to darken some shadows, smoothen out any rough lines, or make small tweaks to the overall shape of the spoon. Make these adjustments using your pencil or eraser until you are satisfied with the final result.
Conclusion
Congratulations on completing your drawing of a spoon! By following these step-by-step instructions, you have learned how to create a realistic and detailed representation of a spoon. Remember to practice regularly to refine your skills and explore different techniques. With time and dedication, you will be able to draw various objects with confidence and precision.
So keep sketching, and enjoy the creative journey!
Fun Facts About Spoon
- The oldest known spoons date back to Ancient Egypt, as discovered in archaeological sites and detailed by Deep Plate.
- Spoons have been made from a variety of materials throughout history, including wood, bone, ivory, and precious metals, according to Eating Utensils.
- The word "spoon" comes from the Old English "spōn," meaning a chip of wood.
- In some cultures, giving a silver spoon as a gift symbolizes wealth and power, a tradition described by Today's Focus of Attention.
- The Guinness World Record for the largest spoon collection is held by Gloria G. McClure, who owns over 5,400 unique spoons.
- Specialty spoons, such as grapefruit spoons and caviar spoons, are designed for specific foods, as outlined by Today's Focus of Attention.
- The spoon theory is a popular metaphor used to describe energy limitations in people with chronic illnesses.
- In competitive sports, spooning refers to a technique in rowing where the oar blade is not fully submerged.
Suggestions for Scenes and Settings for Spoon Drawings
- A close-up of a spoon reflecting a window and the room behind the artist.
- A spoon resting on a patterned napkin beside a steaming cup of tea or coffee.
- An antique silver spoon displayed among other vintage cutlery in a shadowy wooden drawer.
- A child's hand reaching for a brightly colored plastic spoon in a bowl of cereal.
- A spoon partially submerged in a bowl of soup, with ripples and reflections on the liquid's surface.
- A dramatic still life: a single spoon casting a long shadow across a stark, empty table.
- A collection of mismatched spoons arranged in a fan shape, highlighting different designs and materials.
- A picnic scene with a spoon resting on a checkered blanket beside fruit and cheese.
- A spoon balanced on the edge of a mixing bowl, covered in batter or chocolate, catching the light.
- A fantasy scene with a tiny figure using a spoon as a boat on a pond or as a sled down a hill of sugar.