How to Draw a Soybean
Learn how to draw a soybean with this step-by-step tutorial. Discover the techniques and tips to create a realistic representation of this versatile crop.
Materials You'll Need
- Pencil
- Paper
- Eraser
Welcome to this detailed tutorial on how to draw a soybean, an essential and fascinating subject for artists interested in botanical illustration or simply looking to expand their drawing repertoire. Soybeans are not only a vital agricultural crop known for their high protein content and versatility in various cuisines and industries, but they also possess unique shapes and textures that make them an intriguing challenge to capture on paper. Drawing a soybean allows you to explore organic forms, subtle shading, and the delicate contours that define this humble yet important legume.Whether you are a beginner eager to develop your observational skills or an experienced artist seeking to refine your technique, this tutorial on how to draw a soybean will guide you through each step with clear instructions and helpful tips. You will learn how to approach the subject by breaking down its structure, focusing on proportions, and applying shading techniques to create a realistic and three-dimensional effect. The process encourages patience and attention to detail, making it a perfect exercise to enhance your drawing skills and deepen your appreciation for natural forms.So, gather your drawing materials and prepare to embark on a creative journey that blends science and art. By the end of this guide, you'll have not only a beautiful drawing but also a better understanding of how to observe and represent botanical subjects with confidence. Remember, every great artist starts with a single stroke – let's begin exploring how to draw a soybean together!
Materials Required
Before we begin, make sure you have the following materials:
- Drawing paper
- Pencil (preferably an HB or 2B)
- Eraser
- Fine-tip black marker or pen (optional)
- Colored pencils or markers (optional)
Having these materials ready will ensure a smooth and enjoyable drawing experience. Now, let's dive into the step-by-step process of drawing a soybean!
Step 1: Sketch the Basic Shape
Start by lightly sketching an oval shape in the center of your paper. This oval will serve as the outline for the soybean. Don't worry about making it perfect just yet, as we'll be refining the shape in the following steps.
Step 2: Define the Contours
Using the initial oval shape as a guide, begin adding the contours of the soybean. Soybeans typically have a slightly curved and elongated form, resembling a flattened teardrop. Pay attention to how the curves flow and overlap, as this will give your drawing a more realistic look.
Step 3: Add Texture
Soybeans have a unique texture with small bumps covering their surface. To capture this texture, lightly sketch small oval-shaped bumps along the contours of the soybean. Vary the sizes and spacing of the bumps to create a more organic feel. Take your time with this step, as the texture is an important aspect of the final drawing.
Step 4: Refine the Shape
Now that you have the basic outline and texture, it's time to refine the shape of the soybean. Start by carefully erasing any unnecessary lines and smoothening out the contours. Add any additional details or adjustments to make the shape appear more accurate. The goal is to create a clean and well-defined outline for your soybean.
Step 5: Add Shadows and Highlights
To make your soybean drawing more three-dimensional, add shading to create shadows and highlights. Identify a light source in your drawing (e.g. top left or top right corner) and imagine where the shadows would fall. Use your pencil to gently shade those areas, gradually building up the darkness. For highlights, leave some areas untouched or lightly blend them with an eraser to create a contrast.
Step 6: Finalize the Details
Now it's time to add the final details to your soybean drawing. Use a fine-tip black marker or pen to outline the main contours of the soybean and emphasize certain areas. You can also use colored pencils or markers to enhance the overall appearance and add some vibrancy. Experiment with different shading techniques and colors until you're satisfied with the result.
Conclusion
Congratulations! You have successfully learned how to draw a soybean. By following these step-by-step instructions, you have created a realistic representation of this versatile crop. Drawing is a wonderful way to express your creativity and attention to detail. With practice and patience, you can continue honing your skills and exploring the world of art. So keep on drawing, and remember to have fun along the way!
Fun Facts About Soybeans
- Soybeans are one of the most widely grown legume crops worldwide, with the FAO reporting over 350 million tons produced annually.
- Soybeans are a complete protein source, containing all nine essential amino acids, making them valuable for vegetarian and vegan diets according to the National Institutes of Health.
- The soybean plant was first domesticated in East Asia over 5,000 years ago, as detailed by the Encyclopedia Britannica.
- Soybeans are used to produce a variety of products including tofu, soy milk, soy sauce, and animal feed, highlighting their versatility noted by the USDA.
- In addition to food, soybeans are a key ingredient in biodiesel production, offering a renewable energy source as explained by the U.S. Department of Energy.
- Soybean oil is one of the most widely consumed cooking oils globally, accounting for a significant share of the edible oil market according to the SoyStats database.
- The soybean plant fixes nitrogen in the soil through a symbiotic relationship with bacteria, improving soil fertility as described by USDA NRCS.
Suggestions for Scenes and Settings for Soybean Drawings
- A close-up study of a soybean pod with beans partially visible inside, focusing on texture and shading.
- Soybean plants growing in a lush field under a bright sky, emphasizing natural light and foliage details.
- A rustic wooden table with scattered soybeans, a small bowl, and a soy sauce bottle, creating a culinary-themed still life.
- Cross-sectional view of a soybean seed showing internal structures with botanical labeling for educational art.
- An artistic interpretation of soybeans transforming into various soy-based products, such as tofu, soy milk, and soy sauce.
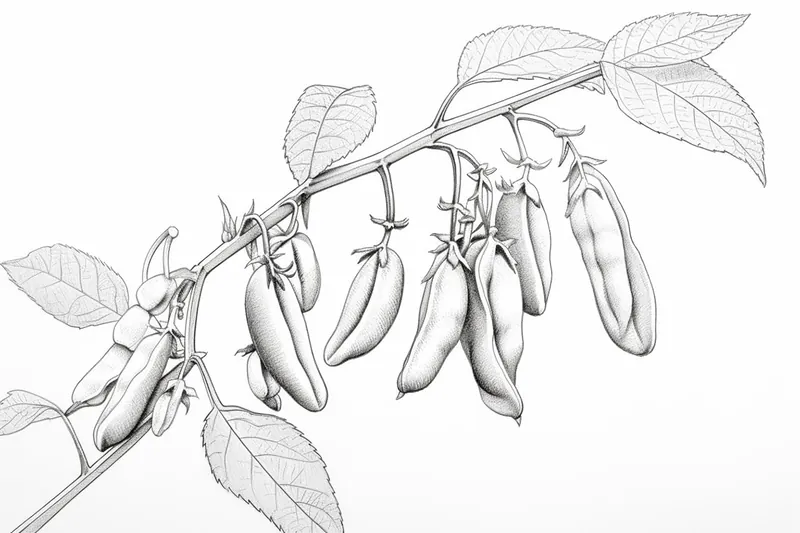
- Soybean pods hanging gracefully from branches with dew drops, highlighting reflections and translucency.
- A monochrome pencil sketch focusing on the intricate bumps and contours of a single soybean seed.
- A whimsical scene of a farmer harvesting soybeans at sunset, capturing warm tones and atmospheric perspective.
- An abstract drawing emphasizing the rounded shapes and textures of soybeans using bold lines and contrasting shading.
- A scientific botanical illustration showing the growth stages of soybeans from seedling to mature plant, arranged sequentially.