How to Draw a Pencil
Learn how to draw a realistic pencil using simple shapes and shading techniques. Follow this step-by-step guide to create your own pencil illustration.
Materials You'll Need
- Pencil
- Paper
- Eraser
Drawing a pencil may seem simple at first glance, but it is a surprisingly rewarding subject that helps artists of all levels refine their observational and shading skills. The humble pencil is an essential tool for anyone interested in art, design, or writing, and learning how to capture its form on paper is both practical and symbolic—after all, it's the instrument that brings most creative ideas to life. In this tutorial on how to draw a pencil, you'll discover the nuances of rendering a familiar object with realistic proportions, convincing shadows, and subtle details that make your drawing stand out.
Whether you are a complete beginner learning the basics of drawing or a more experienced artist aiming to improve your technique, drawing a pencil is an excellent exercise. This subject allows you to practice fundamental skills like drawing straight lines, constructing simple shapes, and experimenting with light and shadow to create a three-dimensional effect. You'll also get the chance to explore different pencil grades, learn how to depict reflective surfaces, and add depth to your artwork through careful blending and erasing techniques. By mastering how to draw a pencil, you build confidence for tackling more complex still life compositions in the future.
Don't worry if your first attempt isn't perfect—drawing is all about practice and progress. This step-by-step guide will walk you through each stage, making the process approachable and enjoyable. Grab your favorite drawing tools, and let's embark on this creative journey together!
Materials Required
Before we begin, make sure you have the following materials on hand:
- [Drawing paper or sketchbook](https://yonderoo.com/best-sketchbooks-for-artists/)
- Pencils of various hardness (HB, 2B, 4B)
- Eraser
- Sharpener
- Ruler (optional)
- Blending stump or cotton swabs (optional)
Now that you have all your materials ready, let's begin the process of drawing a pencil.
Step 1: Sketching Basic Shapes
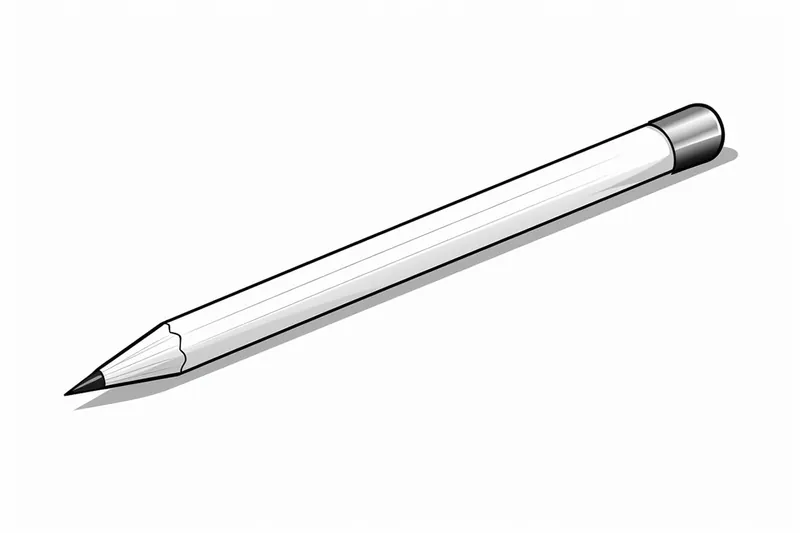
Start by lightly sketching the basic shapes that make up the pencil. Begin by drawing a long, thin rectangle standing upright. This will serve as the main body of the pencil. Next, draw a smaller rectangle at the top of the first one, forming the eraser. Finally, add a diagonal line at the bottom of the pencil to create the pencil tip.
Step 2: Adding Details
Tip: As you work through the drawing process, take frequent breaks to step back and assess your progress from a distance; this will help you spot any inconsistencies in proportions or shading that might not be noticeable up close. Additionally, using reference images or a real pencil can provide valuable insights into the details and textures you may want to replicate, enhancing the realism of your drawing.
Once you're satisfied with the basic shapes, it's time to add some details to make your pencil look more realistic. Begin by drawing a straight line parallel to the top and bottom edges of the main body. This will create the wooden texture of the pencil.
Next, draw a small circle at the top of the eraser to give it a three-dimensional appearance. Use short curved lines to indicate the metal band that holds the eraser in place. You can also add a small shadow beneath the eraser to create depth.
Step 3: Shading and Blending
To add dimension and depth to your pencil drawing, it's important to shade and blend the different areas. Start by shading the pencil body using a soft pencil like 4B. Apply light pressure and use long, smooth strokes to create a consistent tone. Make the shading darker towards the edges and lighter towards the center to create a cylindrical shape.
Next, shade the eraser using a lighter pencil like 2B. Use shorter strokes to mimic the texture of the eraser. Pay attention to the highlights and shadows to make it look three-dimensional.
Once you're done shading, use a blending stump or a cotton swab to gently blend the pencil strokes. This will create a smooth and seamless shading effect.
Step 4: Adding Highlights and Shadows
To make your pencil drawing even more realistic, it's important to add highlights and shadows. Start by identifying the light source in your drawing. Imagine where the light is coming from and use that as a guide to determine where the highlights and shadows should be placed.
Using an eraser, carefully remove some graphite to create the highlights. Focus on the areas where the light hits the pencil, such as the top of the pencil body and the metal band around the eraser.
To create shadows, use a softer pencil like 4B and add darker shading to the areas opposite the light source. Pay attention to the cast shadow beneath the pencil and the subtle shadows between the wooden texture lines.
Step 5: Refining and Detailing
In this final step, take a step back and evaluate your drawing. Look for any areas that need refinement or additional details. Use a sharp pencil to add fine lines and textures to enhance the wooden texture of the pencil. You can also use a ruler to guide you in drawing straight lines.
Pay attention to small details such as the metal band around the eraser and the reflection on the pencil body. Take your time and make any necessary adjustments until you're satisfied with the final result.
And there you have it! You've successfully drawn a realistic pencil. With practice and patience, you'll continue to improve your drawing skills and create more intricate artworks.
Mistake Alert: One common mistake when drawing a pencil is unintentionally making the shaft look uneven or crooked, often because the guidelines aren't measured or checked against a real pencil. This happens easily since our eyes can trick us into thinking a slightly tilted or wavy line is straight, especially when drawing freehand. To avoid this, use a ruler or the edge of another pencil to lightly sketch the main axis of your pencil, and frequently step back to check your angles and proportions. Remember to compare the width of the pencil's shaft at several points, and adjust as needed to keep the sides parallel—this will help your drawing look convincing and true to life.
Conclusion
In this step-by-step tutorial, we've learned how to draw a pencil. By following the clear and concise instructions, you've created a realistic pencil illustration using simple shapes, shading techniques, and attention to detail. Remember to practice regularly and experiment with different pencils and shading techniques to enhance your drawing skills.
Now, grab your drawing supplies and start creating amazing pencil drawings of your own. Happy drawing!
Fun Facts About Pencil
- The modern pencil was invented in the late 18th century, with the first mass-produced pencils created by Faber-Castell.
- Pencils do not actually contain lead; they are filled with a mixture of graphite and clay.
- The iconic yellow pencil became popular in the 1890s when manufacturers started painting pencils yellow to indicate high-quality graphite from China.
- The average pencil can draw a line about 35 miles long.
- John Steinbeck was famous for using as many as 60 pencils a day while writing.
- The eraser was first added to pencils in 1858 by Hymen Lipman, who patented the invention.
- NASA originally used pencils in space, but later switched to pens due to safety concerns.
- The world's largest pencil, measuring over 76 feet long, is displayed at the City Museum.
Suggestions for Scenes and Settings for Pencil Drawings
- A close-up study of a well-used pencil with a worn eraser and bite marks.
- A group of pencils arranged in a glass jar, focusing on the reflections and overlapping forms.
- An artistic "exploded view" of a pencil showing its internal components: wood, graphite core, eraser, and metal ferrule.
- A single pencil casting a dramatic shadow across a textured sketchbook page.
- Pencils scattered on a messy desk with shavings, eraser crumbs, and a sharpener.
- A pencil balanced on the edge of a table, capturing the sense of tension and gravity.
- A hand holding a pencil in the midst of sketching, with focus on the grip and gesture.
- A row of pencils of varying lengths and sharpness, showing the passage of time and use.
- A close-up of a pencil tip with a freshly sharpened point and subtle wood grain detail.
- A whimsical scene where pencils are arranged to look like a miniature cityscape or forest.