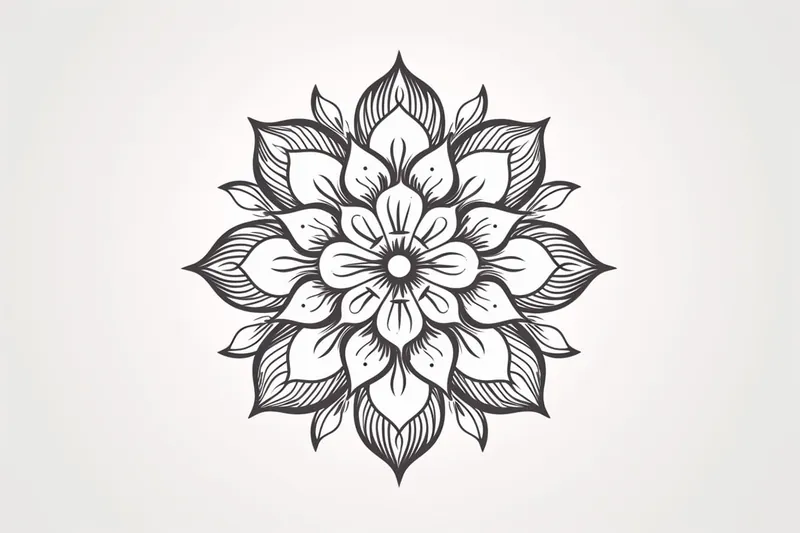
How to Draw a Mandala
Learn how to draw a mandala in this step-by-step guide. Create beautiful and intricate geometric designs with this expert artist's instructions.
Materials You'll Need
- Pencil
- Paper
- Eraser
Mandalas are captivating works of art known for their symmetrical patterns and intricate geometric shapes. Originating from ancient spiritual traditions in Hinduism and Buddhism, mandalas have been used for centuries as symbols of unity, balance, and harmony. Today, mandalas are appreciated not only for their cultural and spiritual significance but also for their stunning visual appeal. Many people find themselves drawn to mandalas because of their mesmerizing patterns and the sense of calm they can inspire, both in the viewer and the artist creating them.
Learning how to draw a mandala is a rewarding experience for artists of all skill levels. Whether you are a beginner looking to develop your drawing skills or an experienced artist seeking a new creative outlet, drawing mandalas offers a wonderful opportunity to experiment with symmetry, balance, and intricate detail. The process of constructing a mandala can be meditative and relaxing, helping to reduce stress and improve focus. You'll also get to practice using basic drawing tools, such as rulers, compasses, and pencils, while exploring patterns, repetition, and radial design techniques.
As you follow this step-by-step guide, you'll discover that creating your own mandala is both accessible and enjoyable. Don't worry if you've never tried drawing a mandala before—each stage is broken down clearly, so you can build your confidence and skills as you go. Remember, the beauty of a mandala lies in its uniqueness, so there's plenty of room for personal expression and creativity. Let's get started on this artistic journey and learn how to draw a mandala that truly reflects your own style and imagination!
Materials Required
Before we begin, let's gather the materials you will need:
- [Drawing paper or sketchbook](https://yonderoo.com/best-sketchbooks-for-artists/)
- Pencil
- Eraser
- Ruler or compass
- Fine-tipped markers or pens
- Colored pencils (optional)
Now that you have everything ready, let's dive into the process of creating a beautiful mandala.
Step 1: Start with a Circle
Begin by drawing a circle in the center of your paper. You can use a compass to create a perfect circle or simply trace around a circular object such as a plate or a jar lid. The size of the circle is up to you, depending on how large or small you want your mandala to be.
Step 2: Establish the Center Point
Locate the center of your circle by drawing two perpendicular lines that intersect at the center. This will be your reference point for creating symmetrical designs in your mandala.
Step 3: Create Symmetrical Guidelines
To maintain symmetry in your mandala, draw a series of guidelines radiating out from the center point. These guidelines will serve as a framework for your design. You can create as many guidelines as you like, depending on the complexity of your mandala.
Step 4: Start with Basic Shapes
Begin filling in the sections of your mandala using basic shapes such as circles, triangles, squares, or rectangles. These shapes can be arranged in various patterns and sizes to create interesting and intricate designs. Feel free to experiment and let your creativity guide you.
Step 5: Add Patterns and Details
Once you have established the basic shapes, it's time to add patterns and details to your mandala. You can incorporate lines, dots, curves, and any other elements you desire. Remember to keep the design symmetrical on both sides of the guidelines to maintain the balance of your mandala.
Step 6: Explore Different Themes and Motifs
Mandalas can be inspired by various themes and motifs. You can draw inspiration from nature, animals, traditional patterns, or even create your own unique style. Experiment with different designs and see what resonates with you the most.
Step 7: Use Colors to Enhance Your Mandala
Tip: As you create your mandala, consider using a light touch when sketching your guidelines and basic shapes; this will allow for easier adjustments and erasing later on. Light construction lines help maintain symmetry and prevent any pressure from showing through your final design, enhancing the overall polished look of your artwork. Don't hesitate to experiment with these initial sketches, as they serve as the foundation for your creativity to flourish!
Now that your mandala is complete, it's time to bring it to life with colors. Use fine-tipped markers or pens to color in your design. You can opt for a monochromatic color scheme or use a variety of colors to make your mandala vibrant and visually appealing. If you prefer a softer look, colored pencils can also be used.
Step 8: Finalize and Refine Your Mandala
Once you have finished coloring your mandala, take a step back and assess your artwork. This is the perfect time to make any final adjustments or refinements. Erase any stray pencil lines, smudges or make any additional changes you feel necessary to ensure your mandala looks polished and complete.
Mistake Alert: One common mistake beginners make when drawing mandalas is neglecting to use light construction lines to map out the underlying grid and circles before adding patterns. This often leads to uneven or lopsided designs, which can be frustrating since symmetry is key to a mandala's harmonious look. This happens because it's tempting to jump straight into the fun details without taking the time to plan the layout. To avoid this, always start by gently sketching a series of concentric circles and dividing lines with a pencil and ruler or compass; these guides will help you keep your patterns balanced and consistent. Remember, you can erase these guidelines later, but having them in place makes all the difference for a polished, symmetrical mandala!
Conclusion
Drawing a mandala is a wonderful way to tap into your creativity and find inner calmness. By following these step-by-step instructions, you can create your own beautiful mandala artwork. Remember to experiment, have fun, and let your imagination guide you. Enjoy the process of creating and exploring the intricate world of mandalas.
Fun Facts About Mandala
- The word mandala comes from the ancient Sanskrit language and means "circle."
- Mandalas are used in Hindu and Buddhist spiritual practices as tools for meditation and rituals.
- The famous Tibetan sand mandalas are meticulously created and then destroyed to symbolize the impermanence of life.
- Carl Jung, the renowned psychologist, used mandalas in therapy to explore the unconscious mind and promote healing.
- Mandalas often feature radial symmetry, meaning their patterns radiate out from a central point.
- In some cultures, mandalas are believed to represent the universe or cosmic order.
- Creating or coloring mandalas has been shown to reduce stress and anxiety in both children and adults.
- Mandalas are not limited to religious contexts; they are widely used in modern art and design for their aesthetic appeal.
- Some Native American cultures create mandala-like designs called sand paintings for healing ceremonies.
- Digital mandala generators and coloring apps have made mandala art accessible to people around the world.
Suggestions for Scenes and Settings for Mandala Drawings
- Create a mandala inspired by the changing seasons—incorporate motifs like snowflakes for winter, flowers for spring, sunbursts for summer, and leaves for autumn.
- Design a mandala using elements from the ocean, such as waves, seashells, starfish, and swirling water patterns.
- Draw a celestial mandala featuring suns, moons, stars, and planetary rings radiating from the center.
- Craft a botanical mandala using leaves, vines, and blooming flowers arranged in symmetrical layers.
- Imagine a mandala based on traditional cultural patterns from around the world, such as Celtic knots, Aztec symbols, or African tribal designs.
- Create an animal-themed mandala, using shapes inspired by feathers, scales, paws, or wings radiating outward.
- Design a mandala that represents your emotions or state of mind, using abstract shapes and colors to express feelings like joy, calm, or excitement.
- Make a geometric mandala focusing on intricate patterns of triangles, squares, and circles, experimenting with precision and symmetry.
- Draw a nature-inspired mandala using mountain peaks, rivers, trees, and clouds as repeating motifs.
- Imagine a fantasy mandala featuring magical symbols, mythical creatures, or enchanted forests woven into the design.