How to Draw a Ladybug
Learn how to draw a ladybug step-by-step in this easy-to-follow tutorial. Capture the charm of this delightful creature on paper with simple shapes and shading techniques.

Materials You'll Need
- Pencil
- Paper
- Eraser
Ladybugs are among the most beloved insects in the world, often seen as symbols of good luck and cherished for their striking appearance. With their bright red shells adorned with bold black spots, ladybugs are a delight to observe in gardens and parks. Their gentle, harmless nature and unique coloration make them a favorite subject for artists of all ages. Whether you're fascinated by the natural world or simply looking for a joyful and approachable drawing project, learning how to draw a ladybug is a wonderful way to celebrate these enchanting little creatures.
This tutorial is designed for beginners and intermediate artists alike, guiding you through how to draw a ladybug step by step. You'll start by sketching basic shapes to outline the ladybug's body, then refine your drawing with details like the head, legs, antennae, and those iconic spots. We'll also cover simple shading techniques to give your ladybug a sense of depth and realism. Ladybugs are a fantastic subject for practicing observation skills, symmetry, and clean line work, making them an excellent exercise for anyone looking to improve their drawing abilities.
Don't worry if you're new to drawing or if this is your first time sketching an insect—this guide will break down each step in an easy-to-follow way. By the end of this tutorial, you'll have a charming ladybug illustration to be proud of! So, gather your drawing materials, let your creativity flow, and remember: every artist improves with practice. Let's get started and discover how to draw a ladybug together!
Materials Required
Before we begin, let's gather all the materials you will need for this drawing:
- Pencil: Use a standard graphite pencil with a medium or soft lead for sketching and shading.
- Eraser: Have a good quality eraser handy to help you correct any mistakes or lighten the lines when needed.
- Paper: Choose a smooth surface paper suitable for drawing, such as drawing paper or sketch paper. A size of around 9x12 inches should work well.
- Colored pencils or markers: If you wish to add color to your ladybug drawing, you can use colored pencils or markers of your choice.
Now that you have everything you need, let's dive into the steps of drawing a ladybug!
Step 1: Basic Outline
To start, lightly sketch an oval shape on your paper. This will be the main body of the ladybug. Remember to keep the lines soft and faint, as you will be refining them later. Next, draw a smaller oval shape at one end of the larger oval. This will be the ladybug's head.
Step 2: Adding Details
Now, let's add some details to our ladybug. Draw a short straight line in the middle of the head to separate it into two sections. Next, draw a small semicircle on each side of the head to represent the ladybug's eyes. Inside each eye, draw a tiny circle to indicate the pupils.
Below the head, draw a curved line to connect the body. This will be the ladybug's thorax. Then, draw a line parallel to the thorax, slightly below it, to create the ladybug's abdomen. The abdomen should be slightly larger than the thorax.
Step 3: Wings and Spots
Ladybugs are known for their distinct wings and spots. To draw the wings, extend two curved lines from the sides of the thorax. The wings should have a soft and rounded shape. Repeat this step on the other side to complete the wings.
Next, let's add the ladybug's spots. Draw a series of small, oval-shaped dots on the wings and thorax. The number of spots can vary, but a typical ladybug has between five and seven spots on each wing. Don't worry too much about making the spots perfectly symmetrical – slight variations can add character to your drawing.
Step 4: Legs and Antennae
Now it's time to draw the ladybug's legs and antennae. For the legs, draw three short lines on each side of the thorax. The lines should start from the bottom of the thorax and curve slightly outward. Add tiny ovals at the end of each leg to represent the ladybug's feet.
For the antennae, draw two long, curved lines on top of the ladybug's head. The lines should start near the eyes and curve slightly upward. Add small oval shapes at the end of each line to complete the antennae.
Step 5: Refining the Outline
Now that we have the basic structure of our ladybug, it's time to refine the outline. Using the initial sketch as a guide, carefully darken the lines to give your drawing a more defined look. Pay attention to the curves and shapes of the body, wings, and spots. Use your eraser to remove any unwanted lines or mistakes.
Step 6: Shading and Coloring
To add depth and dimension to your ladybug drawing, we can incorporate some shading. Begin by identifying the light source in your drawing. This will help determine where the shadows should fall. Generally, the light source can be imagined as coming from the top-left or top-right corner.
Using your pencil, lightly shade the areas of the ladybug that would be in shadow. Start with the areas underneath the spots, the edges of the wings, and the underside of the body. Gradually build up the shading by adding more layers of graphite. Remember to blend the shading using a blending stump or your fingers to create a smoother transition between light and dark areas.
If you prefer to add color to your ladybug, now is the time to do so. Use colored pencils or markers to bring your ladybug to life. Ladybugs are typically red or orange with black spots, but feel free to get creative with different colors and patterns if you'd like!
Tip: When drawing a ladybug, start by lightly sketching an oval for the body and a smaller semicircle for the head—using a compass or tracing around a coin can help you achieve those smooth, symmetrical curves. Pay close attention to the placement of the dividing line down the shell, as it runs slightly off-center and gives the ladybug its characteristic look. For the spots, use a kneaded eraser to gently lift any guide lines before filling them in with a dark, even tone; this helps keep your drawing clean and crisp. If you want your ladybug to look shiny and three-dimensional, reserve a small white highlight on the shell when coloring or shading, and blend gently around it to create a subtle gradient.
Conclusion
Congratulations on completing your ladybug drawing! By following these step-by-step instructions, you have learned how to capture the charm of a ladybug on paper. Whether you choose to leave your drawing in black and white or add color, your ladybug is sure to be a delightful addition to your collection of artwork. Keep practicing, have fun, and enjoy the process of bringing nature's beauty to life through your art!
Gallery of Ladybug Drawings
Fun Facts About Ladybugs
- Ladybugs are actually beetles and belong to the family Coccinellidae, which includes over 5,000 species worldwide.
- The bright red color and black spots on a ladybug's shell serve as a warning to predators that they taste bad.
- Ladybugs are considered beneficial insects because they eat aphids and other pests that harm plants.
- Some ladybugs can play dead and secrete a foul-smelling fluid from their legs to deter predators.
- Ladybugs can lay up to 1,000 eggs in their lifetime, usually on the underside of leaves near aphid colonies.
- Not all ladybugs are red; some species are yellow, orange, black, or even pink.
- In many cultures, ladybugs are seen as symbols of good luck and are believed to bring prosperity.
- Ladybugs can "reflex bleed," releasing a yellow fluid from their joints when threatened.
- During winter, ladybugs hibernate in large groups to stay warm, often inside houses or under sheltered spots.
Suggestions for Scenes and Settings for Ladybug Drawings
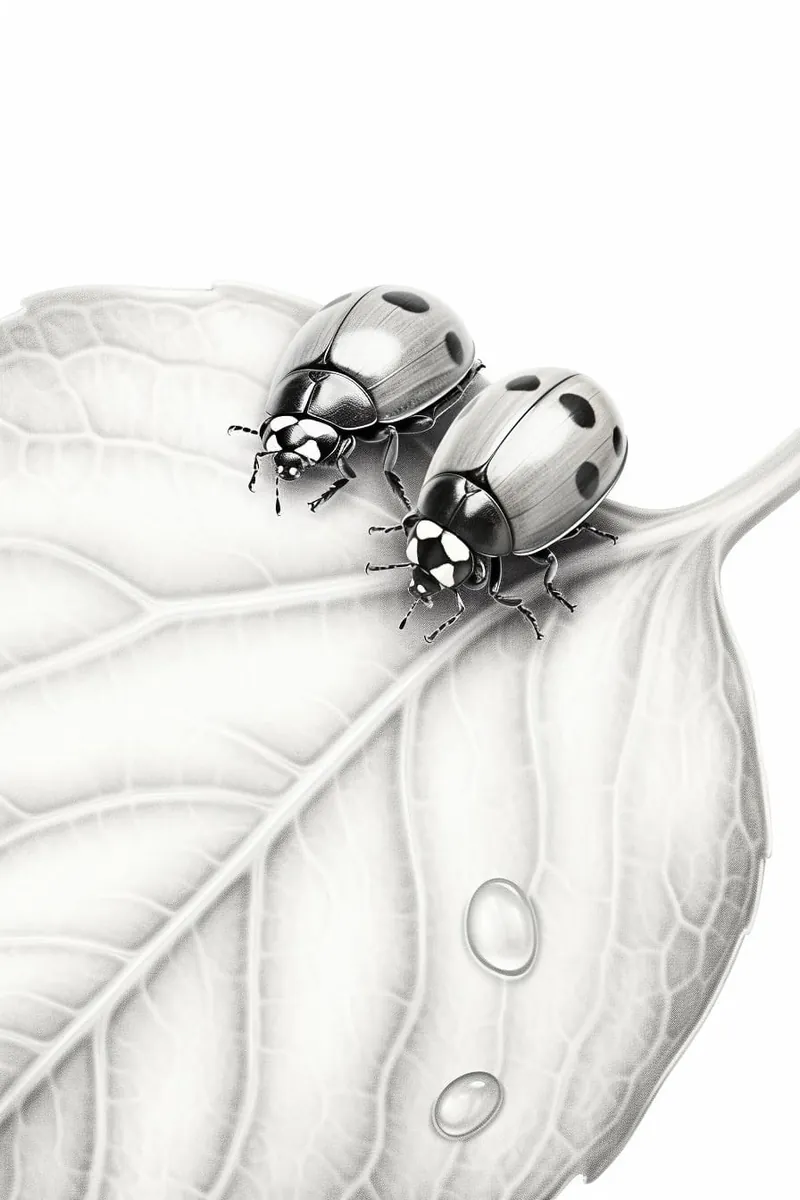
- A ladybug perched on a dew-covered leaf in the early morning sunlight.
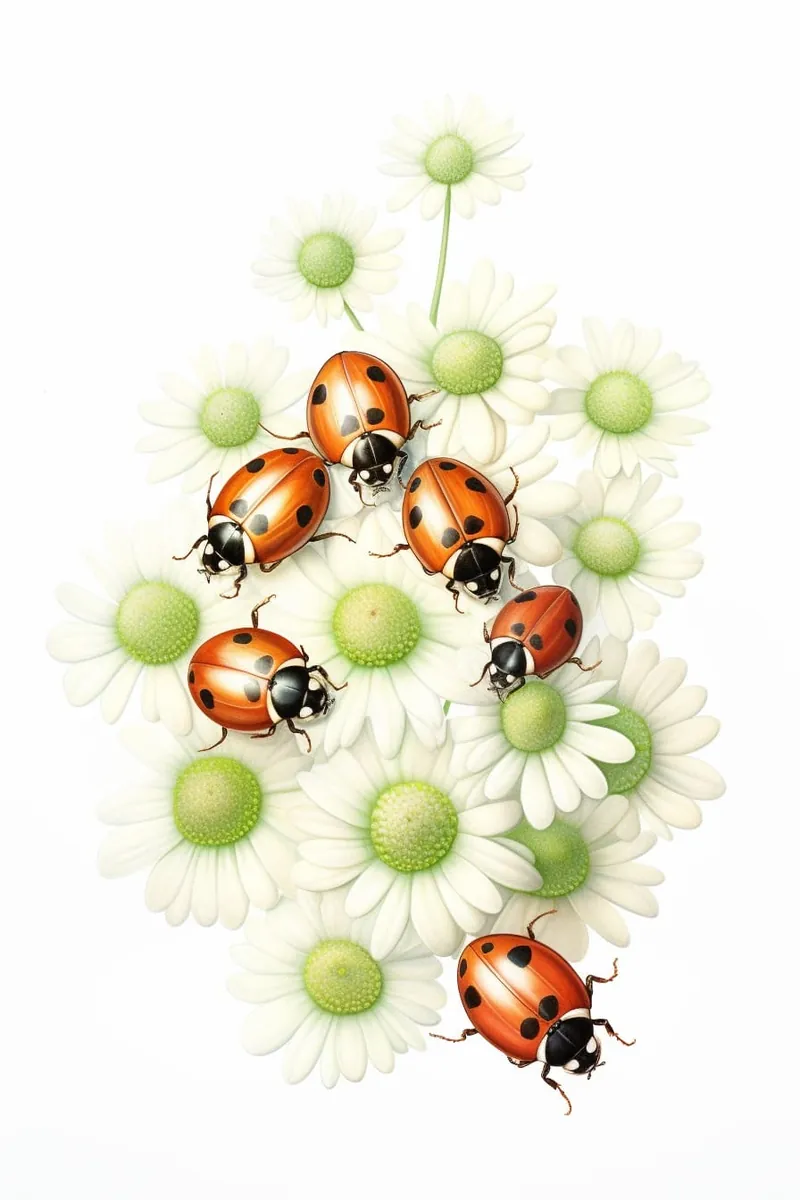
- A close-up view of a ladybug exploring the petals of a blooming flower.
- Several ladybugs gathered together on a garden fence or stone pathway.
- A whimsical scene of a ladybug flying through a field of tall grass and wildflowers.
- A ladybug resting on a child's outstretched hand, capturing a moment of gentle curiosity.
- A ladybug climbing up the stem of a dandelion, with seeds blowing in the wind.
- A detailed study of a ladybug interacting with other garden insects, such as butterflies or bees.
- A fantasy setting where the ladybug wears a tiny crown or carries a leaf umbrella.
- A nighttime scene with a ladybug illuminated by the soft glow of fireflies.
- A series showing the life cycle of a ladybug, from egg to adult, in a natural environment.