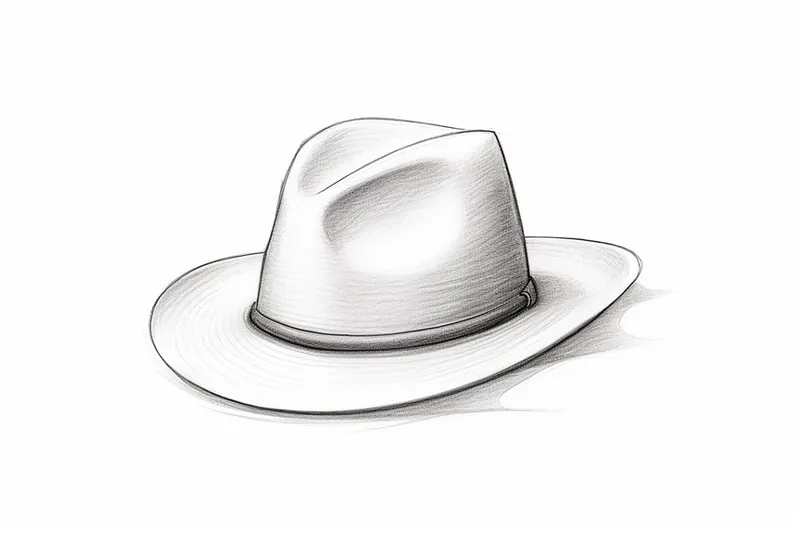
How to Draw a Hat
Learn how to draw a hat with this step-by-step tutorial. Add flair to your artwork by following these clear and concise instructions. Perfect for artists of all skill levels!
Materials You'll Need
- Pencil
- Paper
- Eraser
Hats have long been a symbol of style, personality, and even social status in cultures around the world. From the sharp lines of a classic top hat, to the relaxed curve of a sunhat or the timeless appeal of a fedora, hats come in a wide array of shapes and sizes. Learning how to draw a hat not only helps you practice capturing different textures and forms, but also allows you to bring life and character to your portraits, fashion sketches, and imaginative scenes. Hats can be an eye-catching focal point or a subtle accessory that completes your artwork, making them a valuable skill to add to your creative toolkit.
Whether you're a beginner looking to practice basic shapes and shading, or a more seasoned artist aiming to refine your attention to detail, this tutorial on how to draw a hat has something for everyone. You'll explore techniques such as sketching simple outlines, adding dimensionality through shading, and incorporating details like ribbons or patterns. Drawing hats is a fantastic way to build your confidence with curves, perspective, and light sources, all while having fun experimenting with different styles. Remember, every artist starts somewhere, and each attempt brings you closer to mastering new skills. So gather your favorite drawing materials, keep an open mind, and let's embark on this creative journey together—you'll be amazed at what you can achieve!
Materials Required
Before we begin, make sure you have the following materials:
- Pencil
- Eraser
- Paper
- Colored pencils or markers (optional for adding color)
That's it! Now that you have everything you need, let's dive into the steps.
Step 1: Sketch the Basic Shape
Start by lightly sketching the basic shape of the hat using a pencil. Think about the angle you want the hat positioned and the overall size you'd like it to be on your drawing. Keep your lines loose and straightforward, as this is just the initial outline.
Step 2: Add Details
Next, start adding details to the hat. Think about the style of hat you want to draw, whether it's a wide-brimmed hat or a more structured one. Add creases, folds, and any other defining features that give your hat character and depth. Take your time with this step to ensure your hat looks realistic.
Step 3: Refine the Shape
Once you're satisfied with the details, go over the outline of the hat again, refining the shape as you go. Use smoother, more confident lines to create a more polished look. Pay attention to the curves and angles of the hat to make sure they are accurate.
Step 4: Add Texture
To make your hat look more realistic, add some texture. Think about the material the hat is made of, whether it's straw, felt, or fabric. Use short, light strokes to create the illusion of texture and depth. Take your time with this step and experiment with different stroke techniques to achieve the desired effect.
Step 5: Finalize the Details
Now it's time to add the final details to your hat. This includes any embellishments such as ribbons, bows, or feathers. Pay close attention to the proportions and placement of these elements to ensure they complement the overall design of the hat.
Step 6: Add Shadows and Highlights
To give your hat dimension and make it pop off the page, add shadows and highlights. Think about the direction of the light source and use shading techniques to create the illusion of depth. Pay attention to the curves and folds of the hat to determine where the shadows and highlights should be placed.
Step 7: Optional - Add Color
If you want to add some color to your hat drawing, now is the time to do so. Use colored pencils or markers to bring your hat to life. Consider the color and pattern of the hat and use shading techniques to create a realistic look.
Tip: When drawing a hat, always start by lightly sketching the basic structure using simple geometric shapes—ovals for brims and rectangles or domes for the crown—before adding any details. Pay close attention to the way the hat sits on the head: the brim will curve around the skull, often tilting or overlapping depending on the angle. Once the placement feels right, refine the outline and add subtle lines to suggest creases, folds, or stitching. If your hat has embellishments like ribbons or patterns, draw them along the natural curve of the hat to enhance realism and perspective. Don't forget to indicate shadows beneath the brim to give your hat a sense of depth and dimension!
Conclusion
Drawing a hat can be a fun and creative way to enhance your artwork. By following these step-by-step instructions, you'll be able to draw a variety of hats with ease. Remember to take your time, pay attention to the details, and have fun with your drawing. Happy creating!
Fun Facts About Hat
- Ötzi the Iceman, a mummy dating back to 3300 BC, was discovered wearing a hat.
- The iconic top hat became a symbol of urban sophistication in the 19th century.
- In the early 20th century, the fedora became popular among both men and women.
- The Panama hat actually originates from Ecuador, not Panama.
- Wearing hats as a sign of social status dates back to ancient Egypt.
- The bowler hat was invented in 1849 for British gamekeepers.
- Baseball caps, now a global fashion staple, were first worn by the Brooklyn Excelsiors in 1858.
- The phrase "mad as a hatter" comes from mercury poisoning suffered by 19th-century hat makers.
Suggestions for Scenes and Settings for Hat Drawings
- A vintage hat shop window display overflowing with hats of all shapes and sizes on elegant stands.
- A fashionable character trying on different hats in front of a mirror, each reflecting a different style or era.
- A whimsical tea party in a sunny garden where every guest wears a uniquely decorated hat.
- An adventurous explorer's sunhat lying next to a worn map and compass in a lush jungle setting.
- A rainy city street scene where people's hats shield them from the raindrops and add pops of color to the gray day.
- A dramatic stage performance with actors wearing elaborate hats that hint at their roles and personalities.
- A cozy winter market with shoppers bundled up in knit hats and scarves, surrounded by festive lights.
- A playful parade where children and adults alike sport homemade hats crafted from unusual materials.
- A portrait of a mysterious figure in a wide-brimmed fedora, half-hidden in shadow.
- A tranquil beach scene with sunhats scattered on towels and hanging from umbrellas, fluttering in the breeze.