How to Draw a Glass
Learn how to draw a glass in a clear and concise step-by-step guide. Master the art of capturing transparency and reflections in your drawings.
Materials You'll Need
- Pencil
- Paper
- Eraser
The glass is an everyday object that many of us overlook, yet it presents a unique challenge and a wonderful opportunity for artists to develop their observational and shading skills. Glass objects are fascinating to draw because of their transparent surfaces, intricate reflections, and subtle highlights. Learning how to draw a glass not only teaches you how to capture transparency and light, but also improves your understanding of form, perspective, and value. Whether it's a simple drinking glass or an ornate goblet, rendering glass convincingly can add a new level of realism to your artwork and help you tackle more complex subjects in the future.
You might want to learn how to draw a glass to enhance your still life compositions, practice rendering reflections, or simply challenge yourself to master a difficult subject. Drawing glass is a fantastic exercise for beginners and intermediate artists alike, as it encourages careful observation and experimentation with different shading techniques. In this tutorial, we'll explore the essential steps for drawing a realistic glass, from sketching the basic shapes to layering values and highlights that suggest transparency. Don't worry if you're new to drawing—by breaking down the process into manageable steps, you'll discover that drawing glass is not as intimidating as it seems.
Remember, the key to success is patience and practice. Each attempt will help you refine your technique and build confidence in your artistic abilities. So gather your favorite drawing supplies, follow along with the step-by-step instructions, and enjoy the process of bringing a simple glass to life on paper. You'll be amazed at what you can achieve with focus and enthusiasm!
Tip: To enhance your glass drawing, focus on observing how light interacts with the surface; take note of the subtle changes in value and reflections rather than relying on heavy outlines. As you sketch, remember that glass is primarily defined by its transparency and the play of light, so use softer, lighter lines to suggest contours and let the highlights and shadows provide dimension. This approach will help you create a more realistic representation and capture the delicate nature of glass.
Materials Required
To draw a glass, you will need the following materials:
- Drawing paper
- Pencil (HB or 2B)
- Eraser
- Ruler
- Blending stump or cotton swabs
- Optional: Colored pencils, markers, or watercolor pencils for adding color
Now that you have your materials ready, let's begin the process of drawing a glass!
Step 1: Start with Basic Shapes
Begin by lightly sketching the basic shapes that make up the glass. Most glasses have a cylindrical shape with a wider base and a narrower top. Use your pencil to draw an elongated oval for the base and a smaller oval or circle for the top opening. These shapes will serve as the foundation for your glass drawing.
Step 2: Refine the Outline
Using the basic shapes as a guide, refine the outline of the glass. Pay attention to any specific details or curves that make your glass unique. Take your time and use light strokes to create a clean and accurate outline. Remember, it's always easier to erase and make adjustments at this stage than later on.
Step 3: Add Thickness
Next, add some thickness to the outline you've created. A glass usually has a thin wall that separates the inner and outer surfaces. To achieve this, draw a parallel line to the outer outline, following its curves. Ensure that this line is slightly offset and does not touch the outer outline directly.
Step 4: Create the Base
Move on to drawing the base of the glass. Using your ruler, draw straight lines from the bottom of the glass towards a central point. These lines should converge and form a triangle. Make sure the lines are evenly spaced and aligned with the shape of the glass.
Step 5: Add Details
Now, it's time to add some details to make your glass look more realistic. Pay attention to any intricate designs or patterns on the glass. You can include these by gently sketching them in or by using hatching or cross-hatching techniques for shading.
Step 6: Define the Reflections
One of the defining characteristics of glass is its reflective nature. To capture this, carefully observe the objects and surroundings reflected in the glass. Lightly sketch these reflections using curved lines and shapes. Keep in mind that these reflections will appear distorted due to the shape of the glass.
Step 7: Shade the Glass
To create the illusion of transparency, we need to add shading to the glass. Start by identifying the light source in your drawing. The light source determines where the highlights and shadows will be. Using your pencil, shade the areas of the glass that are farther away from the light source, leaving the highlighted areas untouched.
Step 8: Blend and Add Texture
To enhance the smoothness and transparency of the glass, use a blending stump or a cotton swab to blend the shaded areas gently. This will create a gradual transition between light and shadow, adding realism to your drawing. If desired, you can also add texture to the glass by lightly hatching or cross-hatching specific areas.
Step 9: Optional - Add Color
If you prefer to add color to your drawing, you can use colored pencils, markers, or watercolor pencils. Start by applying a light base color to represent the transparency of the glass. Then, layer darker shades to create the illusion of depth and form. Blend the colors smoothly using a blending stump or a brush, depending on the medium you're using.
Mistake Alert: A common mistake when drawing glass is outlining the object too heavily, which can make it look flat and cartoonish instead of transparent and delicate. This often happens because beginners instinctively want to define the edges, but real glass rarely has solid, dark outlines—instead, its boundaries are suggested by subtle shifts in value and light. To avoid this pitfall, use lighter, broken lines for the outer contour and focus on capturing the highlights, reflections, and shadows within the glass itself. Remember, less is more: let the interplay of light and shade define the form, and reserve your darkest values for the deepest shadows or the areas where the glass overlaps itself. By observing carefully and working gently, you'll achieve a much more convincing sense of transparency.
Conclusion
Drawing a glass requires careful observation of its form, reflections, and transparency. By following these step-by-step instructions and practicing regularly, you can master the art of drawing a glass. Remember to start with basic shapes, refine the outline, add thickness, and include the details that make your glass unique. Don't forget to capture the reflections, shade the glass, and blend to achieve a realistic look. With time and patience, you'll be amazed at the glass drawings you can create!
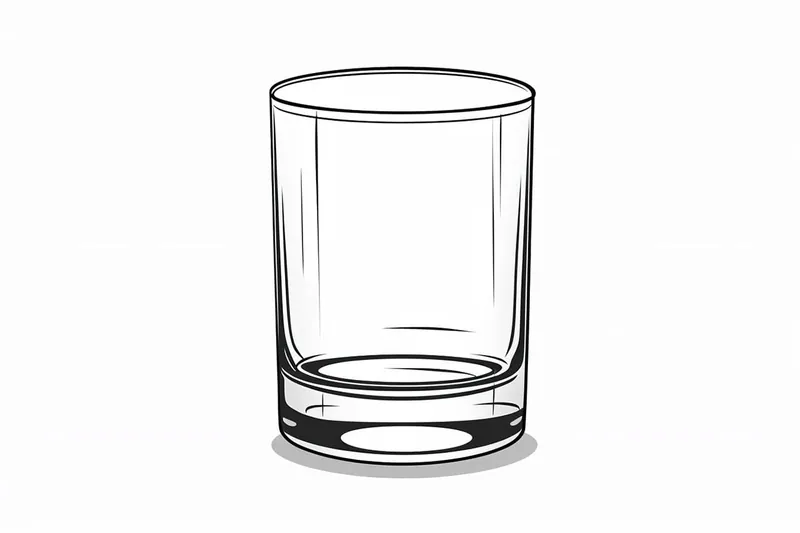
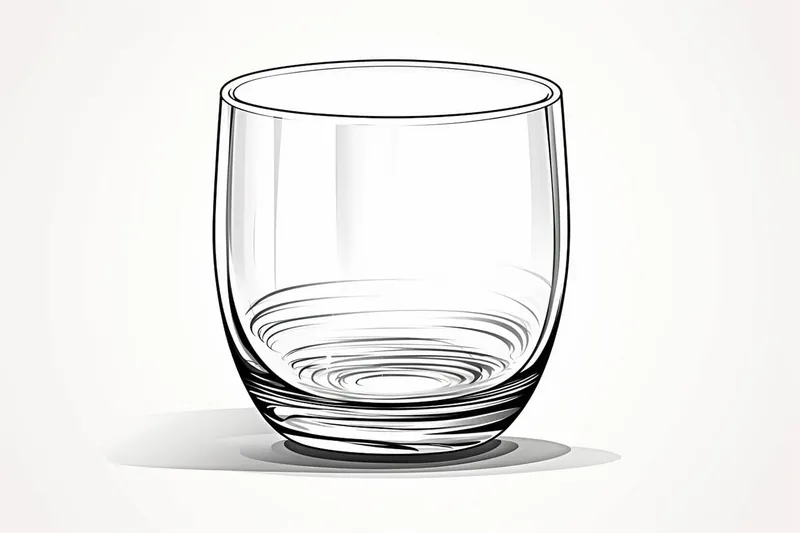
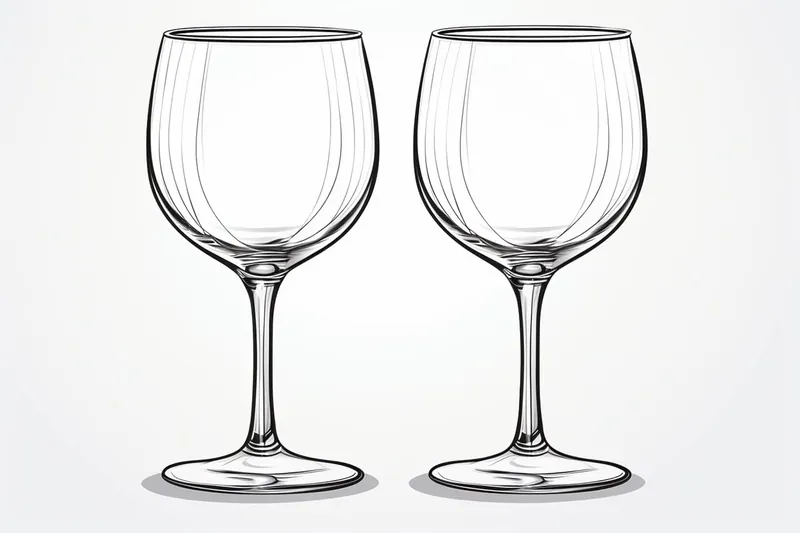
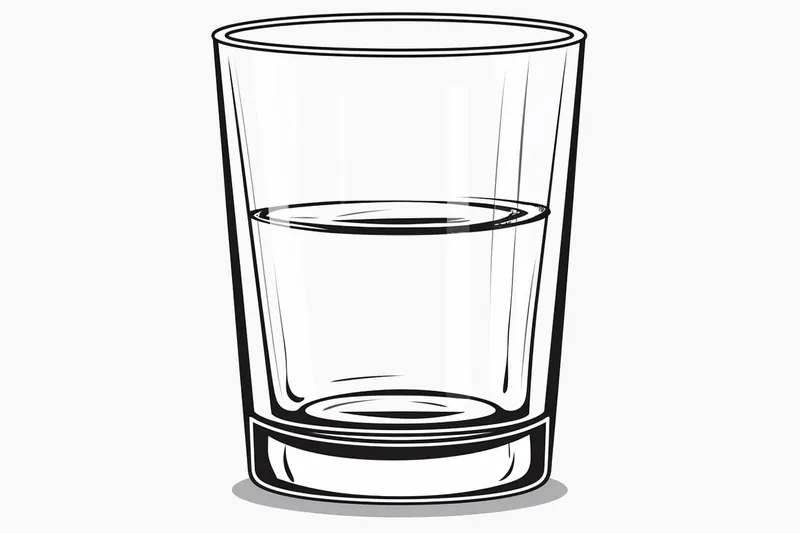
Gallery of Glass Drawings

Fun Facts About Glass
- Glass is actually an amorphous solid, meaning it has the structure of a liquid but behaves like a solid.
- The oldest known glass objects, beads, date back to around 3500 BCE in Mesopotamia.
- Glass is made primarily from sand (silica), soda ash, and limestone.
- Despite its transparency, glass can be colored by adding metal oxides during production.
- Glass is 100% recyclable and can be recycled endlessly without loss of quality.
- Some types of glass, like Pyrex, are made to withstand high temperatures and sudden changes in heat.
- Fiber optic cables, which transmit internet and phone signals, are made from ultra-pure glass.
- Glass can be made bulletproof by layering sheets with plastic.
- Stained glass windows have been used in cathedrals for over a thousand years.
Suggestions for Scenes and Settings for Drawings of a Glass
- A solitary glass of water on a sunlit windowsill, capturing the interplay of light and shadow.
- An ornate wine glass partially filled with red wine, focusing on the curves and the refracted color through the glass.
- A group of mismatched drinking glasses clustered together, reflecting each other and their surroundings.
- A glass vase holding a single flower, emphasizing the distortion of stems and petals through the transparent surface.
- A tipped-over glass with water spilling out, illustrating the dynamic movement of liquid and reflections.
- A frosted or etched glass with a decorative pattern, highlighting texture and subtle translucency.
- A glass jar filled with colorful marbles or candies, playing with the way light bends and colors mix inside.
- A set table with multiple glassware items—goblets, tumblers, and pitchers—showcasing overlapping reflections and shapes.
- A simple glass mug of tea or coffee, with wisps of steam rising and condensation on the surface.
- A broken glass, focusing on the jagged edges, shards, and the way light interacts with the fractured surfaces.