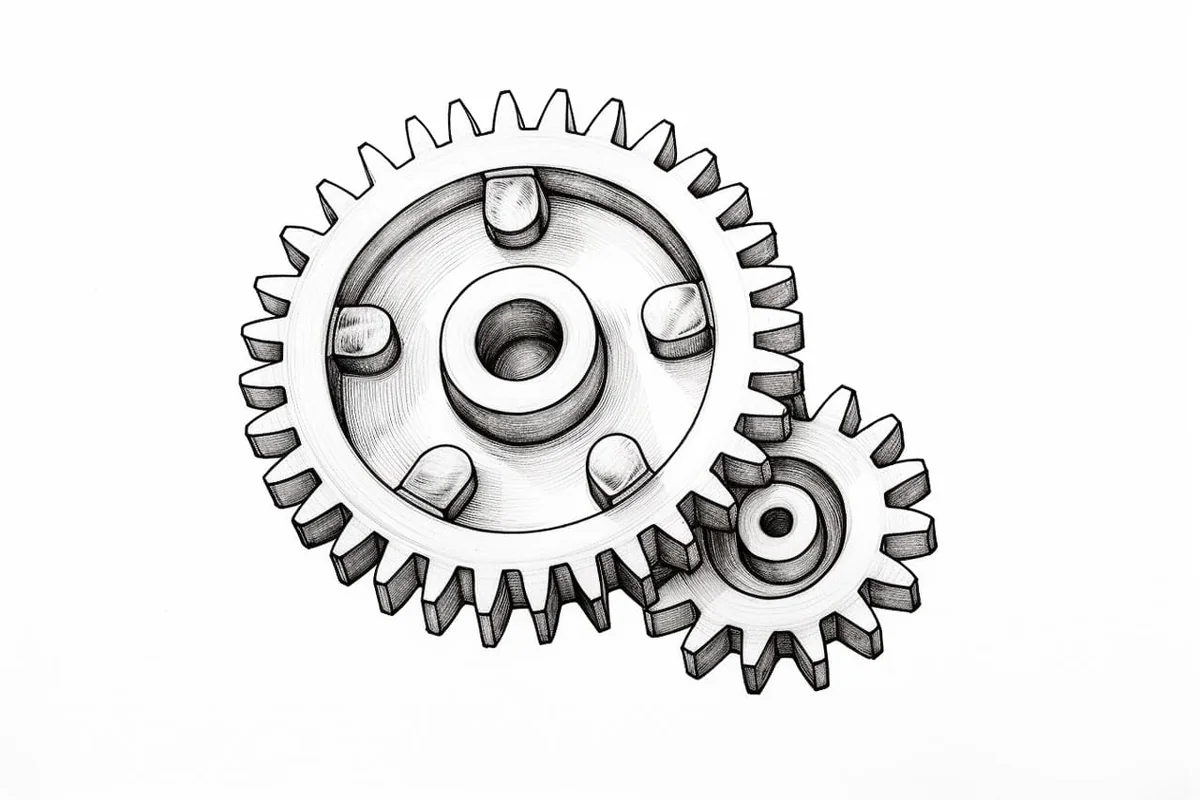
How to Draw a Gear in 8 Easy Steps
Learn how to draw with this step-by-step tutorial.
Materials You'll Need
- Drawing paper
- Pencil (HB or 2B)
- Eraser
- Ruler
- Compass
Gears are fascinating mechanical components found in countless machines, from tiny wristwatches to towering industrial engines. Their unique shapes, interlocking teeth, and precise symmetry make them not only essential in engineering but also visually intriguing subjects for artists and illustrators.
Understanding how gears function and appear helps you appreciate their role in transferring motion and power, as well as their aesthetic appeal in both technical and creative artwork. Drawing a gear offers an opportunity to combine both artistic skill and a touch of scientific curiosity, making it an enjoyable challenge for hobbyists and professionals alike.
Learning how to draw a gear is particularly valuable if you are interested in technical illustration, steampunk art, or simply want to add realistic mechanical details to your drawings. This tutorial is designed to break down the process into manageable steps, guiding you through constructing the gear's circular body, evenly spaced teeth, and central hub.
While the geometric precision of gears may seem intimidating at first, this guide is suitable for beginners and intermediate artists alike. You'll practice using basic drawing tools, mastering symmetry, and applying shading techniques to give your gear a three-dimensional, lifelike appearance.
Don't worry if you're new to technical drawing—patience and practice are key! As you follow along, you'll discover how rewarding it can be to capture the intricacies of these mechanical marvels. By the end of this tutorial on how to draw a gear, you'll not only have a detailed illustration to be proud of, but you'll also gain skills that can be applied to a wide range of creative projects. Grab your materials, and let's turn those gears of imagination into reality!


Materials Required
Before we begin, let's gather the materials you will need to draw a gear:
-
Ruler
-
Compass
-
Protractor
-
Paper
-
Optional: Drawing software (if you prefer digital drawing)
Keep these materials handy throughout the tutorial to ensure a smooth and successful drawing process.
Step 1: Draw the Gear's Outer Circle
Tip: As you draw your gear, consider using light pencil strokes for initial lines to easily make adjustments without damaging your paper, and gradually darken the lines you want to keep. This technique allows for flexibility as you refine the gear's shape and proportions, ensuring a more polished final illustration.
To start, take your compass and draw a large circle on your paper. This circle will determine the outer diameter of your gear. You can experiment with different sizes depending on your design requirements.
Step 2: Divide the Circle into Equal Sections
Next, use your protractor to divide the outer circle into equal sections. The number of sections you create will determine the number of gear teeth. For example, if you divide the circle into 10 sections, your gear will have 10 teeth. Ensure that the sections are evenly spaced for a balanced and symmetrical gear design.
Step 3: Draw the Gear Teeth
Now, it's time to draw the gear teeth. Start by extending each section line towards the center of the circle. Aim to make these lines slightly shorter than the radius of the outer circle.
Step 4: Connect the Gear Teeth
Connect the extended lines from the previous step using curved lines. These lines will form the shape of the gear teeth. Ensure that the curvature of each line matches the adjacent lines, creating a smooth and cohesive design.
Step 5: Add Depth to the Gear Teeth
To make your gear drawing more realistic, add depth to the gear teeth. Draw smaller lines parallel to the gear teeth, representing the thickness of each tooth. Make these lines slightly shorter than the length of the gear teeth for a proportional and visually appealing result.
Step 6: Draw the Gear's Inner Circle
Inside the gear, draw another circle with a smaller diameter. This inner circle represents the gear's hub or center. Its size will depend on your design preferences and the proportions of your gear.
Step 7: Add Bolt Holes (Optional)
If you want to include bolt holes in your gear design, carefully draw small circles within the inner circle. These holes are often used to secure the gear onto a shaft or other mechanical components. You can choose the number and placement of these bolt holes based on your design requirements.
Step 8: Refine and Erase Unnecessary Lines
Now that you have the basic structure of your gear, take a moment to review your drawing and refine any lines that need adjustment. Use your ruler to ensure that the gear teeth are evenly spaced and proportional. Additionally, erase any unnecessary construction lines, leaving only your final gear design.
Conclusion
Congratulations! You have successfully learned how to draw a gear. Gears are fascinating mechanical components, and being able to draw them accurately is an impressive skill. By following the step-by-step instructions in this tutorial, you can create intricate and realistic gear designs with ease. So grab your materials and start drawing gears today!
Gallery of Gear Drawings


Fun Facts About Gears
-
The earliest known gears date back to ancient Greece, with the Antikythera mechanism using complex gear trains over 2,000 years ago.
-
Gears are essential for changing the speed, torque, and direction of mechanical power in machines.
-
Spur gears, the most common type, have straight teeth and are used in everything from clocks to car transmissions.
-
Bevel gears allow power to be transmitted at an angle, making them crucial in devices like hand drills and differential drives.
-
Planetary gear systems, found in automatic transmissions, use multiple gears rotating around a central gear for compact and efficient power transfer.
-
Gears can be made from metal, plastic, or even wood, depending on their application and required strength.
-
The involute gear tooth profile is the most widely used because it ensures smooth and consistent power transmission.
-
Worm gears can achieve very high reduction ratios and are often used in elevators and conveyor systems.
Suggestions for Scenes and Settings for Gear Drawings
-
A close-up technical illustration of interlocking gears inside a vintage pocket watch, showing their intricate arrangement and metallic reflections.
-
An imaginative steampunk cityscape with oversized gears forming bridges, towers, and moving walkways throughout the environment.
-
A cross-section view of an old-fashioned clock tower, revealing its network of large and small gears working together to move the clock hands.
-
A futuristic robot's exposed mechanical arm, highlighting the gears and cogs powering its movements beneath transparent plating.
-
A botanical/mechanical hybrid where plant vines wrap around rusty gears in an abandoned factory, symbolizing nature reclaiming technology.
-
An educational diagram showing a bicycle's gear system, focusing on how different gear sizes affect speed and movement.
-
A fantasy illustration of a magical gear-driven portal, with glowing runes engraved on each tooth and mysterious energy swirling within.
-
A dynamic action scene of an engineer repairing a massive industrial engine, with gears of various sizes scattered around the workbench.
-
A whimsical children's storybook page featuring animated gears with faces, working together to solve a puzzle or power a machine.
-
A surreal dreamscape where floating gears turn in the sky among clouds, forming abstract patterns and shapes against a sunset backdrop.