How to Draw a Cell
Learn how to draw a cell with this step-by-step tutorial. Whether you're a student or artist, follow these instructions to create an accurate representation of a cell.
Materials You'll Need
- Pencil
- Paper
- Eraser
Welcome to this in-depth tutorial on how to draw a cell, perfect for anyone eager to blend scientific understanding with artistic creativity. Cells are the fundamental building blocks of all living organisms, from the tiniest bacteria to the complex human body. By learning to draw a cell, you'll not only enhance your artistic skills but also deepen your appreciation for the intricate structures that sustain life. Whether you're a biology student aiming to visualize concepts more clearly or an artist fascinated by microscopic worlds, this guide will walk you through the process of creating an accurate and detailed representation of a cell.
Drawing a cell involves understanding its key components such as the nucleus, cytoplasm, and cell membrane, and translating these into clear, engaging visuals. This tutorial is suitable for beginners and intermediate artists alike, as it focuses on foundational techniques like sketching shapes, shading to indicate depth, and labeling parts for educational purposes. As you follow along, you'll gain not only technical drawing skills but also a better grasp of cellular biology. By the end of this guide on how to draw a cell, you'll have a drawing that is scientifically informative and artistically appealing—an accomplishment that bridges two exciting disciplines.
So, grab your pencil and paper, and get ready to explore the fascinating microscopic world through art. Remember, every expert artist started with simple shapes and lines, and with patience and practice, you'll be able to create detailed cellular illustrations that impress both in classrooms and portfolios. Let's embark on this creative and educational journey together and bring the hidden world of cells to life on your page!
Materials Required
Before we start, let's gather the materials you'll need for this drawing:
- Paper: Choose a sketchbook or any type of paper suitable for drawing.
- Pencil: Opt for a medium-soft graphite pencil (HB or 2B) for sketching.
- Eraser: Have a kneaded eraser or a regular eraser on hand to correct any mistakes.
- Fine-tip pen: Prepare a pen with a thin nib for inking your final drawing.
- Colored pencils or markers (optional): If you want to add color to your cell, have colored pencils or markers ready.
Now that you've gathered your materials, let's begin the drawing process.
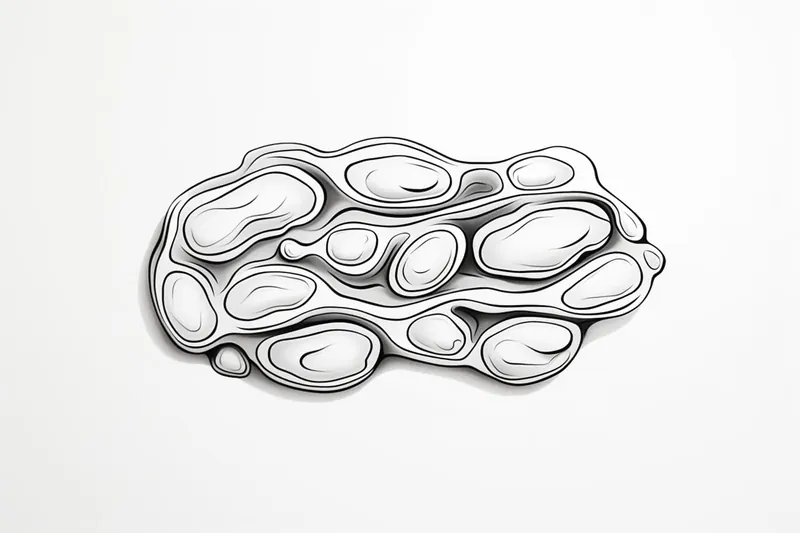
Step 1: Sketch the Cell Shape
Start by drawing a circle in the center of your paper. This will be the outline of the cell. Keep the circle light and loose, as it will act as a guide for the rest of your drawing.
Step 2: Add the Cell Membrane
Tip: While you draw each component of the cell, consider using reference images from biology textbooks or online resources to ensure accuracy in both structure and color. This will not only enhance the realism of your drawing but also deepen your understanding of each organelle's function and appearance, making your final artwork both scientifically informative and visually striking.
Draw a slightly larger circle around the first one. This represents the cell membrane, which encloses the cell and controls the movement of substances in and out of it. Make sure the membrane is evenly spaced around the cell.
Step 3: Include the Nucleus
Inside the cell, towards the center, draw a smaller circle. This is the nucleus, which contains the cell's genetic material. It acts as the control center for the cell's activities.
Step 4: Draw the Nuclear Membrane and Nucleolus
Within the nucleus, draw another circle that represents the nuclear membrane. This membrane separates the nucleus from the rest of the cell.
Inside the nucleus, draw a smaller dot or circle to indicate the nucleolus. This structure is responsible for producing ribosomes, which are essential for protein synthesis.
Step 5: Add the Organelles
Now, let's add some organelles to our cell drawing. Organelles are like tiny organs within cells that perform specific functions. Here are a few common organelles to include:
- Endoplasmic Reticulum (ER): Draw a series of interconnected, flattened sacs or tubes close to the nucleus. The ER is involved in protein synthesis and lipid metabolism.
- Golgi Apparatus: Just below the ER, draw a stack of flattened, curved sacs. The Golgi apparatus modifies, sorts, and packages proteins for transport.
- Mitochondria: Draw elongated ovals throughout the cell. These double-membraned organelles are the powerhouses of the cell, producing energy through cellular respiration.
- Vacuoles: Include one or more small circles or irregular shapes within the cell. Vacuoles store water, nutrients, and waste materials.
- Ribosomes: Draw tiny dots scattered throughout the cytoplasm. Ribosomes are responsible for protein synthesis.
- Lysosomes: Add small irregular shapes with a darker shade. Lysosomes contain digestive enzymes that break down waste materials.
- Chloroplasts (plant cells): If you're drawing a plant cell, include chloroplasts by drawing small green ovals. Chloroplasts are responsible for photosynthesis, converting sunlight into energy.
Feel free to research and add other organelles specific to the type of cell you are drawing. Remember to arrange them in a way that makes sense based on their functions.
Step 6: Refine and Ink the Drawing
Now that you have your basic cell structure, take a moment to refine your sketch. Erase any unnecessary lines and make any adjustments to the shape and positioning of the organelles.
Once you are satisfied with your sketch, use a fine-tip pen to ink over the final lines. Ink the cell outline, cell membrane, organelles, and other important details. Be patient and steady as you ink, ensuring clean and bold lines.
Step 7: Color the Drawing (optional)
If you wish to add color to your cell drawing, grab your colored pencils or markers. Look up reference images to help you choose appropriate colors for different organelles.
Apply the colors lightly and gradually build up the shading and details. Color each organelle according to its function, using different shades to differentiate between them. Remember to leave the cell membrane and nucleus uncolored or use a light, translucent color to maintain visibility.
Conclusion
Congratulations, you've successfully learned how to draw a cell! By following these step-by-step instructions, you've created an accurate representation of a cell and explored its various organelles. Experiment with different types of cells, such as plant cells or animal cells, to further expand your drawing skills.
Remember that practice makes perfect—keep experimenting with different techniques and materials, and soon you'll be able to draw cells with confidence. Happy drawing!
Fun Facts About Cells
- Cells are the basic building blocks of all living organisms, from bacteria to humans.
- The human body contains approximately 37.2 trillion cells.
- The nucleus acts as the control center of the cell, housing DNA that contains genetic instructions.
- Mitochondria are known as the "powerhouses" of the cell because they generate most of the cell's energy.
- Ribosomes are tiny organelles responsible for synthesizing proteins essential for cell function.
- Plant cells contain chloroplasts, which allow them to perform photosynthesis and produce energy from sunlight.
- The cell membrane controls what enters and leaves the cell, maintaining the internal environment.
- Some cells, like neurons, can transmit electrical signals to communicate rapidly across the body.
- Cells can reproduce by dividing, either through mitosis (for growth) or meiosis.
Suggestions for Scenes and Settings for Cell Drawings
- A cross-sectional view of a human animal cell with all organelles labeled and color-coded for educational clarity.
- A vibrant plant cell with chloroplasts actively photosynthesizing under sunlight, surrounded by other plant cells in a leaf section.
- A dynamic scene showing a bacterial cell dividing through binary fission, highlighting the simplicity of prokaryotic cells.
- An artistic interpretation of a neuron cell with dendrites and axon extending, emphasizing the cell's communication role in the nervous system.
- A dramatic close-up of mitochondria within a muscle cell, illustrating the cell's energy production powerhouse in action.
- A colorful depiction of various organelles floating within the cytoplasm, with a semi-transparent cell membrane to show depth and layers.
- An imaginative underwater microscopic scene where different types of cells coexist, such as red blood cells flowing alongside white blood cells.
- A time-lapse style drawing showing the stages of a cell's life cycle, from growth to mitosis and division, arranged sequentially.
- A stylized cell interior designed as a bustling city, with organelles represented as factories, power plants, and transport systems.
- A side-by-side comparison of an animal cell and a plant cell, highlighting their structural differences and unique organelles.