How to Draw a Bucket
Learn how to draw a realistic bucket with this step-by-step drawing tutorial. Perfect for beginners and experienced artists. Start drawing today!
Materials You'll Need
- Pencil
- Paper
- Eraser
Welcome to this comprehensive tutorial on how to draw a bucket, an everyday object that offers a fantastic opportunity to practice fundamental drawing skills. Buckets are simple yet versatile subjects that can help artists of all levels master essential techniques such as capturing shape, perspective, and shading. Whether you're aiming to add realistic household items to your sketches or simply want to strengthen your ability to depict three-dimensional forms, learning how to draw a bucket is a valuable exercise.
This tutorial is designed to guide you step-by-step through the process, starting with basic geometric shapes that form the foundation of the bucket's structure. We will then explore how to add depth and realism using shading techniques, such as understanding light sources and creating shadows, which are crucial skills for any aspiring artist. Whether you're a beginner looking to build confidence or an experienced artist seeking to refine your observational drawing skills, this project is approachable and rewarding.
By the end of this guide on how to draw a bucket, you'll have not only created a detailed and realistic image but also enhanced your overall drawing abilities. So grab your pencils, prepare your materials, and get ready to bring this simple yet interesting object to life on your paper. Remember, every great artist starts with mastering the basics—let's embark on this creative journey together!
Materials Required
To complete this drawing, you will need the following materials:
- A sheet of drawing paper
- Pencils of various hardness (HB, 2B, 4B)
- A kneaded eraser
- A pencil sharpener
- A ruler (optional)
Step 1: Outline the Basic Shape
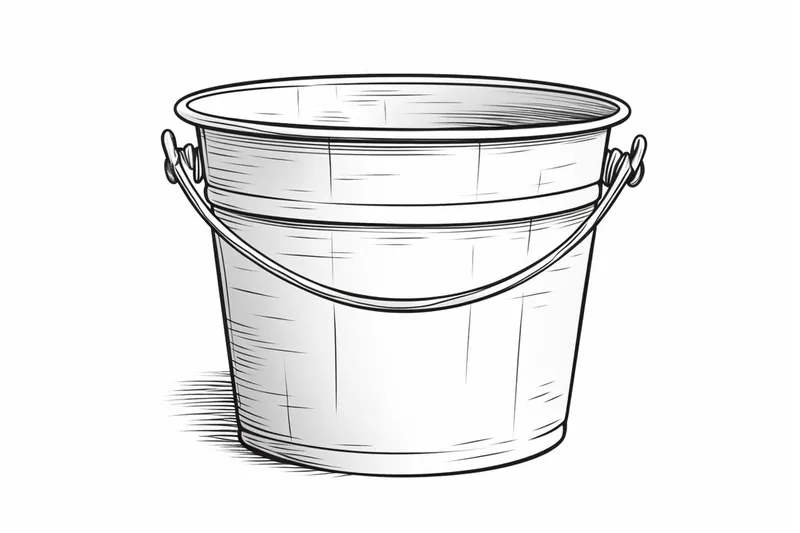
Start by lightly sketching an oval shape for the top opening of the bucket. Keep the lines loose and don't worry about precision at this stage. Next, draw a cylindrical shape below the oval to outline the body of the bucket. Make sure the cylinder is slightly wider at the top and narrower towards the bottom.
Step 2: Add Handle and Bottom Rim
Extend a curved line from the top of the bucket on one side to create the handle. The handle should extend slightly beyond the top of the bucket and curve downwards. On the opposite side, draw a curved line near the bottom of the bucket to represent the rim.
Step 3: Refine the Shape
Now, it's time to refine the shape of the bucket. Use your pencil to carefully go over the outline, making it bolder and more defined. Pay attention to the curves and proportions, ensuring they match your reference or the mental image you have in mind.
Step 4: Add Details
To make the bucket look more realistic, add some details. Start by drawing vertical lines on the body of the bucket to represent the metal bands that hold it together. Be sure to leave some space between each band. Next, add some texture to the rim by drawing short, horizontal lines. This will give the impression of a ribbed or fluted rim.
Step 5: Shade the Bucket
Now it's time to add shading to your drawing, giving the bucket a three-dimensional appearance. Begin by identifying the light source and determining where the shadows will fall. Shade the areas that are away from the light source, such as the underside of the bucket and the side opposite the light. Use a softer pencil (2B or 4B) to create a smooth, even shading. Gradually build up the darkness, adding more layers of graphite as needed.
Step 6: Create Highlights
To make the bucket look more realistic, add highlights using an eraser. Lightly erase some areas where the light is hitting the bucket directly or reflecting off its surface. This will give the illusion of shiny, reflective metal. Be careful not to erase too much or you may damage the paper.
Step 7: Finalize the Shading
To add more depth and dimension to the drawing, continue refining the shading. Pay attention to the subtle changes in tone and texture. Darken the areas that should appear darker and use your eraser or a blending stump to smooth out any harsh lines or transitions.
Step 8: Add Additional Details
Take a step back and evaluate your drawing. Does it capture the essence of a bucket? If not, you can add additional details to enhance its realism. Consider adding some dents or scratches, or even some water spilling out of the bucket to make it appear more dynamic and lifelike.
Conclusion
Congratulations on completing your drawing of a bucket! We hope this step-by-step tutorial has been helpful in guiding you through the process. Remember, practice is key when it comes to improving your drawing skills, so don't be discouraged if your first attempt doesn't turn out as expected. With time and consistent practice, you'll be able to draw various objects with confidence and accuracy. Happy drawing!
Fun Facts About Bucket
- The word "bucket" originates from the Old English word "buc," meaning a container for carrying liquids or other materials.
- Buckets have been used since ancient times, with early versions made from wood, metal, or animal skins.
- Modern buckets are often made from plastic, making them lightweight and resistant to corrosion.
- In firefighting, buckets were historically used to pass water along a "bucket brigade" to extinguish fires before modern equipment existed.
- The Guinness World Record for the largest bucket was set by a mining company with a bucket capacity of over 100 cubic meters.
- Bucket seats in cars are named after the shape of a bucket, designed to hold the occupant securely in place.
- In computing, a "bucket" is a term used in data structures to group elements for efficient searching or sorting.
- Bucket hats, popular in fashion, got their name because their shape resembles an inverted bucket.
Suggestions for Scenes and Settings for Bucket Drawings
- A rustic garden scene with a bucket filled with freshly picked flowers or herbs.
- A construction site featuring a bucket holding tools or mixed cement.
- A beach scene with a sandcastle-building bucket partially buried in the sand.
- A kitchen scene where a bucket is used to soak vegetables or hold water for cleaning.
- A countryside barn with an old metal bucket hanging from a wooden fence post.
- A rainy day scene showing a bucket catching raindrops under a leaking roof.
- A fishing dock with a bucket containing freshly caught fish or bait.
- A workshop table cluttered with art supplies inside a bucket, such as brushes and pencils.
- A campsite scene showing a bucket used for carrying water or washing dishes near a campfire.
- A surreal or fantasy setting where the bucket is oversized or filled with unexpected objects like glowing orbs or magical plants.