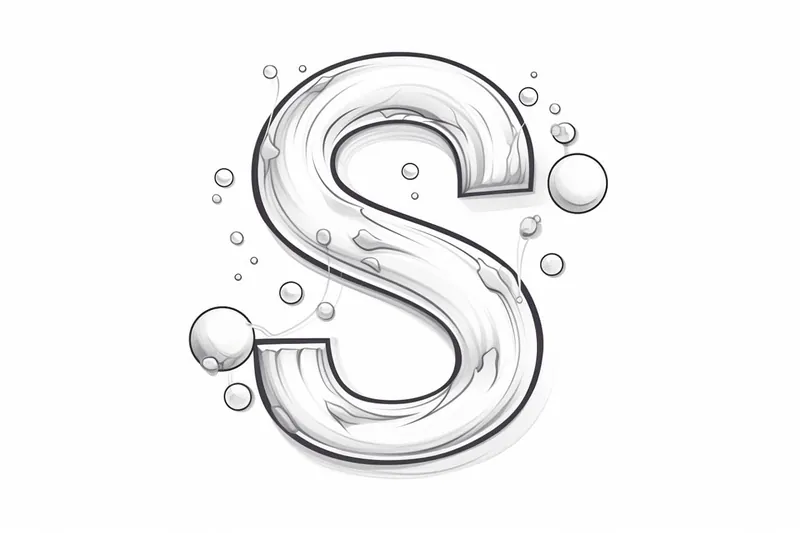
How to Draw a Bubble Letter S
Learn how to draw a captivating bubble letter "S" with these step-by-step instructions. Enhance your artistic skills and create captivating bubble letters for any project you have in mind.
Materials You'll Need
- Pencil
- Paper
- Eraser
Bubble letters are a playful and visually appealing style of typography that adds a fun, three-dimensional effect to any artwork. Learning how to draw a bubble letter S opens the door to creating vibrant and lively designs that can be used for a variety of projects, from personalized posters and eye-catching logos to custom greeting cards and creative school assignments. The rounded, inflated look of bubble letters makes them particularly popular among beginners and experienced artists alike, as they offer both a simple structure and a dynamic visual appeal.
In this tutorial, you will discover the step-by-step process of how to draw a bubble letter S, focusing on the basic shapes, smooth curves, and shading techniques that bring the letter to life. This project is perfect for beginners who want to practice their hand control and understanding of form, as well as for intermediate artists looking to refine their lettering skills and explore more playful styles. By breaking the letter down into manageable parts, you will learn how to create balanced proportions and add depth, resulting in a bubble letter that truly pops off the page.
Whether you are drawing for fun, preparing artwork for a school project, or designing your own custom typography, mastering how to draw a bubble letter S is a fantastic skill to have in your artistic toolkit. Don't worry if you are new to this style—this tutorial is designed to guide you clearly and patiently through each stage. With a little practice and creativity, you'll soon be able to craft bold, bubbly letters that brighten up any page. So grab your pencil and paper, and let's get started on bringing your bubble letter S to life!
Materials Required:
Before we dive into the steps, let's make sure you have all the necessary materials. Here's what you will need:
- A pencil
- A sheet of paper
- An eraser
- A ruler (optional, but helpful for straight lines)
Now that you have all the materials ready, let's begin by creating the outline of the bubble letter "S."
Step 1: Sketch the Outline
Start by sketching a simple letter "S" shape on your paper using a pencil. You can make the "S" as curvy or straight as you like. Keep in mind that bubble letters often have rounder and more exaggerated shapes, so feel free to add more curves.
Step 2: Add Thickness to the Outline
Next, we will add thickness to the outline of the letter "S." Begin by drawing another line parallel to the original outline, about 0.5 to 1 centimeter away. The distance can vary depending on how thick you want your bubble letters to be. Make sure the lines are evenly spaced throughout.
Step 3: Connect the Lines
To complete the outline, connect the parallel lines at the top and bottom of the letter "S." This will create a solid shape for your bubble letter.
Step 4: Create the Inner Line
Within the letter "S," draw another line that follows the same curves as the outer outline. This inner line will represent the thickness of the bubble. Make sure it is consistently spaced from the outer lines.
Step 5: Fill in the Bubble
Now it's time to give the letter "S" its bubbly appearance. Start at the top of the letter and slowly fill in the space between the outer outline and the inner line. As you fill in the bubble, make the lines curvier and rounder. This will create a three-dimensional effect.
Step 6: Refine the Shape
Take a step back and evaluate your letter "S." If you notice any uneven or inconsistent lines, use your eraser to carefully adjust them. Refine the curves and make sure the bubble remains consistent throughout the letter.
Step 7: Add Shadows (Optional)
To add depth and dimension to your bubble letter "S," you can incorporate shadows. Shade the areas where the bubble overlaps itself or appears to have a darker side. This will create a more realistic and visually appealing effect.
Step 8: Finalize the Drawing
Once you are satisfied with the shape and shading of your bubble letter "S," go over the lines with a darker pencil or a pen. This will make the letter stand out and give it a more defined look. Be confident in your lines and let your creativity shine!
And there you have it! You have successfully drawn a captivating bubble letter "S." With practice, you can apply these techniques to create bubble letters for any other letter of the alphabet.
Conclusion
Drawing bubble letters can be a delightful way to add an artistic touch to your artwork. By following the step-by-step instructions provided in this guide, you have learned how to draw a bubble letter "S" with ease. Remember to have fun and experiment with different styles and sizes. The more you practice, the more confident you will become in creating unique and captivating bubble letters.
So, grab your materials, get your creative juices flowing, and start drawing bubble letters today!
Fun Facts About Bubble Letter S
- The bubble letter S is a popular choice for graffiti artists due to its smooth curves and bold appearance, making it easy to stylize and recognize.
- Bubble letters, including the letter S, originated in the 1970s as part of hip-hop culture and street art movements.
- The rounded shape of the bubble letter S makes it ideal for beginners learning typography and hand lettering techniques.
- Bubble letters like the S are often used in logo design to convey a playful and approachable brand personality.
- Adding shadows and highlights to a bubble letter S creates a three-dimensional effect that enhances its visual appeal.
- The bubble letter S can be customized with patterns, colors, and textures to fit various artistic styles and themes.
- Bubble letters are often used in school projects and posters because they are easy to read and visually engaging.
- The letter S in bubble style is sometimes called a "soft letter" due to its smooth, inflated look compared to sharp-edged fonts.
Suggestions for Scenes and Settings for Bubble Letter S Drawings
- A vibrant underwater scene where the bubble letter S is formed by playful bubbles rising among colorful coral reefs and fish.
- A graffiti-style street wall with the bubble letter S surrounded by dynamic urban elements like spray paint cans, brick textures, and city skylines.
- A whimsical garden setting where the bubble letter S is intertwined with twisting vines, blooming flowers, and fluttering butterflies.
- A cosmic space backdrop featuring the bubble letter S as a glowing planet or star, with swirling galaxies and shooting stars around it.
- A cartoon-style soda pop bottle with the bubble letter S appearing as effervescent bubbles escaping the bottle's opening.
- A playful candy land scene where the bubble letter S is made of shiny, colorful sweets like gumdrops, lollipops, and licorice twists.
- A frosty winter landscape with the bubble letter S shaped from snow and ice, decorated with snowflakes and icicles.
- A retro comic book cover with the bubble letter S bursting out of a speech bubble amid action-packed sound effects like "Pow!" and "Zap!".
- A tropical beach scene where the bubble letter S is crafted from swirling waves, seashells, and palm leaves under a sunny sky.
- A playful classroom chalkboard with the bubble letter S drawn in colorful chalk surrounded by doodles of school supplies and smiling characters.