How to Draw a Broom
Learn how to draw a broom in a clear and concise style with step-by-step instructions. Create a realistic and detailed broom drawing with this helpful guide.
Materials You'll Need
- Pencil
- Paper
- Eraser
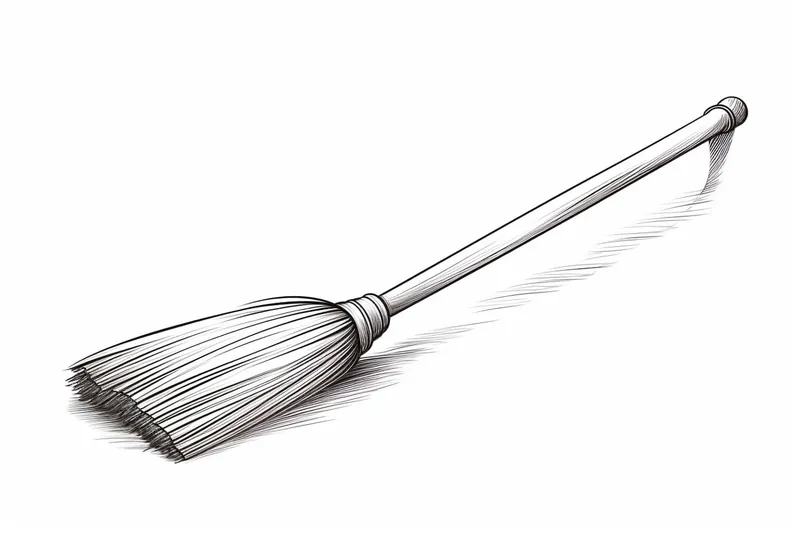
Drawing a broom may seem like a simple task at first glance, but it offers a fantastic opportunity to practice capturing everyday objects with attention to detail and texture. Brooms are common household tools used for sweeping floors, but their unique shape and bristled texture also make them interesting subjects for artists. Often linked with Halloween imagery and witches, brooms can transcend those associations and become compelling elements in still-life compositions or whimsical artwork. Learning how to draw a broom can help you develop your observational skills, especially when it comes to rendering linear forms and rough, fibrous textures.
This tutorial on how to draw a broom is designed for artists of all skill levels, whether you are a beginner eager to build foundational drawing skills or an experienced artist looking to refine your technique. We will explore techniques such as sketching the basic structure, shading to create volume, and adding fine details to capture the intricate bristles. Drawing a broom also encourages practicing perspective and proportion, as the handle and bristle section have distinct shapes and angles that need to harmonize for a realistic look. By following step-by-step instructions, you'll gain confidence in portraying both hard and soft textures in your artwork.
So, if you're ready to expand your artistic repertoire, join me in this step-by-step guide on how to draw a broom. With patience and practice, you'll be able to create a detailed and lifelike representation of this humble yet fascinating object. Remember, every great artist started with simple subjects—embrace the process and enjoy bringing this everyday tool to life on your paper!
Materials Required
Before we begin, let's gather the materials you will need for this drawing tutorial. Here's a list of what you'll need:
- Drawing paper
- Pencil (preferably a mechanical pencil for more precise lines)
- Eraser
- Ruler
- Fine-tip pen or markers (optional, for inking or coloring)
Now that you have all the necessary materials, let's get started on drawing a broom!
Step 1: Sketch the Handle
To begin, let's start by sketching the handle of the broom. Start by drawing a vertical line slightly tilted to the right. This line will be the backbone of the broom's handle. Make sure to leave enough space on the top and bottom for the bristles and the broomstick.
Step 2: Add Thickness to the Handle
Next, add thickness to the handle by drawing two parallel lines on each side of the vertical line. These lines should follow the curvature of the handle and gradually taper towards the top.
Step 3: Bring in the Bristles
Now it's time to draw the bristles of the broom. At the bottom of the handle, draw a series of short, curved lines to indicate the individual bristles. These lines should fan out slightly to create a realistic effect. Pay attention to the angle and direction of the bristles to make the drawing more dynamic.
Step 4: Define the Broomstick
Moving on to the broomstick, draw a circle or oval shape at the top of the handle. This shape will serve as the connecting point between the handle and the bristles. Make sure it is proportionate to the overall size of the broom.
Step 5: Add Detail to the Handle
Now let's add some detail to the handle to give it a more realistic look. Draw vertical lines along the length of the handle to create the appearance of wood grain. You can also add knots or irregularities to make it more visually interesting. Be creative in adding your own unique touches to the handle.
Step 6: Refine the Bristles
To make the bristles more defined, add some longer curved lines within the initial short lines. These longer lines should follow the general direction of the bristles and create depth and texture. Leave some gaps between the bristles to make them appear more natural.
Step 7: Shape the Broomstick
Refine the shape of the broomstick by adding curves and contours. The broomstick can have a slight taper towards the top, so make sure to adjust the thickness accordingly. You can also add some irregularities and highlights to make it look like a worn-out wooden broomstick.
Step 8: Finalize the Details
In this step, pay attention to the little details that will bring your broom drawing to life. Add small lines and shadows to indicate the texture and folds of the bristles. You can also add shading to the handle and broomstick to create depth and dimension. Take your time and observe the reference image or a real broom for inspiration.
Step 9: Ink or Color (Optional)
If you prefer, you can use a fine-tip pen or markers to ink your drawing and make it stand out even more. Outline the main lines and details of your drawing, and erase any unnecessary pencil marks. Alternatively, you can also color your broom using colored pencils, markers, or watercolors. Explore different color combinations and shading techniques to achieve the desired result.
Conclusion
Drawing a broom may seem challenging at first, but with these step-by-step instructions, you can create a realistic and detailed broom drawing. Remember to practice regularly and have fun with your drawings. Brooms can be versatile subjects for various art styles and themes, so don't limit your creativity. Now, grab your materials and start drawing your own broom masterpiece!
Fun Facts About Broom
- The broom has been used as a cleaning tool for over 2,000 years, with early versions made from twigs tied to a stick.
- Traditional brooms are often made from sorghum or broomcorn, a type of grass specifically cultivated for broom-making.
- The phrase "sweeping under the rug" originates from the use of brooms to hide dirt, symbolizing ignoring problems.
- Brooms have a strong cultural association with witches and magic, often depicted as flying vehicles in folklore and Halloween imagery.
- The Guinness World Record for the largest broomstick was set in 2017, measuring over 13 meters long.
- In Japan, a traditional broom called "houki" is used not only for cleaning but also in Shinto rituals to purify spaces.
- Modern brooms often use synthetic fibers for bristles, which can be more durable and effective than natural materials.
- The art of broom-making is considered a craft, with some artisans creating decorative and functional brooms by
Suggestions for Scenes and Settings for Broom Drawings
- A rustic farmhouse kitchen corner with a broom resting against a wooden wall, surrounded by vintage pots and dried herbs.
- A whimsical witch's workshop featuring a broom leaning beside a bubbling cauldron with magical sparkles in the air.
- A street scene showing a janitor sweeping autumn leaves with a broom, capturing motion and texture of both bristles and leaves.
- A still life arrangement combining the broom with a bucket, dustpan, and scattered cleaning supplies on an old tiled floor.
- A cozy cabin interior where a broom is tucked into a corner beside a crackling fireplace and woven rugs.
- An enchanted forest setting with a broom floating mid-air, surrounded by glowing fireflies and sparkling dust.
- A minimalist contemporary scene focusing on the broom's textures and shadows against a plain, monochromatic background.
- A child's playroom where a broom is repurposed as a toy horse, complete with imaginative decorations and colorful surroundings.
- A Halloween night scene with a broom silhouetted against a full moon and flying bats in the sky.
- An artist's studio corner where a broom lies next to paintbrushes and canvases, blending the themes of creation and cleaning.