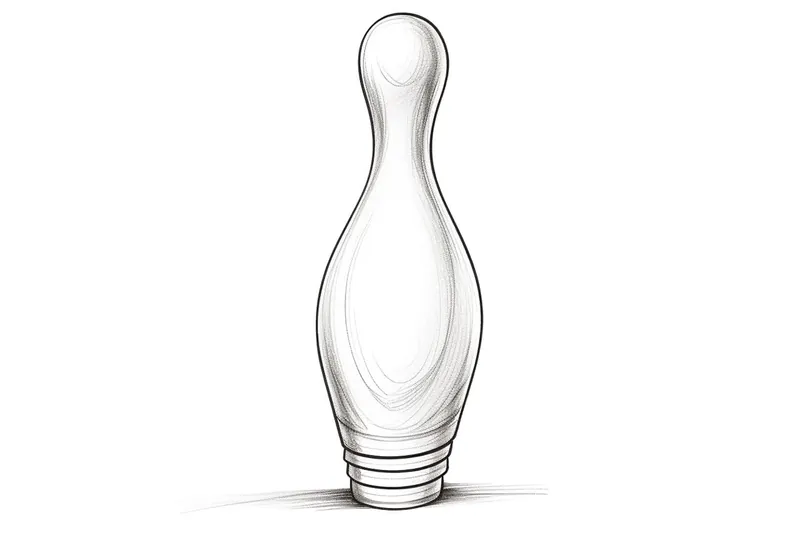
How to Draw a Bowling Pin
Learn how to draw a bowling pin with this step-by-step tutorial. Follow these detailed instructions to create a realistic representation of a bowling pin.
Materials You'll Need
- Pencil
- Paper
- Eraser
Drawing a bowling pin is a fantastic way to practice capturing simple yet elegant shapes that combine curves and symmetry. Bowling pins are iconic objects, instantly recognizable and often associated with fun, competition, and classic bowling alleys. Learning how to draw a bowling pin not only sharpens your observation skills but also helps you understand the interplay of light and shadow on rounded forms. Whether you want to create a playful illustration, improve your still life drawing abilities, or design your own bowling-themed artwork, mastering this subject offers a rewarding artistic challenge.
While a bowling pin might look straightforward at first glance, its unique silhouette requires attention to proportions and smooth, flowing lines to achieve realism. This tutorial is designed for beginners and intermediate artists alike, guiding you through the foundational shapes before moving on to the subtle details that bring the pin to life, such as its distinctive stripes and gentle shading. By focusing on techniques like contour drawing, shading gradients, and refining curves, you'll build confidence in rendering three-dimensional objects with balance and precision. With patience and practice, you can transform a simple outline into a convincing and lively sketch.
So, if you've ever wondered how to draw a bowling pin with accuracy and style, this step-by-step guide will walk you through every stage of the process. Get ready to pick up your pencil, sharpen your skills, and enjoy the creative journey ahead. Remember, every great artist started with basic shapes and simple subjects—your bowling pin drawing is just the beginning of many exciting artistic adventures!
Materials Required
Before we begin, let's gather the materials you'll need to draw a bowling pin:
- Pencil: Choose a medium-soft pencil like a 2B or 4B, as it will allow you to create darker lines and easily make adjustments to your drawing.
- Eraser: A kneaded eraser is ideal, as it can be molded into different shapes to effectively remove unwanted lines.
- Sketchbook or Drawing Paper: Select a smooth surface to work on, preferably a sketchbook or drawing paper suitable for pencil drawings.
- Ruler: You may find a ruler helpful for measuring and ensuring that your lines are straight and accurate.
Now that you have your materials ready, let's dive into the step-by-step process of drawing a bowling pin!
Step 1: Sketch the Basic Shape
Start by lightly sketching the basic shape of the bowling pin. Use your pencil to draw a tall, narrow rectangle that tapers towards the top. The bottom part of the rectangle should be slightly wider than the top. Don't worry about adding any details at this stage, as we will refine the shape later on.
Step 2: Add Curves
Next, add curves to the sides of the rectangle to give the bowling pin its characteristic shape. Starting from the top corners of the rectangle, draw two curved lines that gradually converge towards the bottom. The curves should be smooth and symmetrical, aiming to create a sleek and polished appearance.
Step 3: Define the Neck
Now, let's define the neck of the bowling pin. Draw a horizontal line across the top of the rectangle, slightly below the tapered part. This line will serve as a reference point for the neck's position. Then, draw two diagonal lines that connect the corners of the tapered part to the horizontal line, forming a triangular shape.
Step 4: Refine the Shape
In this step, we will refine the overall shape of the bowling pin. Start by erasing any unnecessary lines and smoothening out the curves. Pay attention to the proportions and ensure that the bottom part of the pin is wider than the top. Use your pencil to adjust the shape as needed, making it more accurate and visually appealing.
Step 5: Add Details
Now that we have the basic shape completed, let's add some details to our bowling pin. Start by drawing a thin horizontal line near the top of the pin, marking the separation between the neck and the body of the pin. Then, draw a series of narrow, vertical lines down the body of the pin. These lines will represent the seams or ridges usually found on a real bowling pin.
Step 6: Shade and Shadow
To add depth and dimension to your drawing, it's time to shade and add shadows. Start by determining the light source in your scene. Once you've identified the light source, shade the opposite side of the pin accordingly. Use your pencil to create subtle shading along the curves and sides of the pin, gradually increasing the pressure to darken the shadows. Remember to blend the shading smoothly to achieve a realistic effect.
Step 7: Final Touches
In this final step, take a moment to review your drawing and make any necessary adjustments. Pay attention to the overall proportions, curves, and shadows. Use your eraser to lighten any areas or lines that seem too dark, and refine the details as needed. Take your time and don't rush this step, as it can greatly enhance the final look of your drawing.
Congratulations! You have successfully drawn a bowling pin. With practice, each new attempt will bring you closer to perfection. Keep exploring and experimenting with different techniques to develop your own unique style as an artist.
Conclusion
Drawing a bowling pin may seem like a daunting task, but by following these step-by-step instructions, you can create a realistic representation. Remember to start with the basic shape, gradually add details, and then refine the drawing to achieve accuracy and depth. With practice and patience, you'll soon be able to draw bowling pins effortlessly. So grab your pencil and sketchbook, and let your creativity flow!
Fun Facts About Bowling Pin
- The standard bowling pin weighs approximately 3 pounds and stands 15 inches tall, designed for optimal balance and durability.
- Bowling pins are traditionally made from hard maple wood and coated with a plastic material to withstand repeated impacts.
- The iconic red stripes on bowling pins were introduced in the early 1900s to help players see the pins more clearly during play.
- Each bowling pin is precisely shaped with a narrow neck and wider base to ensure consistent pin action and scoring.
- Bowling pins are reset by an automatic pinsetter machine, a technology first introduced in the 1950s to speed up the game.
- In professional bowling, pins must meet strict specifications set by the United States Bowling Congress (USBC) to be approved for competition.
- Bowling pins have a unique shape that makes them challenging to draw accurately, combining curves and symmetry that artists often practice. Art tutorial
- The term "pin action" refers to how pins scatter and knock each other down, a key factor in scoring strikes.
Suggestions for Scenes and Settings for Bowling Pin Drawings
- A vintage bowling alley interior featuring a single bowling pin on the polished wooden lane with retro neon lights reflecting off its surface.
- A bowling pin character in a playful cartoon style, wearing sunglasses and roller skates, set against a colorful arcade backdrop.
- A close-up still life composition of a bowling pin resting on a textured cloth, illuminated by dramatic directional lighting to emphasize curves and shadows.
- A row of bowling pins arranged in a dynamic perspective, with one pin dramatically falling after being struck by a bowling ball.
- A surreal scene where bowling pins float mid-air among clouds, blending realism with fantasy elements.
- A nighttime street art mural concept depicting a graffiti-style bowling pin with vibrant spray paint textures and urban elements.
- A minimalist geometric interpretation of a bowling pin using bold lines and flat colors, set against a simple background.
- A futuristic bowling alley scene with transparent, glowing bowling pins made of light, surrounded by sleek metallic architecture.
- A whimsical holiday theme where bowling pins are decorated as snowmen, complete with scarves and hats, set in a winter landscape.
- An antique wooden bowling pin displayed on a rustic shelf alongside vintage sports memorabilia, highlighting texture and detail.