How to Draw a Beehive
Learn how to draw a beehive with this step-by-step tutorial. From sketching the basic shape to adding texture and shading, create a realistic beehive drawing with ease.
Materials You'll Need
- Pencil
- Paper
- Eraser
Drawing a beehive can be a rewarding artistic endeavor that combines natural beauty with fascinating details. Beehives are not only essential homes for bees but also symbols of hard work, organization, and nature's intricate designs. Whether you're interested in capturing the organic shapes of the hive's layered structure or the delicate texture of the honeycomb, learning how to draw a beehive opens up opportunities to explore shading, texture, and form in your artwork. This subject appeals to artists who enjoy nature-themed drawings and want to challenge their observational skills.
In this tutorial, we will guide you step-by-step through how to draw a beehive, making the process accessible for beginners while also offering tips that intermediate artists can appreciate. You'll learn techniques such as sketching basic shapes to build the overall structure, adding details to mimic the natural patterns of the hive, and using shading to create depth and realism. Drawing a beehive requires patience and attention to detail, but it's a fantastic way to improve your ability to represent three-dimensional objects on paper.
So grab your pencils, erasers, and paper, and get ready to bring this buzzing marvel of nature to life on your page. With practice and a bit of creativity, you'll be surprised at how quickly you can master the art of how to draw a beehive. Enjoy the process and remember that every great drawing starts with a simple line!
Materials Required
To create your beehive drawing, you will need the following materials:
- Drawing paper or sketchbook
- Pencil
- Eraser
- Fine-tip black marker or pen
- Colored pencils or markers (optional)
Now that you have your materials ready, let's begin!
Step 1: Sketch the Basic Shape
Tip: As you work on your beehive drawing, consider using reference images of real beehives to observe the unique textures and shapes found in nature; this will enhance the realism of your artwork. Pay attention to how light interacts with the surface, which can help inform your shading and enhance the three-dimensional effect. Additionally, experimenting with different angles and perspectives can add interest to your composition.
Start by drawing a large oval shape towards the center of your paper. This will be the main body of the beehive. Don't worry about making it perfect at this stage, as we will be adding more details later on.
Step 2: Add Texture Lines
Next, sketch a series of curved lines inside the oval shape to represent the texture of the beehive. These lines should follow the contour of the oval and be evenly spaced apart. The texture lines give the beehive a realistic appearance and add depth to your drawing.
Step 3: Draw the Hive Entrance
Now let's draw the entrance of the beehive. Start by sketching a small curved line near the bottom of the beehive oval. Then, draw two more curved lines extending from the sides of the first line, meeting at a point slightly above the bottom of the oval. This creates a triangular shape, which serves as the entrance.
Step 4: Add Details to the Entrance
To add more depth to the entrance, draw a small semi-circle above the triangular shape. This represents the opening of the hive. Then, add a few short straight lines or dots around the entrance to indicate activity and movement of the bees.
Step 5: Outline the beehive
Using a fine-tip black marker or pen, carefully trace over your pencil lines to create a bold outline of the beehive. Pay attention to the texture lines and the details of the entrance. Once you have outlined the entire beehive, you can erase any remaining pencil marks.
Step 6: Add Shadows and Shading
To make your beehive drawing appear more three-dimensional, add shadows and shading. Imagine a light source coming from one direction, and darken the opposite side of the beehive accordingly. This will create a sense of depth and make your drawing look more realistic.
You can also add some shading inside the texture lines to give the beehive a more textured and detailed appearance. Use your pencil or colored pencils to achieve the desired effect.
Step 7: Color your Beehive (Optional)
If you prefer a colored drawing, you can use colored pencils or markers to bring your beehive to life. The beehive is typically a light brown or tan color, but feel free to get creative with your color choices. Add some darker shades to create depth and highlights to make it more realistic.
Conclusion
Congratulations! You have successfully learned how to draw a beehive. Drawing can be a wonderful way to express your creativity, and this step-by-step guide has equipped you with the skills to create a realistic beehive drawing. Remember, practice makes perfect, so don't hesitate to try drawing different variations of beehives or explore other subjects. Enjoy the process and have fun!
Fun Facts About Beehives
- The hexagonal shape of honeycomb cells in a beehive is a highly efficient design that uses the least amount of wax to hold the most honey.
- Beehives maintain a constant internal temperature of about 93°F (34°C) to keep the brood healthy, regardless of outside weather.
- Worker bees build the hive's wax comb by secreting beeswax from special glands on their abdomen.
- Beehives are highly organized communities with a division of labor among queens, workers, and drones.
- Ancient humans used hollow logs and clay pots as early forms of beehives before modern wooden hives were developed.
- Bees use a unique "waggle dance" inside the hive to communicate the location of food sources to other bees.
- Modern beekeepers use removable frames in hives to harvest honey without destroying the colony's structure.
- Beehives can house tens of thousands of bees
Suggestions for Scenes and Settings for Beehive Drawings
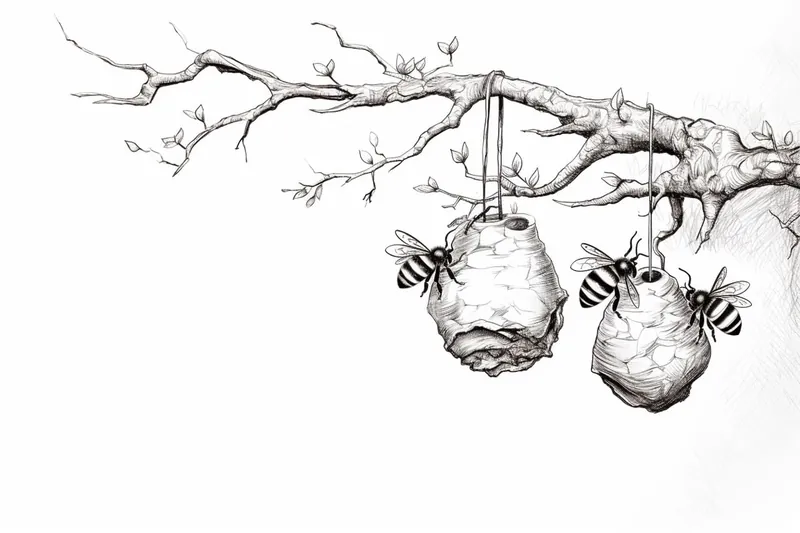
- A rustic tree branch with an old, weathered beehive hanging amidst blooming wildflowers.
- A close-up view of a beehive surrounded by busy bees collecting nectar in a vibrant meadow.
- A whimsical, fantasy-themed beehive shaped like a small cottage with tiny windows and doors.
- An abstract interpretation focusing on the hexagonal honeycomb patterns inside the hive.
- A cross-section of a beehive showing the internal honeycomb structure and the queen bee at work.
- A modern apiary setting with multiple man-made beehives arranged neatly in rows.
- A nighttime scene with a glowing beehive illuminated by fireflies and moonlight.
- A bee's-eye view looking out from inside the hive toward a colorful garden landscape.
- A seasonal setting showing a beehive covered lightly with snow in early winter.
- A surreal setting where the beehive is integrated into an urban environment, like attached to a streetlamp or building corner.