How to Draw a Basketball Net
Learn how to draw a basketball net in this step-by-step tutorial. Follow simple instructions to create a realistic basketball net drawing. Perfect for aspiring artists and beginners!
Materials You'll Need
- Pencil
- Paper
- Eraser
Welcome to this comprehensive tutorial on how to draw a basketball net, a classic and dynamic sports symbol that adds energy and movement to any artwork. Basketball nets are not only an essential part of the game but also a fascinating subject to capture artistically due to their intricate mesh pattern and the interplay of light and shadow on the cords. Whether you are a beginner eager to improve your drawing skills or an experienced artist looking to refine your technique, learning how to draw a basketball net can be both enjoyable and rewarding. This tutorial breaks down the complex net structure into manageable steps, guiding you through sketching the basic shapes and then adding the detailed crisscross patterns that give the net its signature look.
Drawing a basketball net involves understanding perspective, symmetry, and the subtle curves that make the net appear three-dimensional and realistic. By mastering these elements, you can develop your observational skills and hand-eye coordination, which are essential for all types of drawing. This project is perfect for those who want to practice precision and patience, as the repetitive pattern of the net challenges you to maintain consistent spacing and alignment. Additionally, shading techniques introduced here will help you bring depth and texture to your drawing, transforming a simple outline into a lifelike representation. Whether you want to illustrate a sports scene or simply enjoy the satisfaction of creating a detailed object, this tutorial on how to draw a basketball net offers a fun and instructive experience.
So, grab your pencil, paper, and eraser, and get ready to explore this engaging art project. Remember, every great drawing starts with a few simple lines, and with practice, you'll be able to capture the essence of a basketball net with confidence and style. Don't worry if your first attempt isn't perfect—art is about progress and enjoyment. Let's dive in and discover together how to draw a basketball net that looks both authentic and dynamic!
Materials Required
To draw a basketball net, you will need the following materials:
Now that you have your materials ready, let's begin creating a vibrant basketball net.
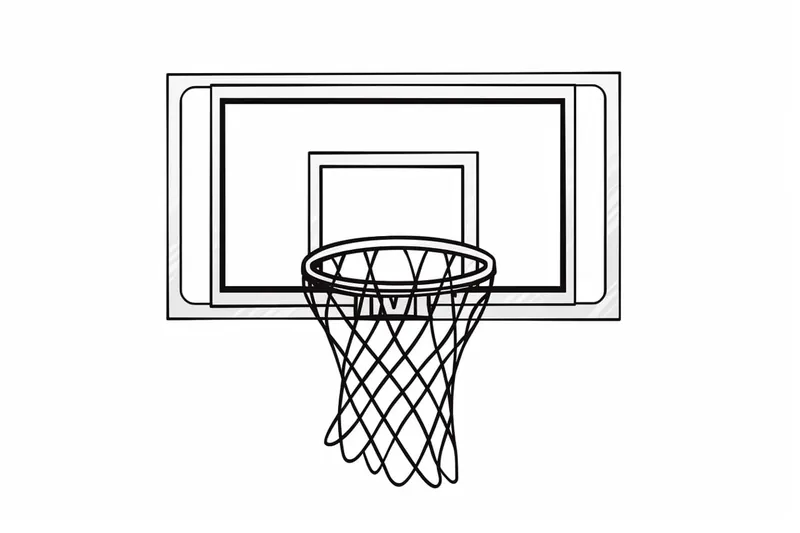
Step 1: Draw the Backboard
Start by drawing a rectangular shape to represent the backboard of the basketball net. Use your ruler to ensure the lines are straight and even. The size of the backboard can vary, so feel free to adjust it based on your preference.
Step 2: Add the Pole
Next, draw a vertical line extending down from the bottom center of the backboard. This line will serve as the pole that supports the net. Make sure the line is straight and extends a reasonable length below the bottom edge of the backboard.
Step 3: Sketch the Hoop
Moving on to the hoop, draw a circle overlapping the top part of the backboard. The size of the circle will depend on the size of your backboard. Again, you can use your ruler to help create an accurate shape. Make sure the top part of the circle aligns with the top edge of the backboard.
Step 4: Create the Net
Tip: As you work through the steps of drawing the basketball net, take your time to observe real nets, either in photos or in person. This will enhance your understanding of the net's structure, allowing you to capture the nuances of its shape and texture more effectively. Practice sketching from different angles to familiarize yourself with how light interacts with the net, which can significantly improve your shading and highlight techniques.
Now it's time to add the netting. Begin by sketching a series of curved lines that connect the top edge of the hoop to the bottom edge. These lines should follow the shape of the hoop and get progressively closer together towards the bottom. The netting will have a loose and flowing appearance, so don't worry about making the lines too uniform.
Step 5: Refine the Net
To give the net a more realistic look, add some extra details. Draw small V-shaped lines along the curved lines to represent the individual strands of the net. These lines should be shorter towards the top of the net and longer towards the bottom. You can also add some shading to certain areas of the net to create depth and dimension.
Step 6: Add Shadow and Highlights
To make the drawing more dynamic, add some shadow and highlights. Shade the areas on the backboard, pole, and hoop where the light doesn't hit as strongly. You can also add highlights to the parts of the net where the light is hitting, creating a contrast between light and shadow.
Conclusion
Congratulations on completing your basketball net drawing! Drawing can be both relaxing and rewarding, allowing you to unleash your creativity. By following these step-by-step instructions, you've successfully created a realistic basketball net on paper. Remember to practice regularly and experiment with different techniques to continue improving your drawing skills. Enjoy this creative journey, and keep exploring the world of art!
Fun Facts About Basketball Nets
- The standard basketball net is made of nylon and measures 15 to 18 inches in length to allow the ball to pass through easily.
- Basketball nets were originally made from metal chains before nylon became the preferred material for indoor play.
- The net's design helps players and referees visually confirm a successful basket by slowing the ball's exit, according to USA Basketball.
- In professional games, basketball nets are replaced regularly to maintain consistent performance and appearance, as noted in NBA Equipment Facts.
- The iconic swish sound is created when the ball passes cleanly through the net without touching the rim.
- Basketball nets are designed with 12 loops to attach securely to the 18-inch diameter metal rim, detailed at SportsRec.
- Outdoor basketball nets are often made from weather-resistant materials like polyester to withstand the elements, according to SportsRec.
- The first basketball nets were handmade and varied widely before standardization by basketball governing bodies.
Suggestions for Scenes and Settings for Basketball Net Drawings
- A close-up view of a basketball net swaying gently after a ball passes through, capturing the motion and texture of the cords.
- A dynamic street basketball scene with players jumping and reaching for the hoop, emphasizing the net as the focal point.
- An outdoor basketball court at sunset, with warm light casting long shadows on the net and backboard.
- A vintage gymnasium setting featuring an old wooden backboard and worn basketball net, highlighting age and character.
- A nighttime game under bright floodlights, where the net and hoop glow against a dark sky filled with stars.
- A minimalist composition focusing solely on the geometric patterns of the basketball net's mesh, exploring symmetry and repetition.
- A basketball net tangled and frayed, symbolizing the passage of time and countless games played.
- An abstract interpretation of a basketball net using bold colors and stylized lines to emphasize movement and energy.
- A cartoon-style basketball net with exaggerated curves and playful details, adding a fun and whimsical touch.
- A basketball net viewed from below, looking up through the hoop towards a clear blue sky, showcasing perspective and depth.