How to Draw a Basketball Court
Learn how to draw a basketball court with this step-by-step guide. From creating the outline to adding key details, become an expert in drawing basketball courts.
Materials You'll Need
- Pencil
- Paper
- Eraser
Drawing a basketball court offers a unique opportunity to combine artistic skills with an understanding of the sport's structure and layout. A basketball court is more than just a playing surface; it's a carefully designed space with specific markings, boundaries, and dimensions that define the flow of the game. Whether you are an artist wanting to enhance your technical drawing abilities or a basketball fan interested in visualizing court designs, learning how to draw a basketball court is both an educational and enjoyable challenge. This subject allows you to practice precision, proportion, and spatial awareness as you replicate the court's key elements, such as the three-point line, free-throw lanes, and center circle.
Embarking on this drawing tutorial is perfect for beginners and intermediate artists alike because it breaks down a complex layout into manageable steps. You'll get to refine your skills in drawing straight lines, curves, and geometric shapes while paying attention to detail and scale. Understanding how to draw a basketball court also offers insight into the game itself, making it a fantastic project for players and coaches who want to create custom visuals or for educators preparing sports-related materials. With patience and practice, you can create an accurate and visually appealing representation of this iconic sports arena.
In this comprehensive step-by-step guide, I will walk you through how to draw a basketball court with clear, easy-to-follow instructions. By the end of this tutorial, you will have a strong foundation in drawing structured sports environments and the confidence to add your own creative touches. So grab your pencil and paper, and let's get started on bringing the basketball court to life on your page!
Materials Required
Before we get started, let's gather all the materials you'll need to draw a basketball court:
- Paper: Look for a clean, white sheet of paper that is large enough to accommodate the entire court.
- Pencil: Use a sharp pencil with an eraser for accurate sketching.
- Ruler: A straight ruler will help you draw straight lines and maintain symmetry.
- Compass: This tool will enable you to draw the curved lines for the three-point line and the center circle.
- Protractor: You'll need a protractor to measure and draw the proper angles for the key.
Now that we have all the necessary materials, let's begin sketching our basketball court!
Step 1: Start with the Basic Outline
Begin by lightly sketching a rectangle in the center of your paper. This will serve as the outline for the basketball court. Take measurements and make sure the rectangle is a proportional representation of a real basketball court. Remember, the standard dimensions for an NBA court are 94 feet long and 50 feet wide, while a college basketball court is 94 feet long and 50 feet wide.
Step 2: Add the Baseline and Sideline
Using your ruler, draw two straight lines along the longer sides of the rectangle to represent the baseline and the sideline. Make sure the lines are parallel to each other and extend beyond the rectangle's boundaries.
Step 3: Draw the Key
Next, it's time to draw the key or the free-throw lane. Measure and mark the appropriate distance from the baseline to the free-throw line. On each end of the rectangle, draw two parallel lines that extend from the baseline towards the center of the rectangle. The width of the key is 12 feet for both NBA and college basketball courts.
Step 4: Sketch the Free-Throw Line
Using your ruler, draw a straight line across the width of the key to create the free-throw line. The free-throw line is 15 feet from the backboard for NBA courts and 13 feet, 9 inches for college basketball courts.
Step 5: Add the Restricted Area
Within the key, draw two curved lines using your compass to create the restricted area. For NBA courts, this curved line has a radius of 6 feet, while for college basketball courts, the radius is 4 feet.
Step 6: Draw the Three-Point Line
Measure and mark the positions for the three-point line. For NBA courts, the three-point line extends 23 feet, 9 inches from the center of the basket, while for college basketball courts, it extends 22 feet, 1¾ inches. Use your compass to draw the curved lines for the three-point line, ensuring they are symmetrical on both sides.
Step 7: Outline the Center Circle
Measure and mark the position for the center circle. The center circle has a radius of 6 feet for both NBA and college basketball courts. Use your compass to draw a perfectly round circle at the center of the court.
Step 8: Add the Backboard and Hoop
Draw a rectangular shape for the backboard, making sure it is centered on the baseline. Add the basketball hoop by drawing a circle directly above the center of the free-throw line. The diameter of the basketball hoop is 18 inches.
Conclusion
Drawing a basketball court is a great way to improve your artistic skills while showing your love for the game. By following these step-by-step instructions and using the suggested materials, you can create a detailed and accurate basketball court drawing. Remember to take your time and use your tools, such as rulers and compasses, to ensure precision. Enjoy the process, and happy drawing!
Fun Facts About Basketball Court
- The standard NBA basketball court measures 94 feet long by 50 feet wide, which is slightly larger than a college court.
- The three-point line distance varies: 23 feet 9 inches in the NBA and 22 feet 1¾ inches in college basketball.
- The free-throw line is exactly 15 feet from the backboard in NBA courts, while in college courts it is 13 feet 9 inches.
- The key, or free-throw lane, is 16 feet wide in the NBA but only 12 feet wide in college basketball.
- The restricted area arc under the basket has a radius of 4 feet in college and 6 feet in the NBA, preventing defensive players from drawing charging fouls too close to the hoop.
- The center circle on a basketball court has a radius of 6 feet, used for jump balls at the start of the game.
- The basketball hoop is 10 feet above the playing surface, with an 18-inch diameter rim.
Suggestions for Scenes and Settings for Basketball Court Drawings
- A daytime outdoor basketball court surrounded by trees and a clear sky, capturing natural shadows and light.
- An urban rooftop basketball court with city skyline views in the background, featuring graffiti art on surrounding walls.
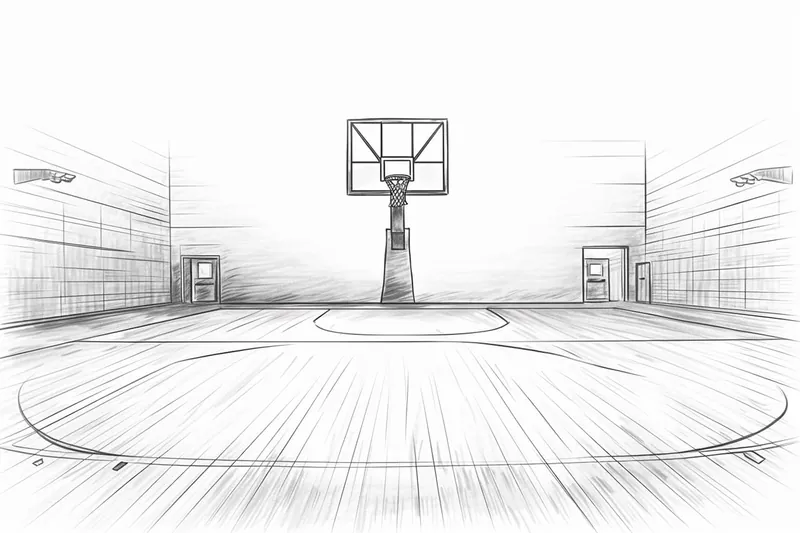
- A nighttime indoor basketball court illuminated by bright overhead lights, with reflections on the polished wooden floor.
- A vintage basketball court from the 1950s with classic wooden bleachers and old-style backboards.
- A futuristic basketball court with neon lines and transparent surfaces, incorporating sci-fi elements.
- A beachside basketball court with sand nearby and ocean waves in the distance, blending sport and nature.
- A snowy winter scene with a basketball court partially covered in snow, showcasing footprints and cold atmosphere.
- A school gymnasium basketball court during a busy game day, including players, coaches, and cheering crowds.
- A miniature basketball court inside a glass bottle or snow globe, creating a whimsical and detailed small-scale world.
- A fantasy-themed basketball court set in a forest clearing with magical glowing lines and enchanted surroundings.